
Windows Explorer Clean Up: Remove OneDrive and Creative Cloud Files
Guide for Windows 10 and Windows 11. The big software houses fight for market share. Therefore, they try with all their might to stay in the user’s field of vision. For example, Microsoft and Adobe have each placed an annoying link in the Windows Explorer side menu. This article will show you how to remove the links easily and permanently.
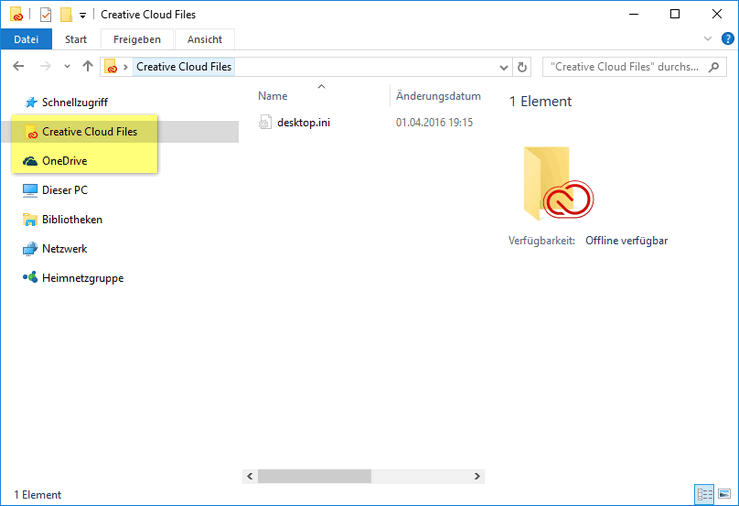
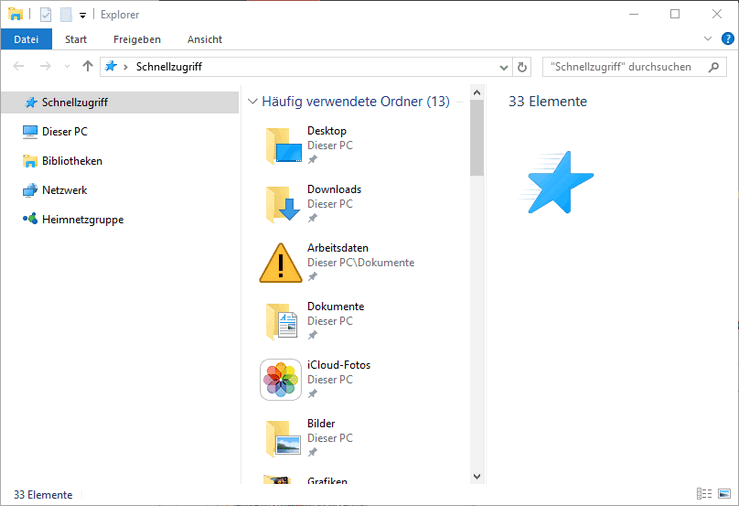
I don’t need Microsoft and Adobe’s cloud services. So I find these very prominent menu items for cloud storage very annoying. If your Explorer looks like the next picture and you don’t use these two links either, then this article is for you.
I also wrote a similar tutorial for Remove 3D Objects folder.
Clean up Windows Explorer
I’m mainly talking about Windows 10 and Windows 11 here, but for Windows 8, Windows 8.1 and even Windows 7 these hacks will work the same way.
The OneDrive link is created automatically by the Windows installation. You get the Creative Cloud Files link with the installation of the Adobe Creative Cloud. Both manufacturers do not ask you if you want this integration and do not provide a convenient way to remove it. Unfortunately! No right-click, no settings, no context menu, no way to delete the links. A pity!
The two new folders are located between the DeepL access and “This PC”.
Remove OneDrive from Explorer
So let’s start with the menu item called OneDrive from Microsoft.
One Drive is certainly a good service if you want to back up your data in the cloud and don’t use another provider for it yet. You can store up to 5 GB of data for free. With Office 365, you even get 1 TB of online storage.
If all this is not used, this additional link only takes away the overview in the Windows file manager. So it has to go!
To do that, we need to change an entry in the Windows registry. Now this sounds worse than it really is.
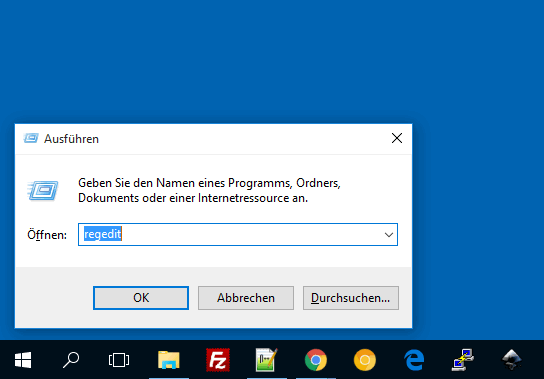
The best way to do this is to use the Regedit program from Windows itself. Press Windows key + R and type regedit in the Run dialog.
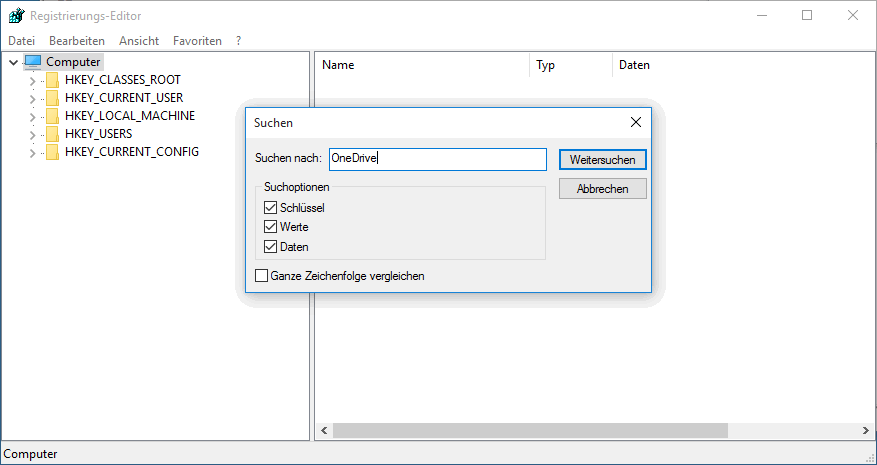
In the opened regedit program go to the menu Edit > Search and type “OneDrive” in the search field.
It is important to see the name System.IsPinnedToNameSpaceTree on the right side, otherwise you have to continue searching with F3.
Alternatively, you can manually scroll down to this key:
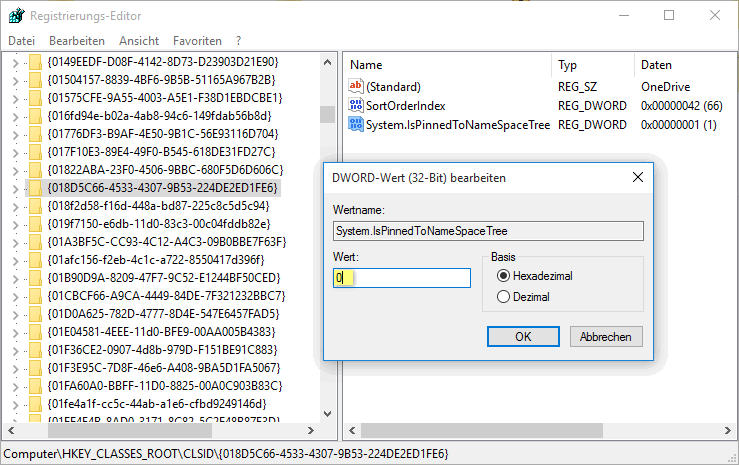
HKEY_CLASSES_ROOT\CLSID\{018D5C66-4533-4307-9B53-224DE2ED1FE6}Searching is the safe method, as the key may change with upcoming versions.
The registry key values should look like the next image:
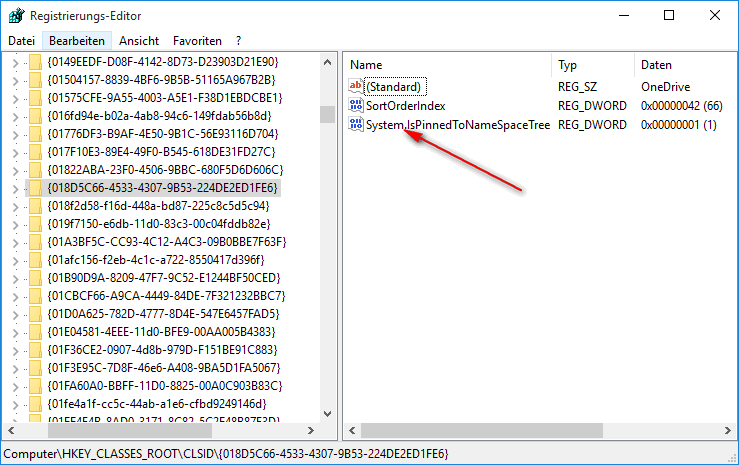
Double click on the value System.IsPinnedToNameSpaceTree to open a small dialog where you simply replace the value 1 with 0 (marked yellow in the image).
Once you confirm with OK, the OneDrive link will be gone from Windows 10 Explorer. If this is not the case immediately, try rebooting or logging out briefly and logging back in.
This does not interrupt or even deactivate the OneDrive connection. Only the link from the Explorer will be removed.
Remove Adobe Creative Cloud Files from Explorer
Moving on to the Creative Cloud entry in the File Explorer sidebar. The steps are the same as in the tutorial above.
However, this time we search for “Creative Cloud Files” in Regedit to delete the Adobe Creative Cloud Files folder.
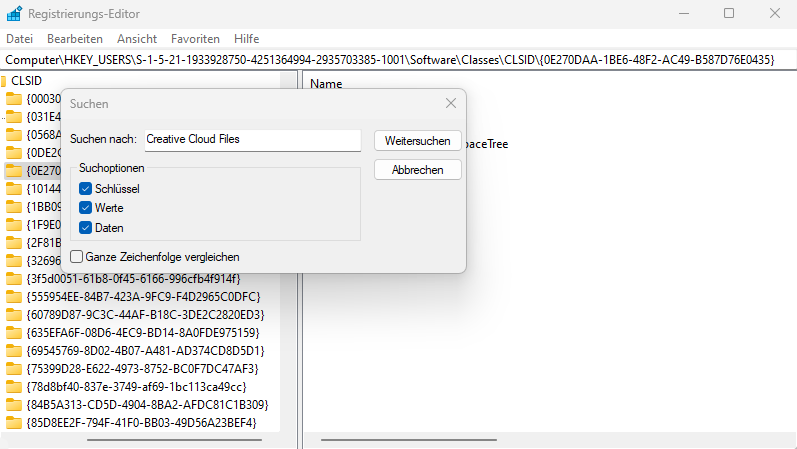
Continue searching until your search word is found in the third column “Data”.
In my case, it is the following Windows 10 registry key:
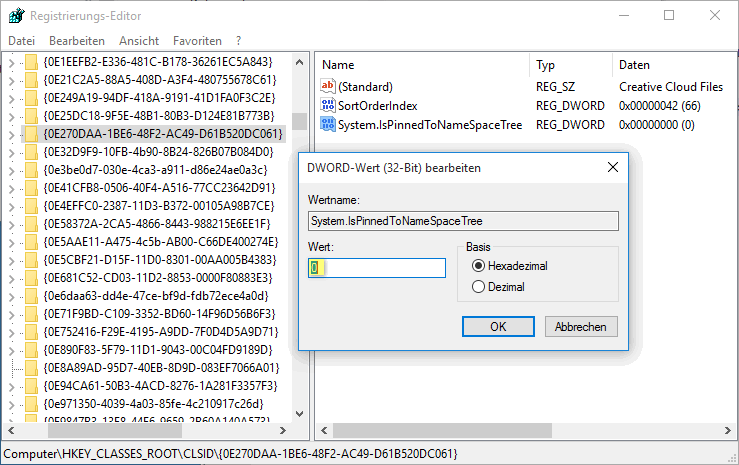
HKEY_CLASSES_ROOT\CLSID\{0E270DAA-1BE6-48F2-AC49-D61B520DC061}In the Windows 11 system, the key is called:
HKEY_CLASSES_ROOT\CLSID\{0E270DAA-1BE6-48F2-AC49-B587D76E0435}Double-clicking on System.IsPinnedToNameSpaceTree we change the value back to 0 (zero) so that the entry is disabled. By clicking OK, Creative Cloud Files is gone from Explorer.
Again, this does not change the Creative Cloud connection.
Cleaned up Windows Explorer
This is what a nice tidy Windows 11 Explorer looks like.

After removing Creative Cloud Files the Explorer looks much better.
I like it much better this way! The sidebar in Windows Explorer is now two items lighter and so much clearer for me. Away with unnecessary icons!
If you have any problems or other questions about this topic, just write in the comments below.
If the article helped you, sign up for the newsletter.


Thank you so much!! This is the only Windows 11 removing Creative Cloud way that has actually worked I have been searching for this for hours!!
Cool, I am grateful that I could help you out.
Thank you. I like a clean and tidy desktop, start menu and explorer. These two entries annoyed me as I don’t use either service. Most of the other so called solutions on the internet failed to work, or only worked until the software updated itself and put the entries back again without asking, and without giving an obvious way to get rid of them. This solution worked instantly and the entries are gone for good.
Hey Paul!
I’m glad I could help! It’s really frustrating when unwanted entries keep appearing on your desktop, start menu, or explorer.
Jochen