This is how I created my lead magnet
Creating your first lead magnet can be an intimidating task. In this article, I’ll show you how I created my free product, freebie, or just lead magnet.
I also hesitated for a long time until I created my first free product. You do have to learn some new skills and invest a lot of time.
In the end, my lead magnet was created much faster than I thought.
And it works!
You do want to build your email list. But where do new subscribers come from? Especially if you don’t yet have thousands of daily visitors, a simple form with no special attraction often seems ineffective. For many years, the concept of the lead magnet has proven itself in email marketing. We also want to use this marketing tool for new leads.
What you’ll learn in this article:
- How to create your first lead magnet.
- How to work with Canva.
- How to promote your lead magnet.
What is a lead magnet?
In German, the lead magnet is often referred to as a freebie or free product. A lead magnet is an engaging digital info product designed to entice visitors to sign up for an email list. Email address in exchange for a content offer.
What do I need for this lead magnet howto?

Even though I want to keep this tutorial as simple as possible, you’ll need two things to get you started right away.
You’ll need one of these graphics programs:
- Canva
- Affinity Designer or Affinity Publisher
- Adobe InDesign, Adobe Photoshop, Adobe Illustrator
If you don’t have any of these tools and you’ve never worked with a graphics program before, Canva is the right solution for you. The online tool is free and easy to use. You can also use it to create your images for social media and your blog.
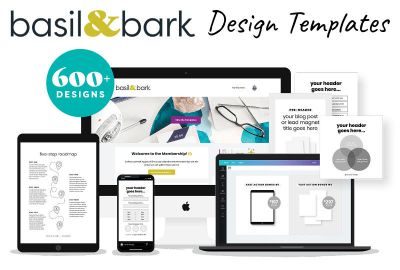
For my digital products, I like to use templates from Basil & Bark. I already reported about the design templates.
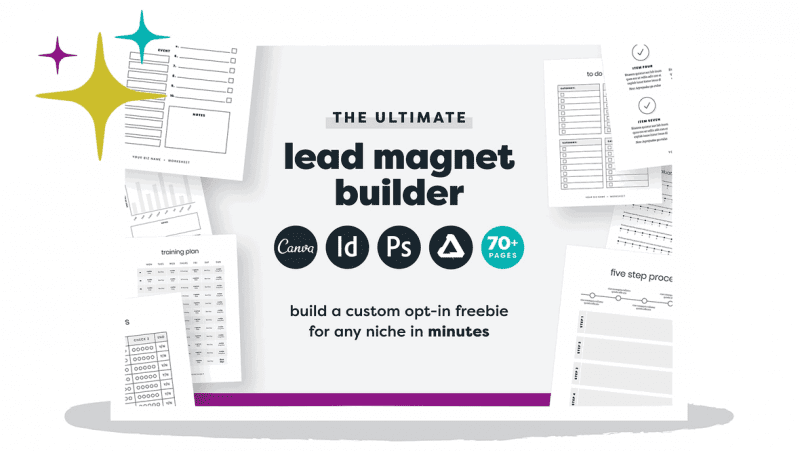
Specifically in this lead magnet tutorial, I use the Lead Magnet Builder template, but not as a single purchase, but the membership as a one-time payment.
The Lead Magnet Builder comes with over 70 pre-built pages that you can instantly add to your lead magnet. It really saved me a lot of time.
Preparations
Before you open your graphic tool to create your lead magnet, there are a few things you should prepare.
- Topic: think carefully about what you want to create your lead magnet about.
You should know about the topic or at least be interested in it. With a keyword research you make sure that there is enough interest for a freebie as well. - Title: I always come up with several titles, tweaking them as I go along and choosing the best one from them at the end.
- Text: This is of course not a must, you can also write the text directly in the graphics program. But it’s better to write your text in Google Docs beforehand, so you have a backup and can easily have someone proofread it.
- Branding: The bottom line is that your free product should be an advertisement for your blog. That’s why it’s important to brand your digital products as well, this includes your logo, a picture of the author and contact options.
- Images: As mentioned before, a picture of yourself should be in the PDF so that you build trust. Cover image, screenshots and anything else you need to illustrate.
- Design template: it’s not about looking for shortcuts, it’s about efficient workflows. You want to create your lead magnet as quickly as possible so you can start applying. Especially getting started is so much faster with a template!
It’s best to gather all the information in the same document where you wrote the text, so that you have immediate access to it in the next step.
Once you have gathered and prepared everything you need, open your template in the graphics or DTP program of your choice.
Pro tip: With the key combination CTRL + Z or (MacOS: CMD + Z) you can quickly undo a step or error.
Step 1: Prepare template
Before you start inserting text and images, you should prepare your template and document settings. Depending on which tool you use, the options and necessary preparations will vary.
I always do the following steps before typing the first text into the document:
- Prepare color palette
- Adjust margins and indents
- Fonts and text styles
- Finalize footer, page numbering
Basil & Bark’s templates take a lot of the preparation out of your hands, but you should always modify as much as possible to make your product truly unique. That’s why the templates come without colors and images.
Affinity Publisher and Designer
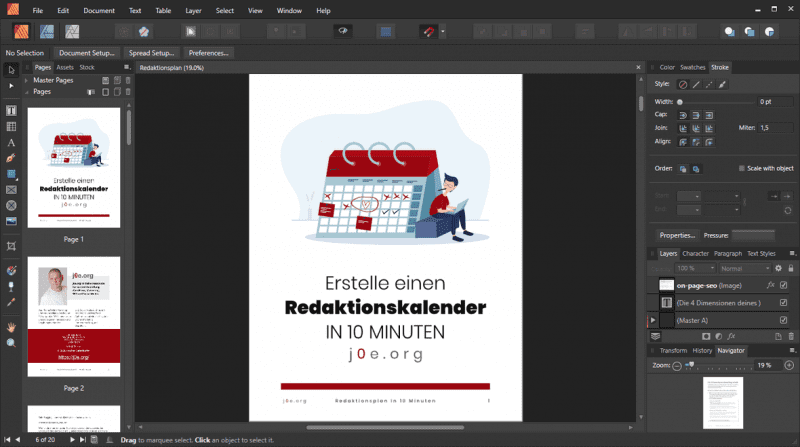
In Affinity Publisher there are Master Pages that you can prepare exactly for your project. Including margins, headers and footers. Of course you can also create multiple master pages. You then apply these templates to all your pages in the project.
Adobe InDesign and Photoshop
Adobe offers so-called document templates, in which you store all your presettings for layout, graphics and text.
Canva
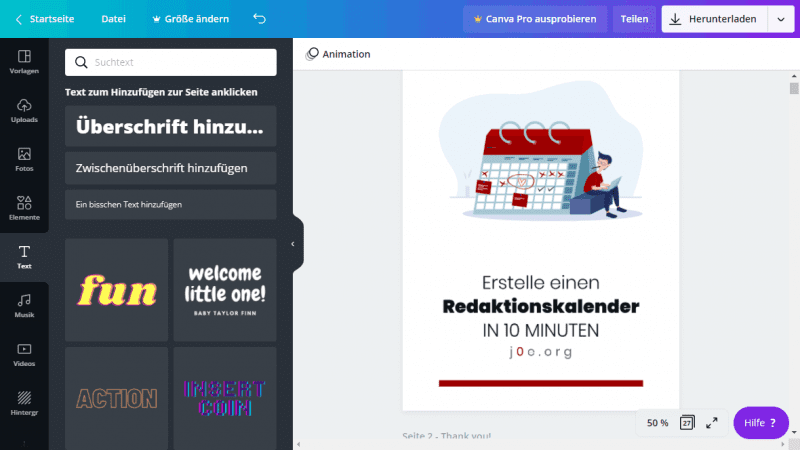
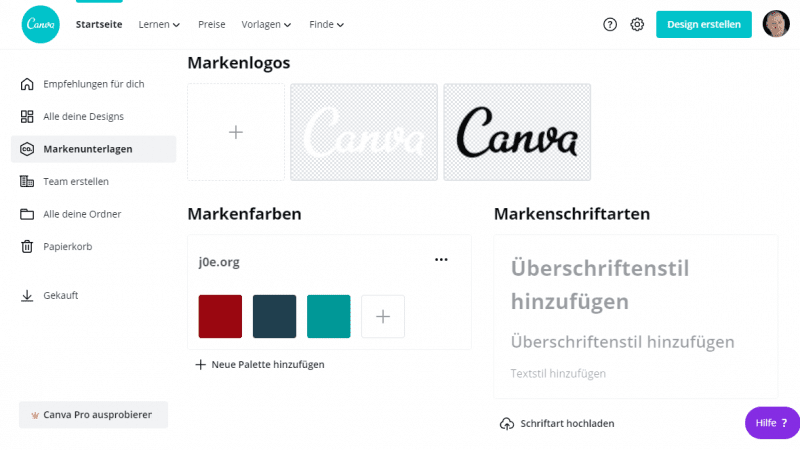
Canva doesn’t offer as many options as the professional programs. You can store your brand colors in the Brand Documents menu. Canva Pro still has the option of multiple color palettes, custom fonts, and global use of your logos.
Even if there is no special template page, just prepare the first page as a template and then copy it for new pages.
Step 2: Paste all text and images
Now create page after page of your lead magnet.
Paste the texts and images you created before. If you haven’t already done so, you should now divide the content appropriately among your pages.
Take a look at all the pages of the Basil & Bark design template beforehand, so you know what you can use from it.
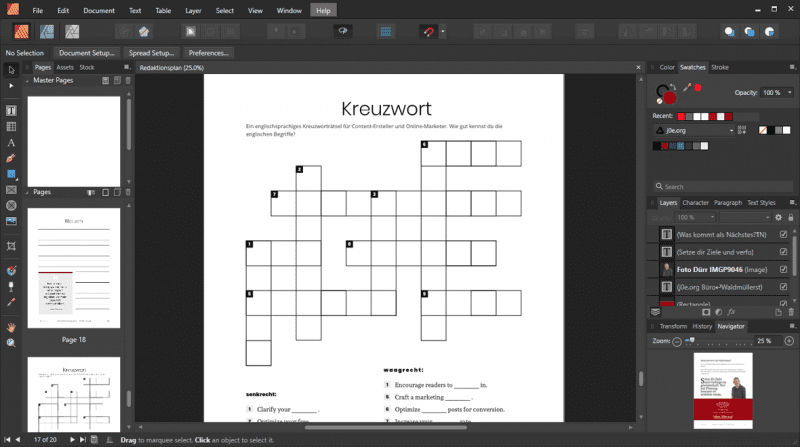
I even added a crossword puzzle and word search game at the end of my freebie. Some added value and entertainment for the reader.
With a good design template, the task of creating lead magnet becomes a breeze.
These pages should not be missing
- Title page: great text and a cover image
- Introduction page: introduce yourself or your brand
- Content pages: All the content for your free products
- How to continue with CTA: Don’t just leave your readers standing after reading. Show them the next step, preferably with reference to another product of yours or a text on your blog.
- Notes: a lined page for reader’s notes.
Step 3: Format and design
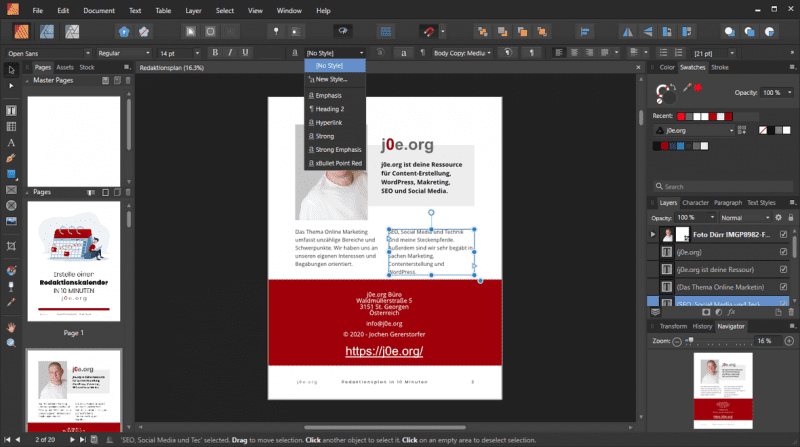
Once you’ve created all the pages, text, and images, take care of the formatting and design. Apply your fonts and colors. Place your logo prominently.
You should really only do this at the end, otherwise you run the risk of getting bogged down from page to page and end up having to revise the first pages again.
Step 4: Final touches and proofreading
Even if you think you’ve got it right, take another look at each page, paragraph, and image. Fix mistakes and improve small things for the last time.
Now you have finished creating your lead magnet!
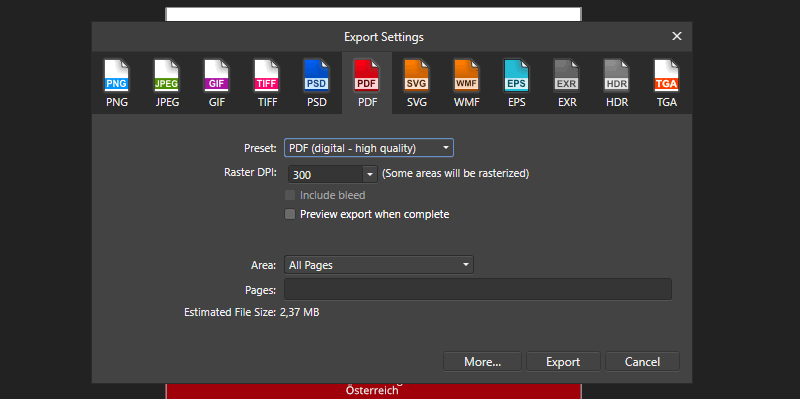
Now export or download the finished document as a PDF and check if everything is still in the right place.
Now we still need stranger eyes.
Have a colleague, your mother, your sister or a friend proofread the finished document. They are sure to find one or two mistakes.
Correct these mistakes and make a final export.
That’s it!
Step 5: Publish and promote
Finished? No, on the contrary, now the most important work begins!
What good is a lead magnet if it’s gathering dust on your hard drive? Get to work!
The purpose of your lead magnet is to collect email addresses. For this, it’s best to use an autoresponder like Brevo or Encharge. You can also create the form directly in the autoresponder and add it to your page.
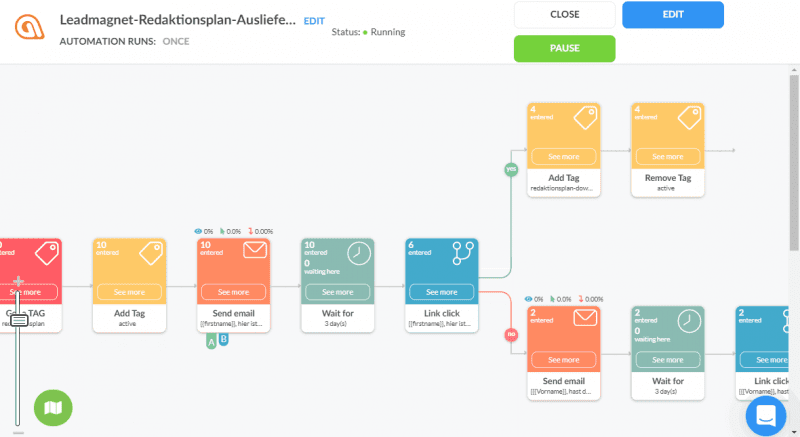
The visitor signs up for your newsletter and gets your free product in return. But not as an attachment, but as a download link in the email.
Here are the steps you should consider for the promotion:
- Write a blog post that is the Landing-Page for your lead magnet.
- Create a newsletter form where your visitors sign up to receive your freebie.
- Include the lead magnet form on all pages where it fits thematically.
- Create images and graphics so you can share your lead magnet.
- Share your blog post on all social channels.
By the way, here is my ready-made lead magnet, editorial plan:

18Seiten inkl. Redaktionsplan-Vorlage
Direkt in deinen Posteingang 👇
Be creative and unconventional with your marketing. Surprise your readers and your target audience on other channels.
Lead magnet checklist
To make sure your lead magnet attracts and converts as many prospects as possible, you should follow my checklist.
- Know your audience: you need to know your visitors and readers so you can create the right content offer for them.
- Solve a problem: If you can solve a specific problem for your audience, you’re sure to succeed.
- Be super specific: Vague headlines and CTAs can promise everything and nothing.
- Quality: an e-book with two pages and no added value won’t get you there. Make sure your lead is satisfied and happy to stay on your list.
- Instant reward: Send the download immediately. You can send all further emails afterwards to keep your lead fresh.
- What’s next Link to your services or other offers at the end of your free offer.
- Ensurehigh deliverability: Your emails must also be of high quality so that they do not end up in spam or are blocked by the mail server. Address your subscribers personally and offer a download link instead of a direct attachment.
- Design Templates für Blogger
- Lead-Magnet und Opt-ins
- Webinar Vorlagen
- Kunden Preislisten und Begrüßung
- Vorlagen für Online-Kurse
- Social Media Grafiken
- Pinterest-Marketing-Grafiken
- Affiliate Promotional Pack
- Brand Board und Brand Elemente
Conclusion
You see, it’s not that hard to become successful with a lead magnet.
Don’t put off the task of creating lead magnets for too long. It’s worth it, and the feeling of success will animate you for new blogposts.
Curious. Have you used the lead magnet builder from Basi & Bark?
