WPFunnels - Create Sales Funnels with WordPress
My WPFunnels review with instructions. As a business website owner, you surely know the problem of increasing sales. The challenge is to use a funnel to bring the customer to a purchase decision. The idea is that the customer goes through a number of touchpoints that lead them to a desired action.
WPFunnels is a WordPress plugin that allows you to create sales funnels for your online store, or any other online marketing campaign. You create the sales funnels with a drag-and-drop editor. A free version is available. You get all the features with the Pro version.
That’s why many websites offer plugins for creating funnels. Probably you have tried them and had your experience with them. They don’t seem to be for everyone, because some users complain that they are cumbersome to use.
With the plugin WordPress WPFunnels you get a tool that works simply and intuitively. So you don’t need to be a professional to keep your business running. WPFunnels takes the burden off your shoulders.
Install WP Funnels
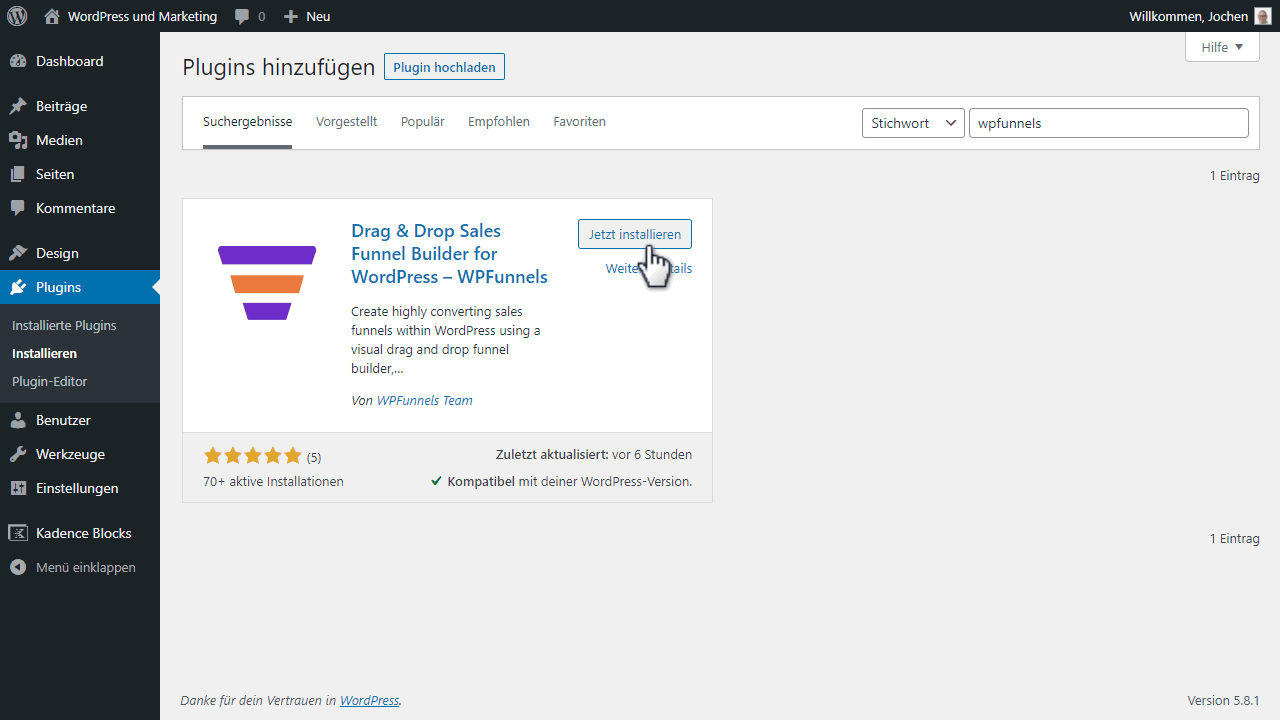
First, you need to install and activate the free WPFunnels version in the WordPress admin.
Right after activating it, the setup wizard will start.
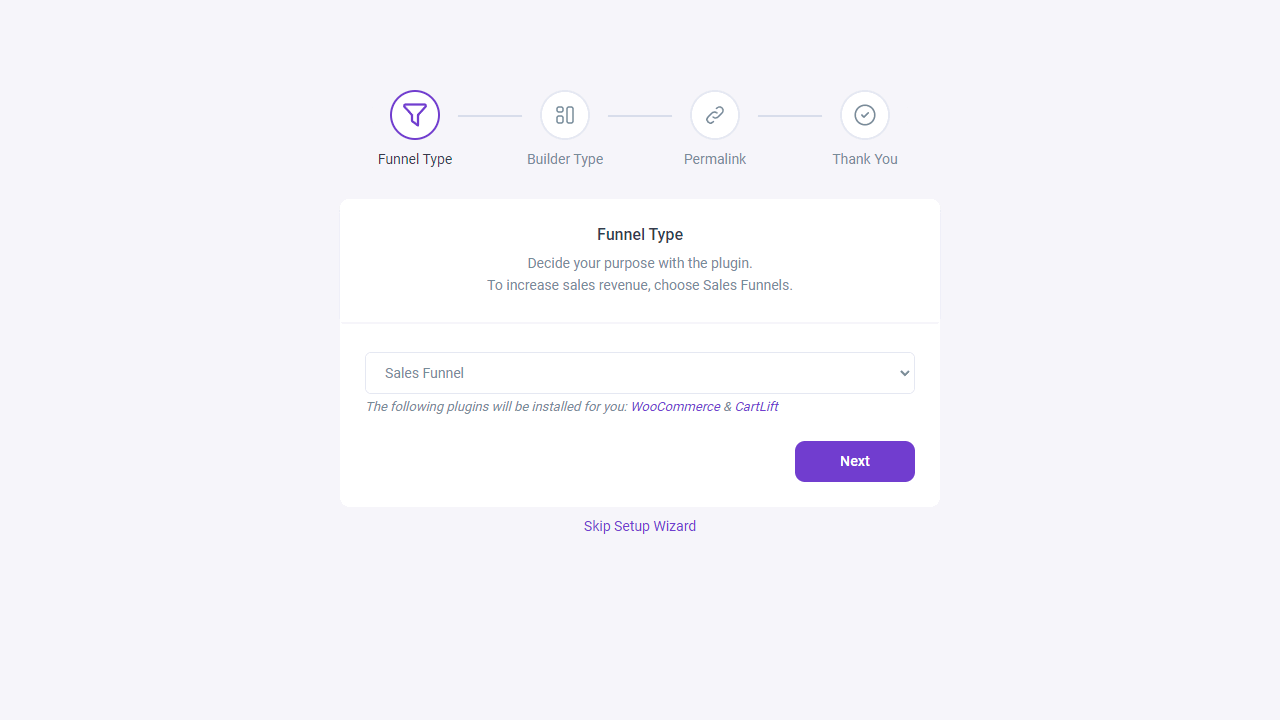
- Select the funnel type. Currently, only the Sales Funnel option is available. You will also be informed that WooCommerce and CartLift will be installed.
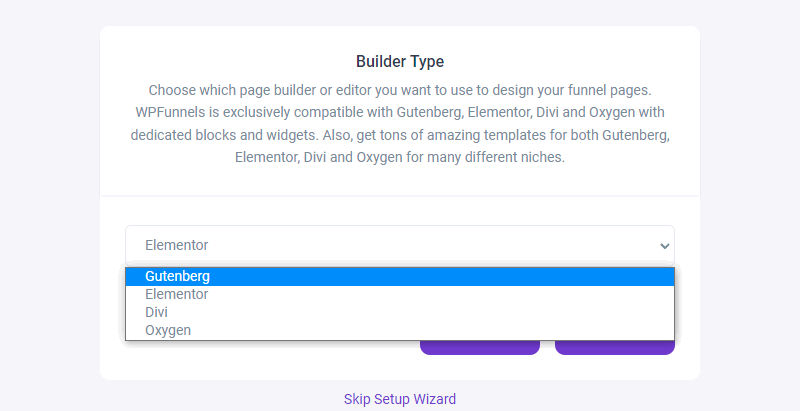
- Choose your Page-Builder. Available are Elementor, Divi, Oxygen Builder and Gutenberg. If you choose Gutenberg, the Qubely extension will be installed. Otherwise Elementor.
- Choose your URLs using permalinks. You can assign a specific slug for “Funnel Base” and “Step Base”.
- Finish with Quick Guide Video.
Install WPFunnels Pro
After the wizard, you should install your Pro plugin so that you can use all the features.
Go to Plugins > Install and click on Upload Plugin. Select the ZIP file and click Install Now. If you’ve never done this before, check out my WordPress plugin install guide.
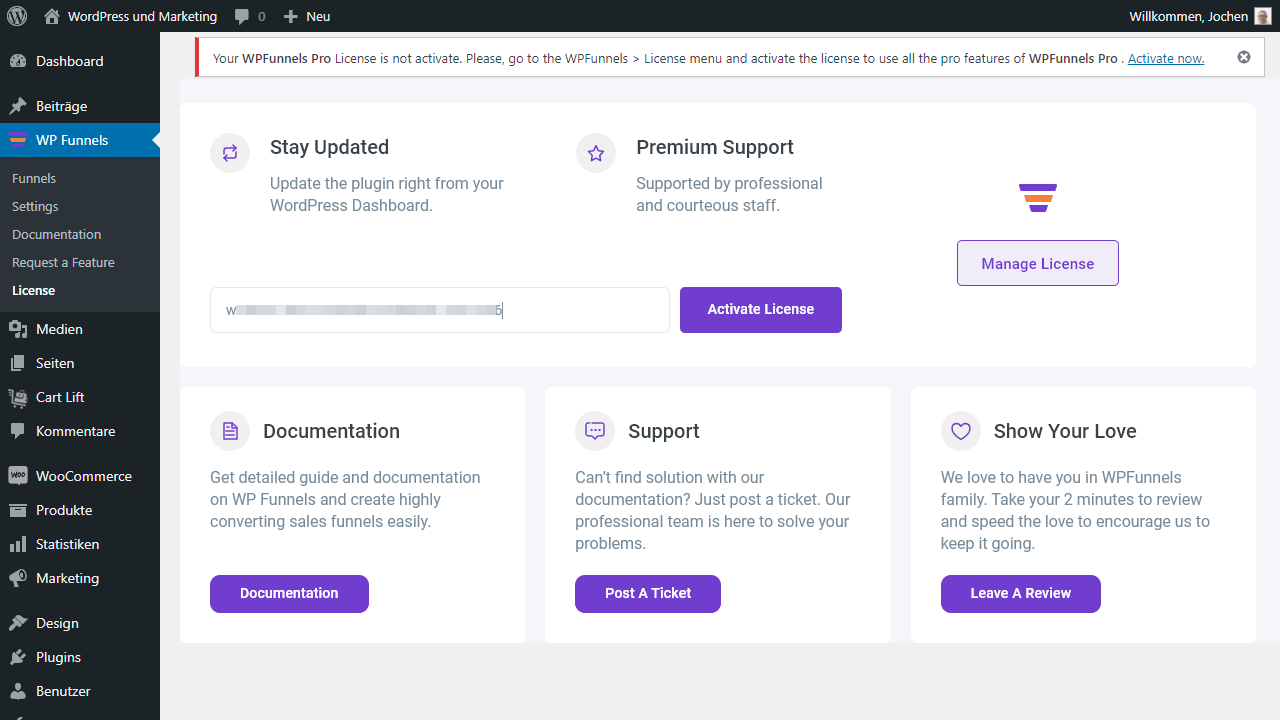
Lastly, you’ll need your license key to activate the WordPress plugin.
What makes WPFunnels better
A design team took up the cause in 2020 to look for a better solution for WordPress. Their goal was to create a design that could be used with ease and gave enough control over each step.
In February 2021, the time had come and the WPFunnels team found a solution that combined versatility with control. The next step was programming. Within six months, they developed a Sales Funnel Builder for WordPress that provides a complete solution for creating funnels.
Now if you think this is another one of the typical funnel builders that creates funnels in single steps – be surprised, the plugin has more to it! You have additional control over the shape and planning of the funnels besides creating them, and you make these decisions from the WordPress dashboard. The application is called Visual Funnel Builder.
Visual Funnel Builder is equipped with a mapping system that allows you to drag-and-drop to organize your funnels. It’s a breeze to use, you add your funnel, position it on the canvas and connect it to the other entities.
You don’t need anything else beyond that, no external tools. The workspace is your Funnels dashboard, available to you for every step of the process. With WordPress Page-Builder, you create every page of your homepage.
The plugin is a helpful addition for designing websites in WordPress and has a fair price. It won’t take anyone who starts using the tool 15 minutes to understand its full benefits.
What WPFunnels can do in detail
For a better overview, here is a list of eight points that illustrates what WPFunnels’ performance features are.
1. The visual drag-and-drop workspace
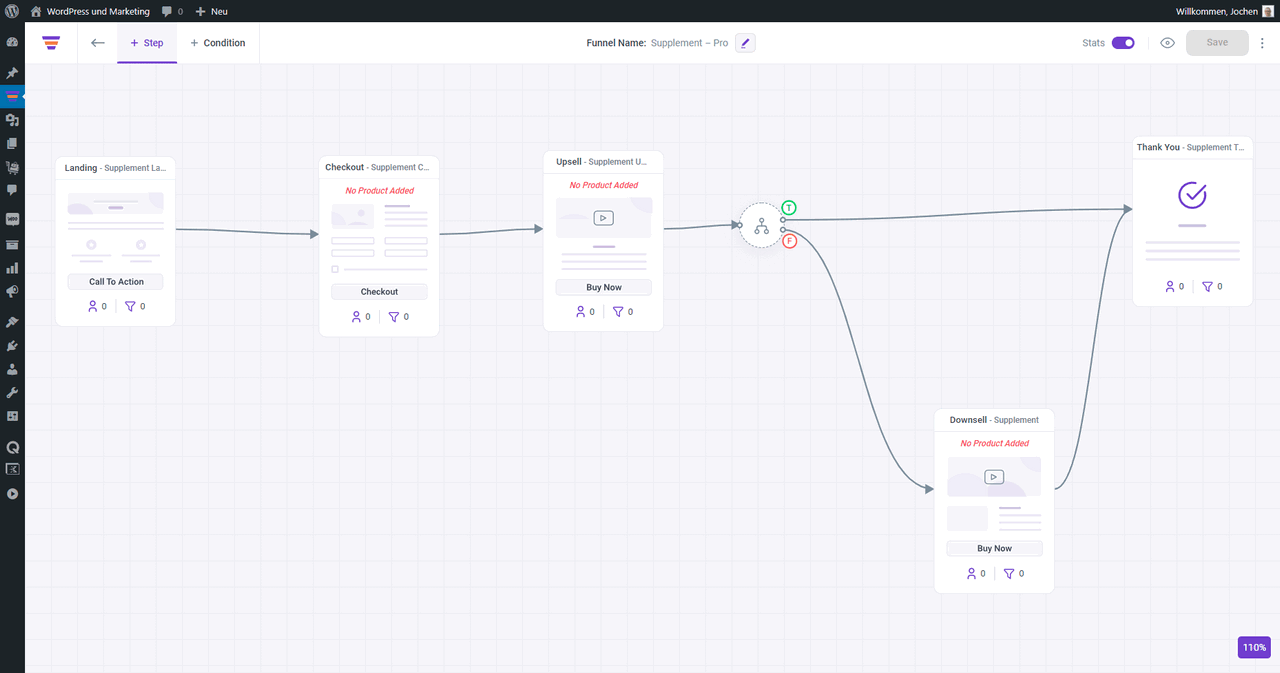
The workspace offers you the possibility to clearly visualize the individual steps.
Funnels can be quickly planned and organized through direct control on their interface. Note, each document on the screenshot is a page of a sales funnel with WooCommerce.
The individual steps are:
- Landing-Page
- Shopping cart
- Upsell
- Downsell
- Thank you page
It’s really super easy!
2. With ready-made templates for a quick start
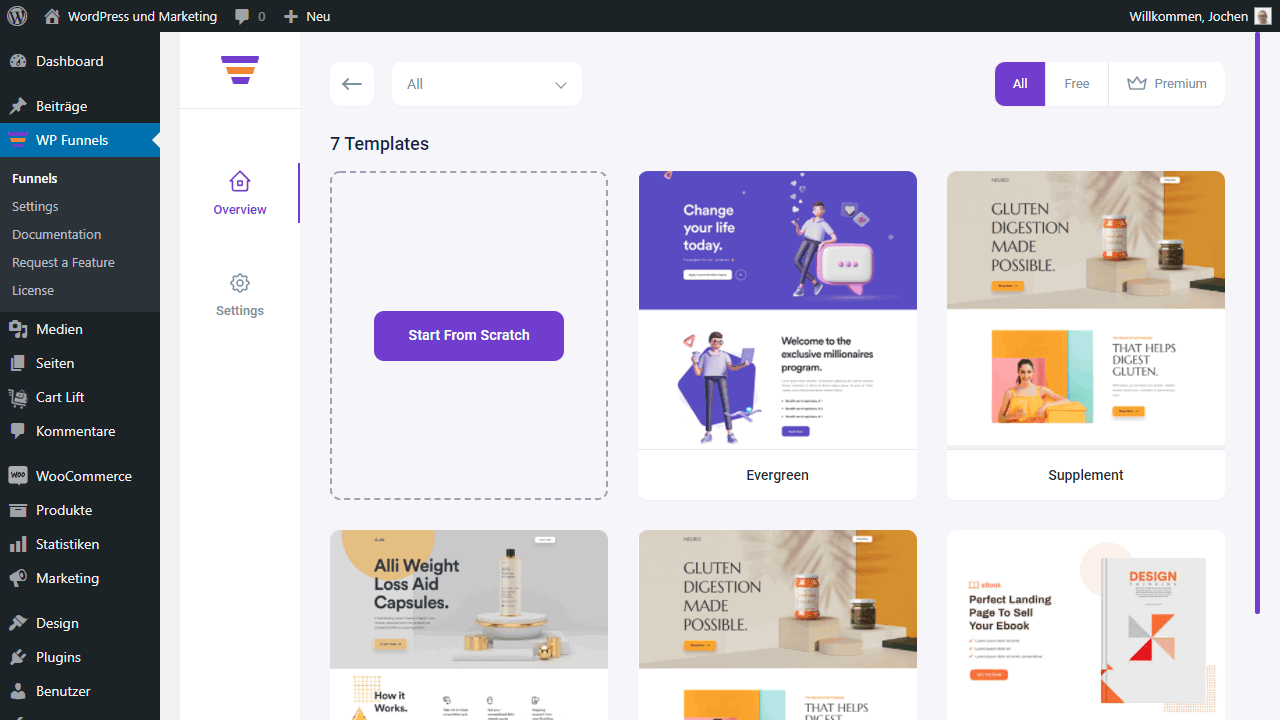
Not everyone is an expert in design. For this purpose and to help you create funnels, pre-made templates are ready for you. These are optimized for your sales idea and are available for wide-ranging niche products. After you import them, they are ready to use.
3. They are compatible with Elementor and Gutenberg
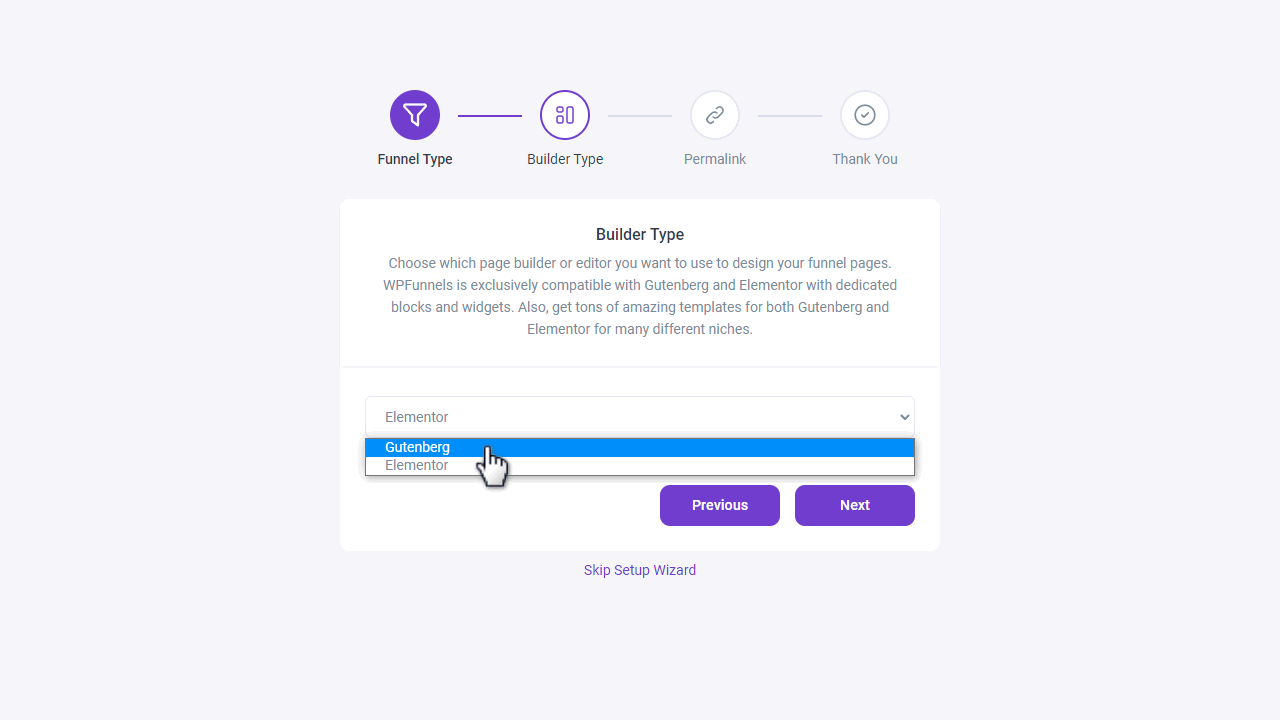
Templates are not everyone’s cup of tea and most use Page-Builders to create their website. To accommodate this, WPFunnels is compatible with Elementor and Gutenberg. Elementor is the most popular Page-Builder and Gutenberg is the default editor on WordPress.
4. Increase sales with Order Bump
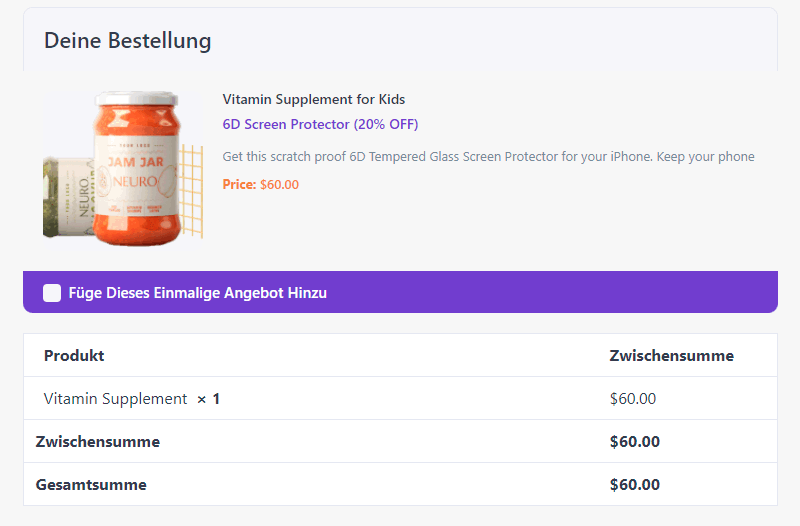
If a customer of yours decides to proceed to checkout, an additional offer is waiting for him on the order page. If he clicks on it, he adds it to his selected product.
A simple way to increase the value of the shopping cart.
5. Upsell and downsell offers after the order is placed

Once a customer has completed an order, the opportunity to suggest upsell and downsell offers opens up. The customer gets the choice to order products in high quantity or at a more expensive price. The proposal is a one-time offer that is subject to discounts.
6. Additional control in the steps
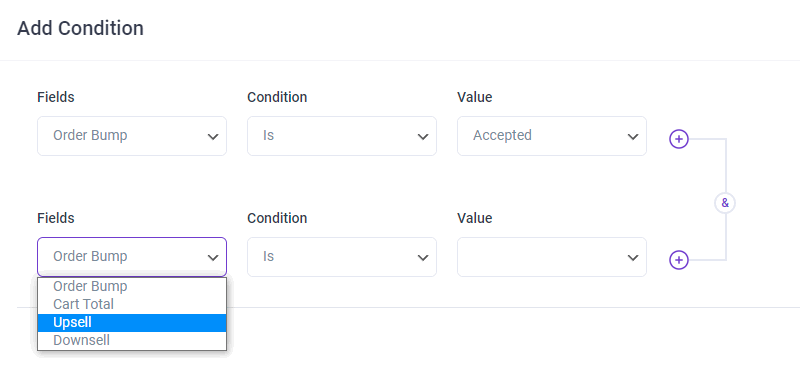
Wouldn’t it be better if you could give the customer a customized offer after an order?
With WPFunnels, you add a suitable offer with each step the customer performs. The customer pays a certain amount for a product and in response receives an equivalent offer with a discount on it.
7. An analytics tool for each funnel
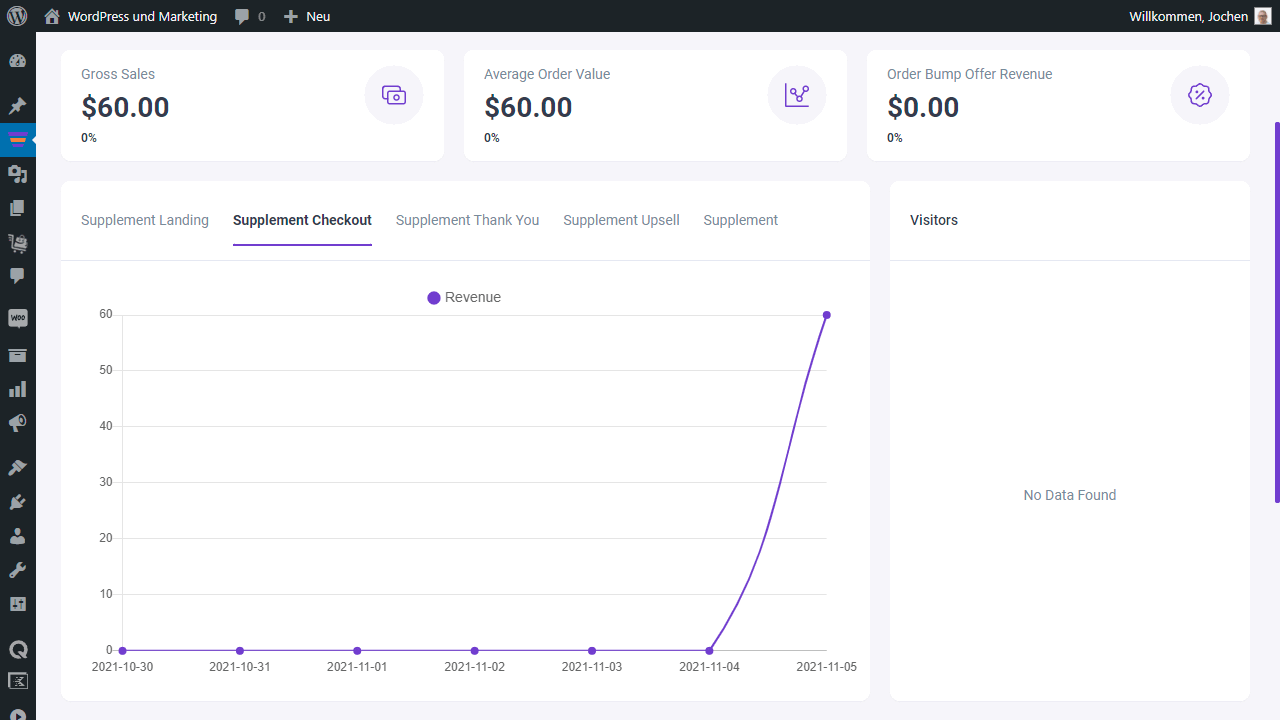
Nothing is more cumbersome than using an external analytics tool to evaluate performance. The integrated tool avoids this problem and presents you with a detailed analysis of all your funnels. On it you’ll see their evolution, the total number of visits, sales, revenue generated and a few other features.
8. A custom checkout page for each funnel
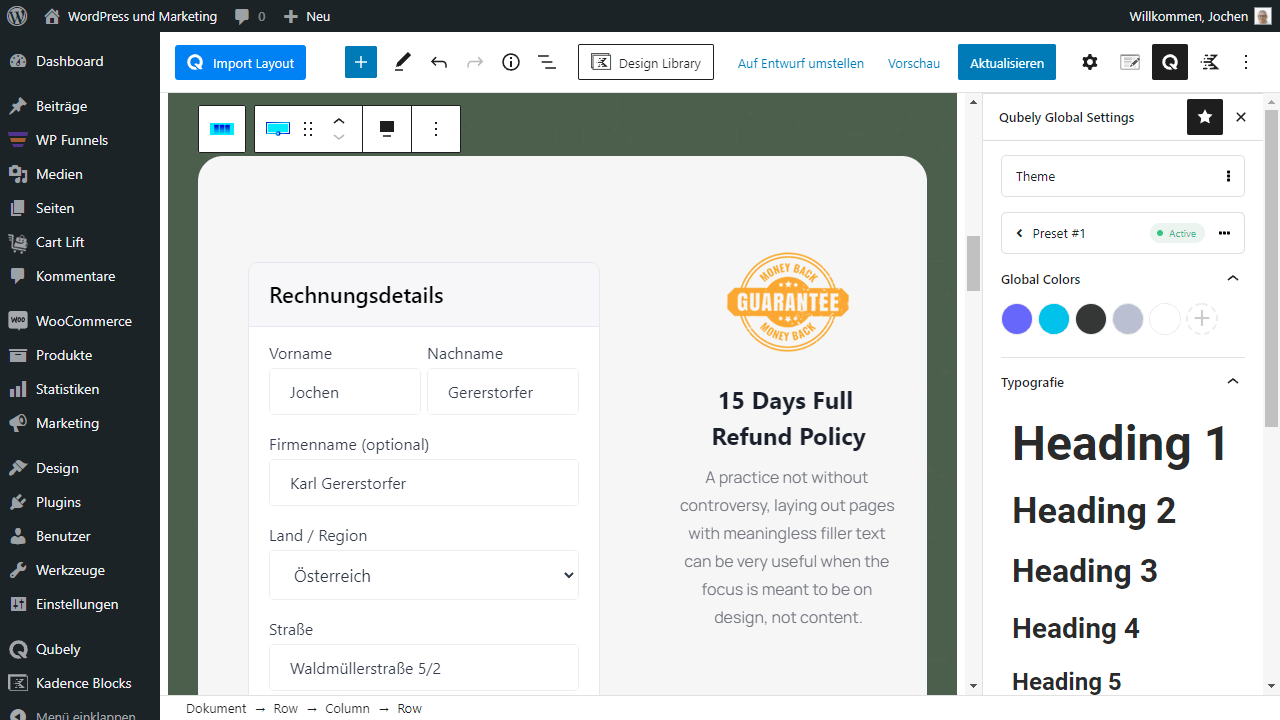
One of the exquisite settings of WPFunnels is the custom checkout page. With it, you create a personalized checkout page with each funnel. WPFunnels will show you a checkout form that can be customized by you.
9. Supported payment gateways for WPFunnels
WPFunnels uses payment gateways for checkout with pre-checkout offer and
Post checkout offer.
Currently, the following payment providers are supported:
- PayPal
- Stripe
- Cash On Delivery
- Mollie
- Authorize.Net
This makes WPFunnels fully usable in Europe as well. First you install the respective payment plugin from the WordPress directory so that you can then also use it for upsell and downsell.
10. Nutze Webhooks für jeden Funnel
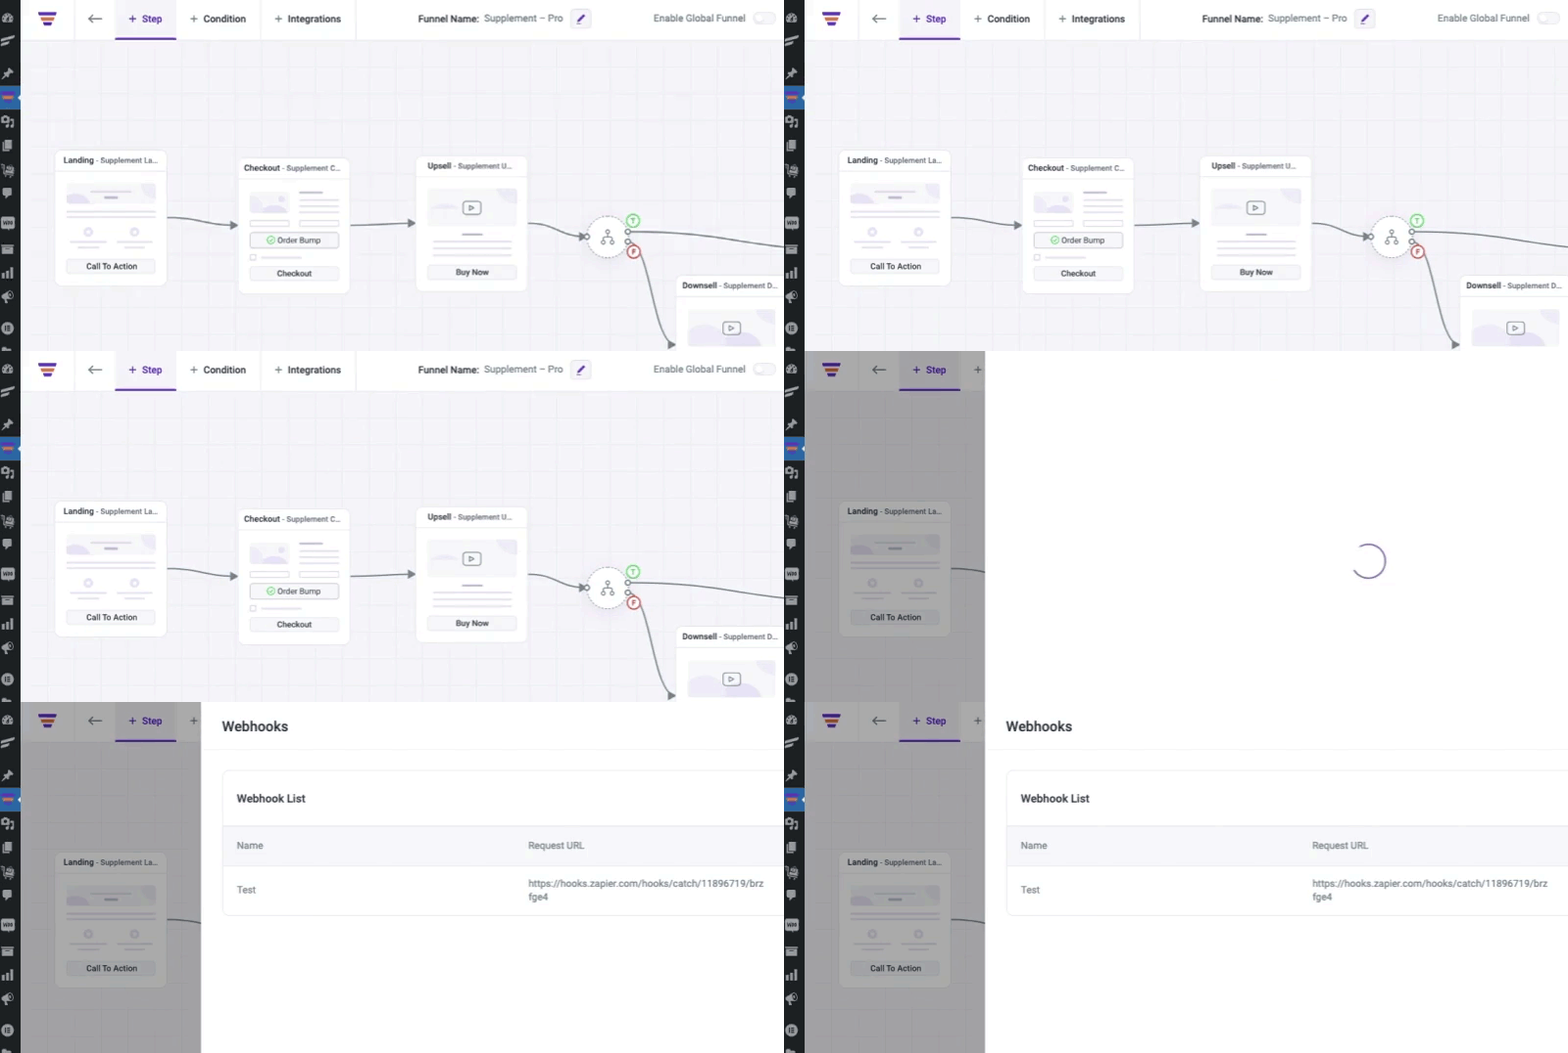
With WPFunnels, you can now send data to key automation tools like Zapier and most e-autoresponders based on the actions of users in your sales funnel!
Webhooks based on buyer actions and events in the funnel:
- Order Bump accepted: when a buyer accepts the Order Bump offer
- Upsell accepted: when a buyer accepts the upsell offer
- Upsell rejected: when a buyer rejects the upsell offer
- Downsell accepted: when a buyer accepts the downsell offer
- Downsell rejected: when a buyer rejects the downsell offer
- After the opt-in form submitted: after a user submits the opt-in form
The WPFunnels Webhooks addon will be included only from Tier 3 and large plans.
LearnDash Integration

Yes, you read that right. LearnDash has been seamlessly integrated with WPFunnels.
Just use LearnDash and the WooCommerce addon to create course products. And then create sales funnels in WPFunnels for those products. And that’s it!
Believe me, this works like a charm and is super easy to use.
Users will be enrolled, and you’ll be able to sell more courses through high-converting sales funnels!
Below you can find planned features for the next versions:
- Conditional offers for WooCommerce
- CRM integration
- Multi-level checkout
- A/B testing for each funnel step
- Integration with major LMS plugins
- Integration with Divi Builder
- Integration with form builders for lead generation funnels
- Hybrid funnel templates and implementations
Who is WPFunnels for?
WPFunnles is a plugin that is primarily made for everyone. That includes users of any niche who desire to increase sales with their funnels.
A quick example shows how this works. Imagine you have your own site where you sell your product. The customer enters your site and sees four products with different prices on them. This is the first funnel that sends the customer in different directions after choosing between the four products.
Assuming the customer chooses the cheapest offer, the next page he lands on is the purchase page. There he finds a bump offer, which includes a similar product that is more expensive. The customer has the choice between the bump offer and the cheaper one. If the customer decides against the bump offer, after the purchase he comes to a page that shows a more expensive product with a 10% discount. If he has chosen the bump offer, he lands on the thank you page with an upsell offer that has 20% discount. With this method, funnels guide the customer to different offers that adapt to his decisions. Buying more expensive products leads him to offers with higher discounts.
In case you offer a service, let this idea inspire you. The customer is interested in a service on your homepage and arranges a telephone contact with you to discuss the basic conditions.
After the conversation you send him an email that includes a link to the order and at the same time makes the funnel. The customer clicks on the link and reaches the purchase page for his order. After he completes the purchase, he receives a bump offer for another service that builds on the original one.
Use funnels for more sales and lead generation!
Funnels are a straightforward story. With the right tool!
