Perfect ConvertBox integration for Encharge
This article describes how to properly connect the lead generation and form tool ConvertBox with the autoresponder Encharge. I am still missing 2 important functions!
Actually, the starting point is not so bad. After all, you can send the form data from ConvertBox to Encharge using native integration and WebHooks. That’s more than many other platforms and combinations can do.
Unfortunately, both solutions are only half-heartedly implemented. You can tell the SaaS developers haven’t thought everything through.
The problem
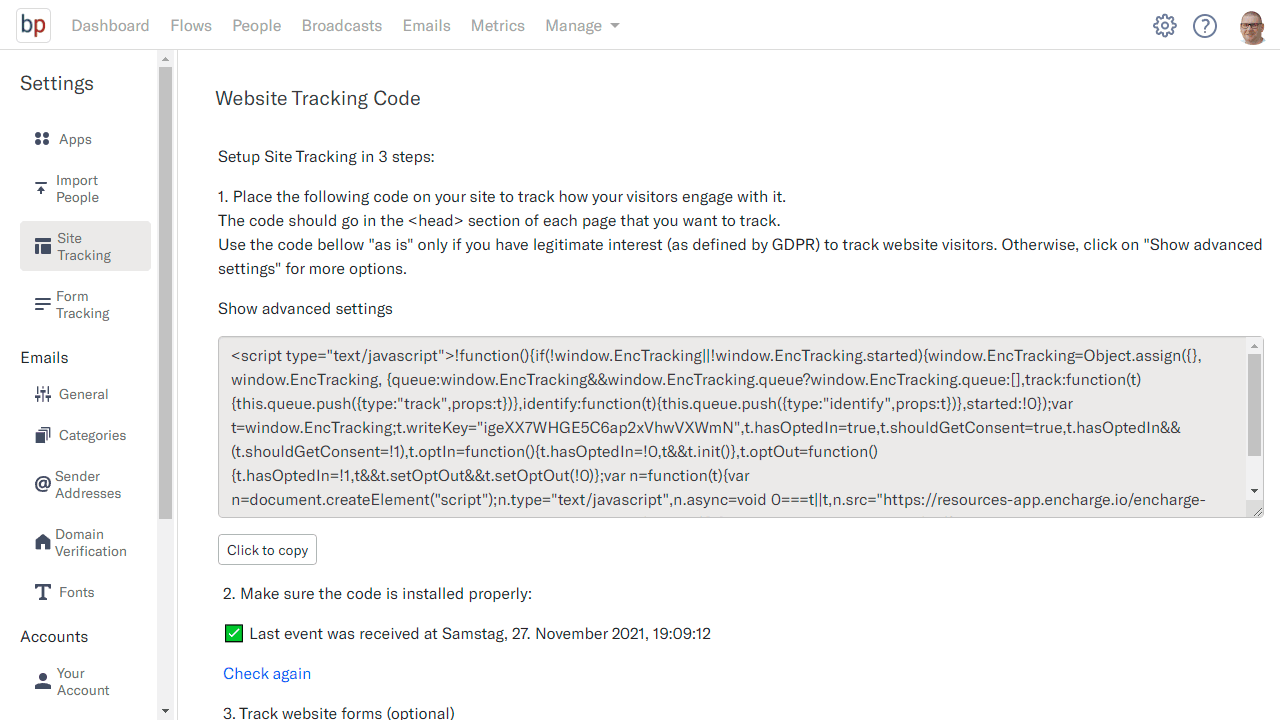
Problem 1: Encharge offers a great website tracker that tracks your visitors’ every move. Unfortunately, only for anonymous visitors. Unfortunately, the tracker does not recognize subscribers sent by ConvertBox.
Problem 2: The second problem is segmentation, or targeting. I work with WordPress and all my content is semantically classified by categories. I would like to segment my email subscribers according to these categories and thus send them only the newsletters that really interest them. Unfortunately, the tool vendors do not offer a solution for this either.
After days and countless emails with the support of both services, no solution was in sight. So I turned to the community. I already had a partial solution.
After a short time, Ian came up with a solution for the first problem. This gave me the right impulse to continue.
The solution
Solution 1: For the problem with the tracker I send the email address to the newsletter thank you page. I store the email in a variable, which I can then use a method from Encharge to actually pass the lead to the tracker.

Solution 2: By default, WordPress outputs all the categories and tags of a post as an HTML class in the first article HTML tag. I read out the categories using the DOM selector and store them in a variable as well. At this point thanks to Ana Kravitz!
Using the “localStorage” I can save the data when filling out the form and access it again later on the thank you page and also send it to Encharge with the email.
Instructions
For the problem solution we need two JavaScript snippets. But you don’t need to worry about that, because all you have to do is copy and paste them.
Five steps to perfect ConvertBox to Encharge integration:
Step 1
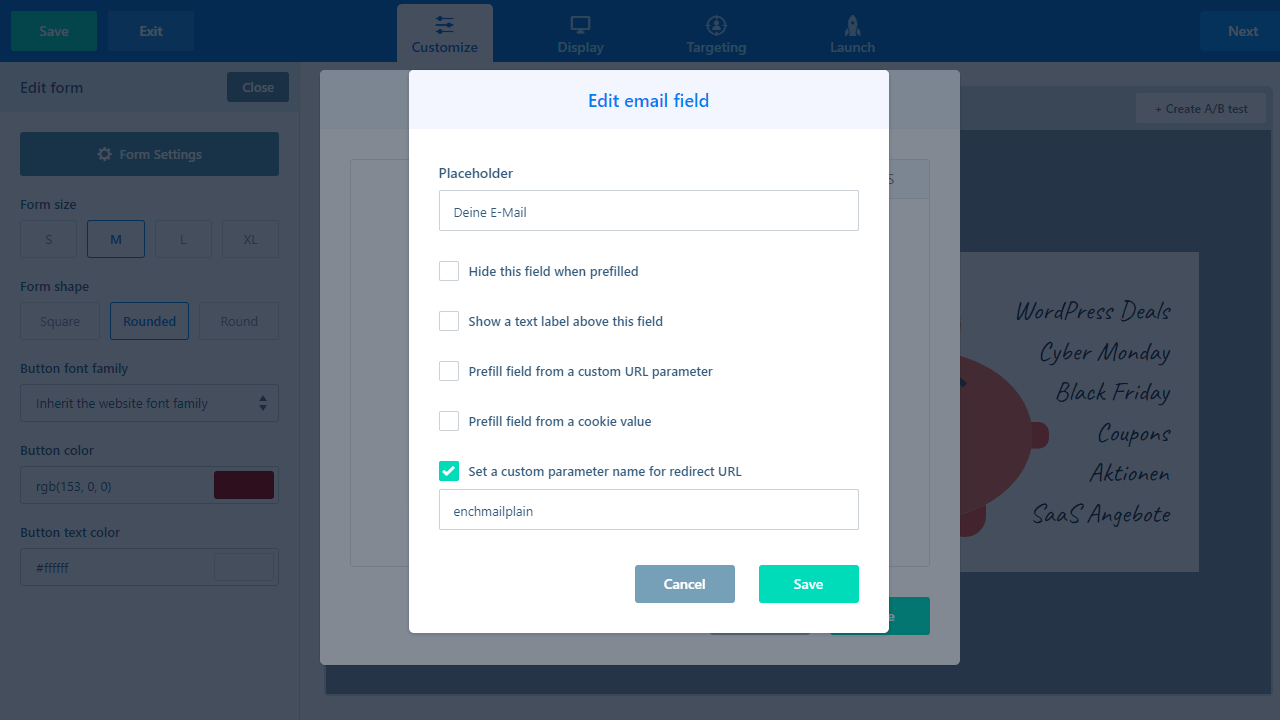
In ConvertBox, click on the form field in the form editor and then click on “Form Settings” on the left side.
First you assign the “Custom Parameter” named “enchmailplain” for the email field in ConvertBox.
Save.
Step 2
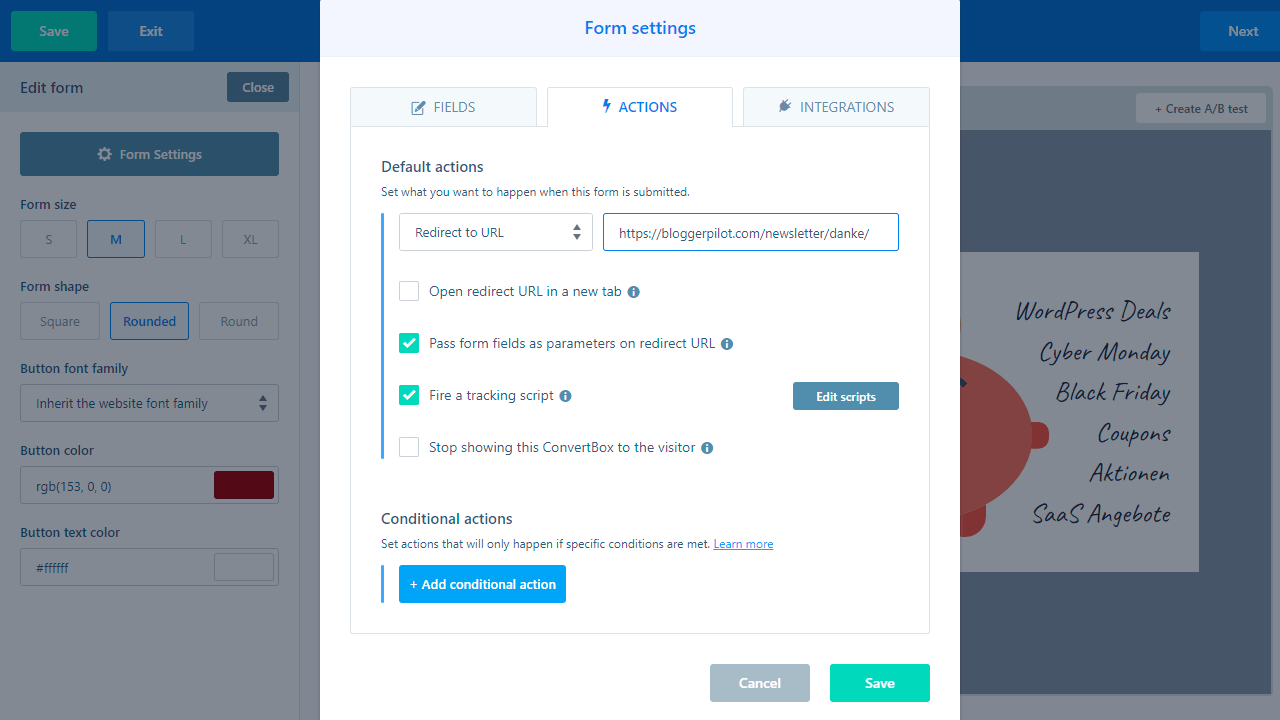
In the “Actions” tab, select “Redirect to URL” and enter the URL of your thank you page. Below that, check the “Pass form fields as parameters on redirect URL” box.
Save.
Step 3
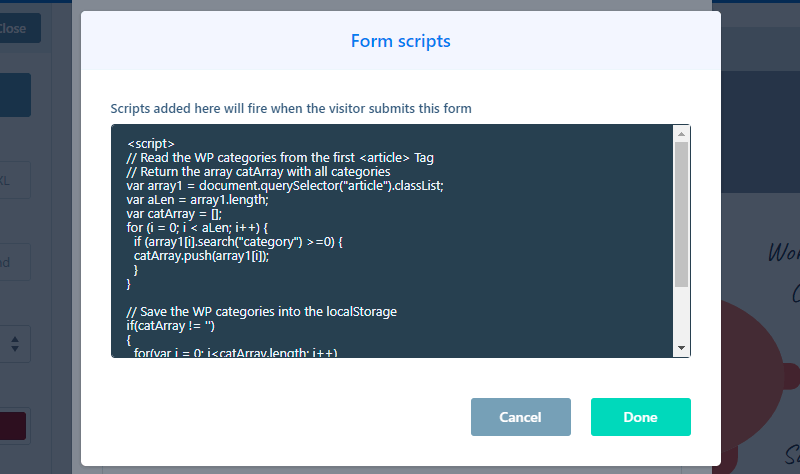
Also check “Fire a tracking script” and click “Edit scripts” to the right of it.
In the opened script window, paste the following code:
<script>
// Read the WP categories from the first <article> Tag
// Return the array catArray with all categories
var array1 = document.querySelector("article").classList;
var aLen = array1.length;
var catArray = [];
for (i = 0; i < aLen; i++) {
  if (array1[i].search("category") >=0) {
  catArray.push(array1[i]);
  }
}

// Save the WP categories into the localStorage
if(catArray != '')
{
  for(var i = 0; i<catArray.length; i++)
  {
    localStorage.setItem("localCat"+i,catArray[i]);
  };
}
</script>
Click “Done.”
Step 4
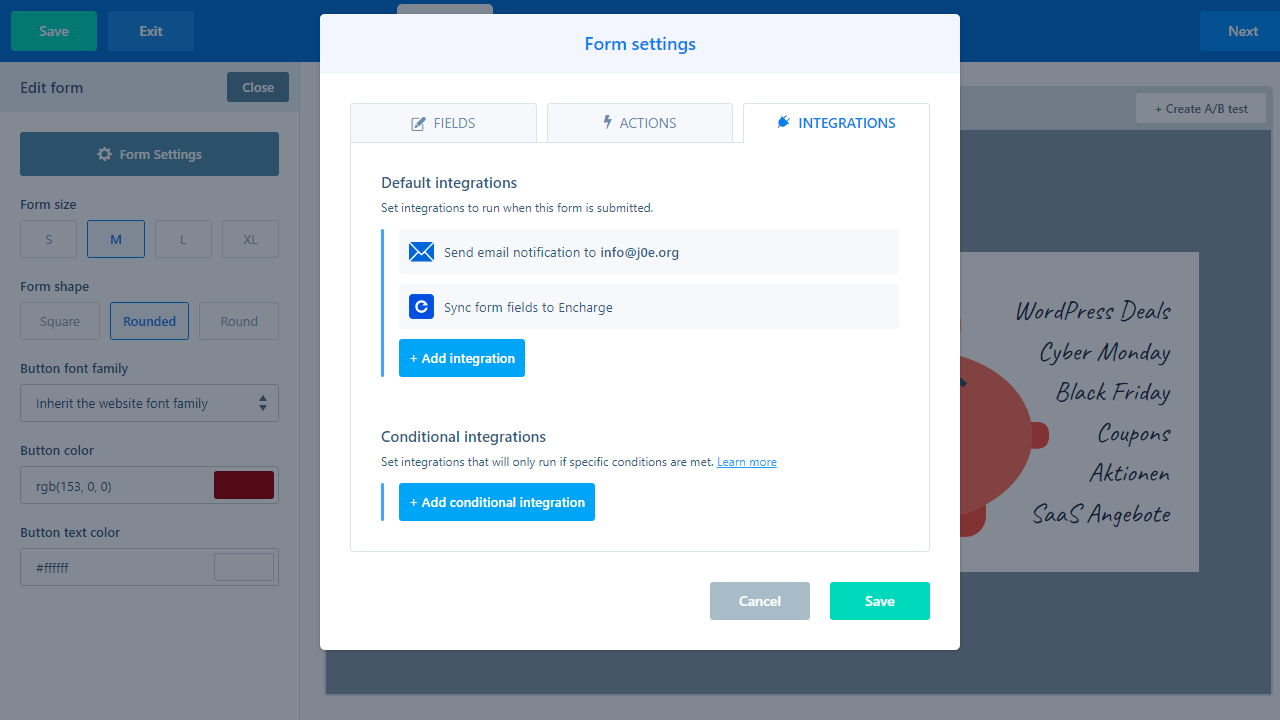
You need to set up the native integration with Encharge under “Integrations”. In the screenshot, you can see that I also have the email notification for new subscribers active. But this is not necessary.
Now save the box in ConvertBox.
Step 5
In the fifth and last step, we have to send all data to Encharge. For this, you need to add a script to your thank-you page. Many ways lead to Rome. Here are three of them:
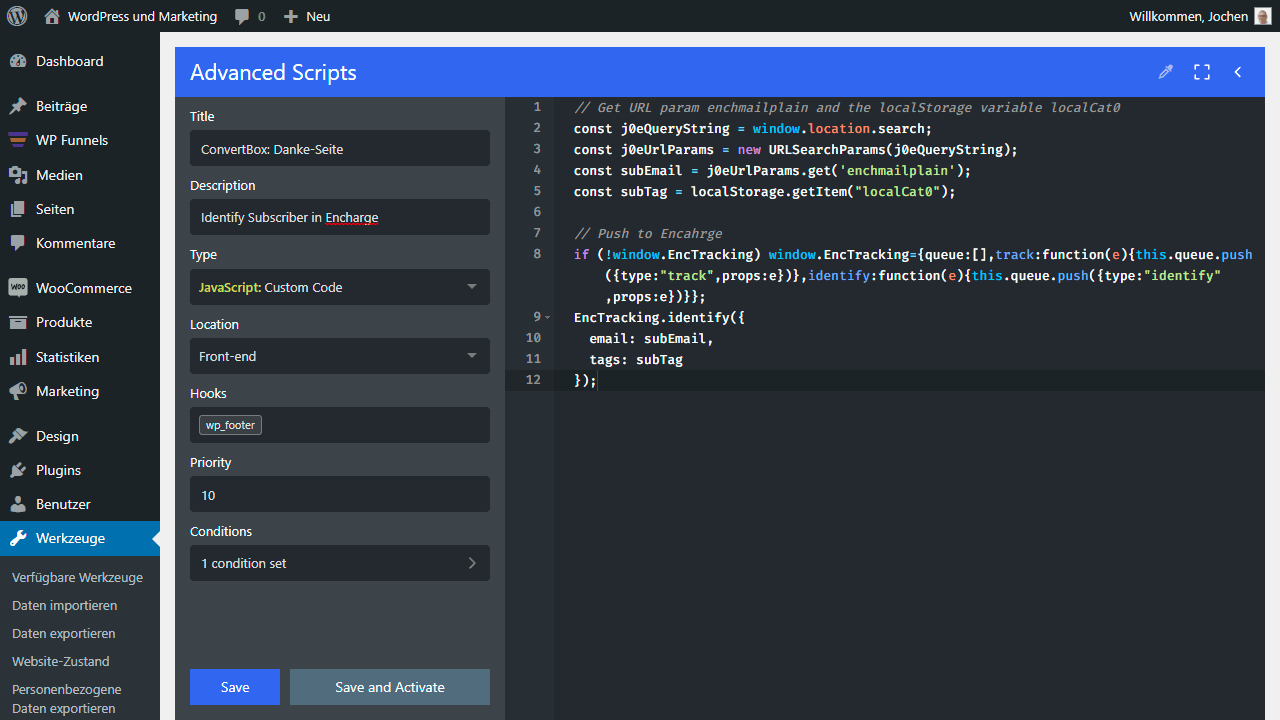
- WordPress-Plugin: Very easily, you can also add JavaScript using a plugin like WPCodeBox, Advanced Scripts or Code Snippets. In the plugin, I have restricted to the correct page under “Conditions”.
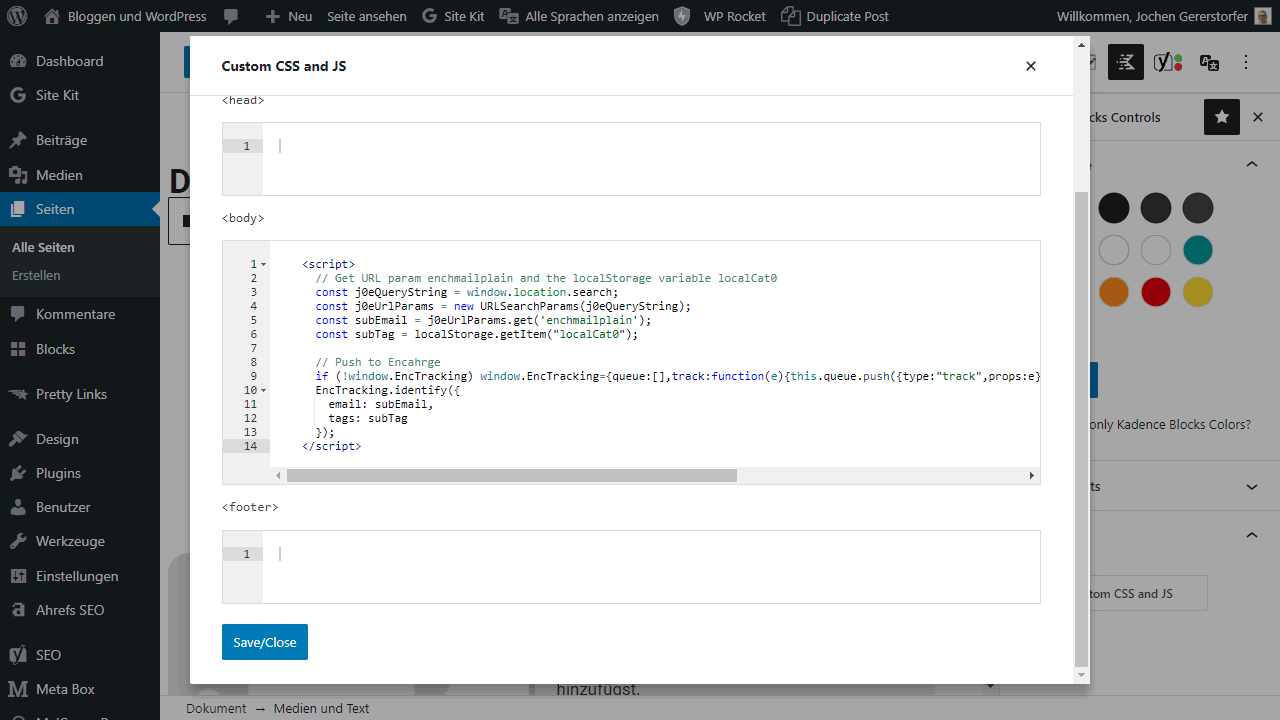
- Theme Option: The Kadence Theme for example offers the possibility to insert custom code and CSS on every page. This is super handy because you don’t need a special plugin for it anymore. It also ensures that the code really fires on the right page.
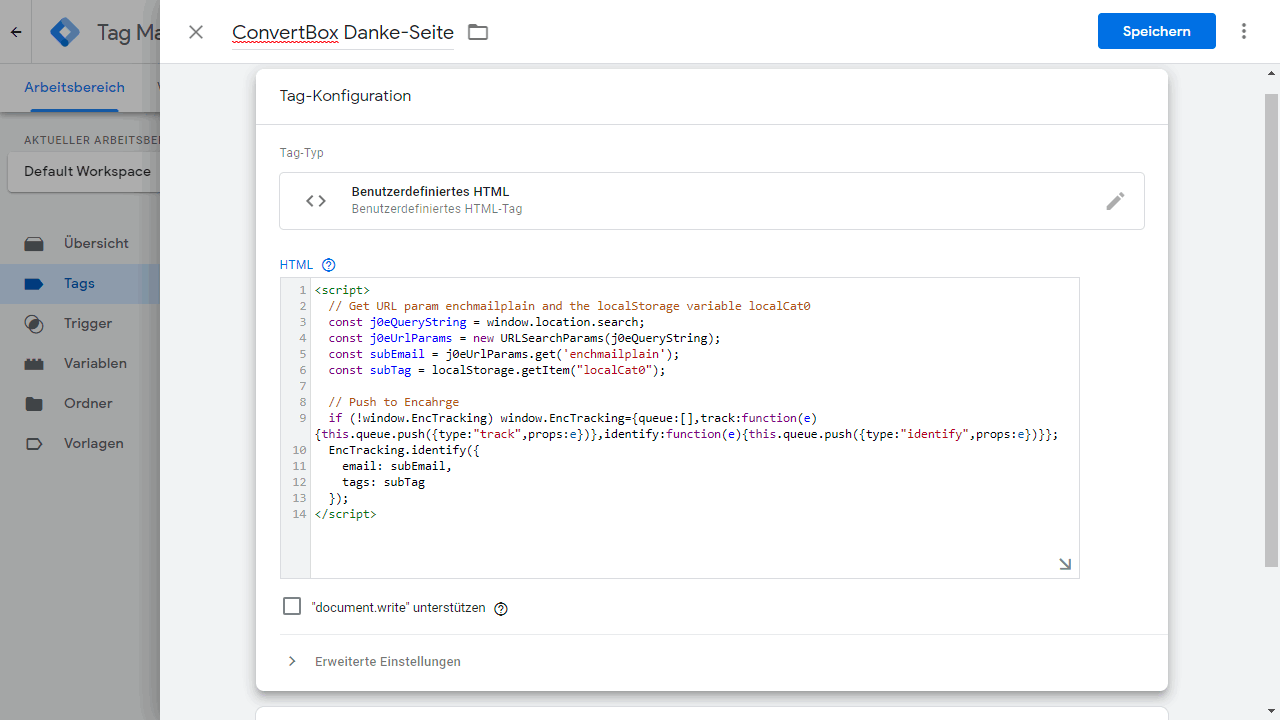
- Google Tag Manager: If you use the GTM, this is the best option. Use the Custom HTML Tag and a trigger that only fires on your thank-you page. Update: For the GTM you still have to make changes to the script. So it is not recommended at the moment.
No matter which way you choose, you need to make sure that the following code is executed only on your thank-you page:
<script>
  // Get URL param enchmailplain and the localStorage variable localCat0
  const j0eQueryString = window.location.search;
  const j0eUrlParams = new URLSearchParams(j0eQueryString);
  const subEmail = j0eUrlParams.get("enchmailplain");
  const subTag = localStorage.getItem("localCat0");

  // Push to Encahrge
  if (!window.EncTracking) window.EncTracking={queue:[],track:function(e){this.queue.push({type:"track",props:e})},identify:function(e){this.queue.push({type:"identify",props:e})}};
  EncTracking.identify({
    email: subEmail,
    tags: subTag
  });
</script>
Done!
Testing, testing and testing
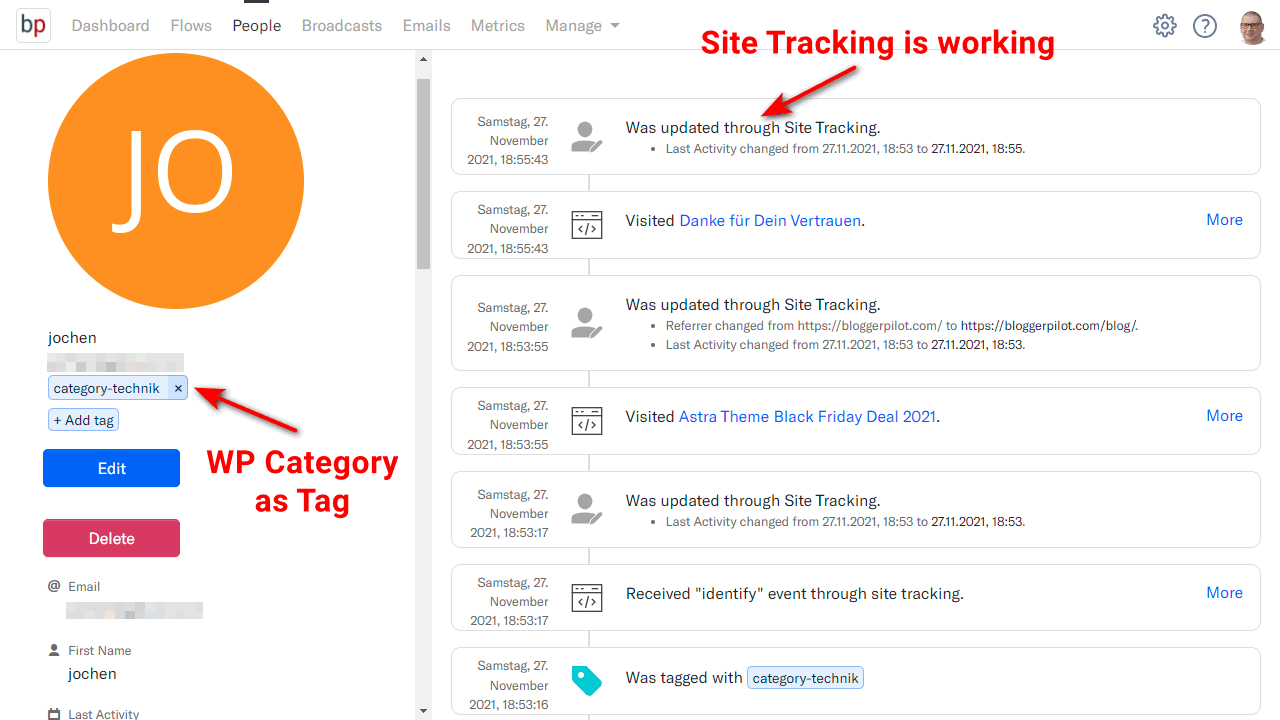
Once you’ve implemented all the steps correctly, you should test extensively to make sure everything works as it should.
Your subscribers now have the WordPress category attached as a tag and can be tracked via site tracking.
Now you can also laser-target your campaigns to your subscribers.
