How To Speed Up WordPress Site Using LiteSpeed Cache
LiteSpeed Cache has a wealth of cutting-edge functions. If all the parameters are made correctly, performance may be unbelievably quick. On the other hand, if the settings were made incorrectly, your blog could not load properly. Examples include plugin conflicts, incompatibilities, and missing web components that prevent rendering.
The fact that LiteSpeed Cache (LSCache) uses the LiteSpeed web server to some extent sets it apart from other WordPress plugins. Although it’s not a must, having a LiteSpeed server running definitely makes it easier to utilize the caching plugin and gives you access to all the features.
It may sound a little unusual, but this is actually the case. Despite being created by the same business that created the LiteSpeed server technology, LSCache has been given considerable independence, making it more accessible to a wider range of users.
What is LiteSpeed Cache?
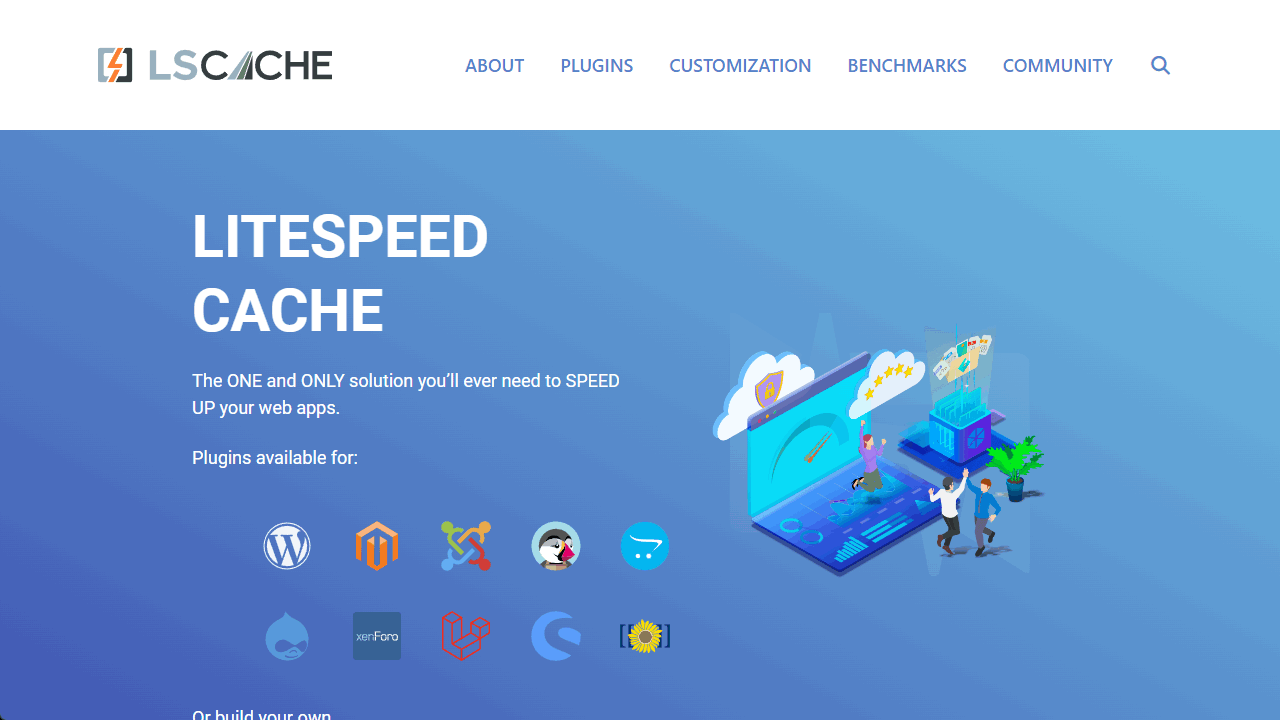
A comprehensive cache plugin for WordPress is called LiteSpeed Cache, or LSCache. It has a large number of optimization features and a server-level cache.
LiteSpeed Cache works with the majority of WooCommerce plugins and supports multi-site WordPress setups.
Rewrite rules located in the document root of a web app’s .htaccess file may be used to manage the LiteSpeed Cache Engine. The knowledge gap between a web app and the cache engine is filled by an LSCache plugin.
Or to put it another way, there are guidelines for what material may be cached, how long it can be stored, and what actions will make a cache object stale in web apps. These web app rules may be sent to the cache engine using LSCache plugins. You may control the cache with LSCache plugins so that more objects can be kept for longer, with unparalleled precision.
Like other cache management plugins, LSCache lets users change parameters to ensure the best caching. If done correctly, of course, this may then visibly speed up WordPress websites.
You can also configure Redis Caching with LSCache plugin.
What are the key features of LSCache?
Among the more well-liked features are:
- HTML, JavaScript, and CSS minification
- Critical CSS being generated automatically
- JavaScript and inline CSS minification
- Optimization of images (lossless/lossy)
- the capacity to blend JavaScript and CSS
- Lazy Loading images and iframes
LSCache offers a lengthy range of functions that, particularly to novice users, may initially appear complicated. But don’t worry, we’ll walk you through the majority of the options and demonstrate what you can do to improve the speed of your WordPress site.
Dashboard
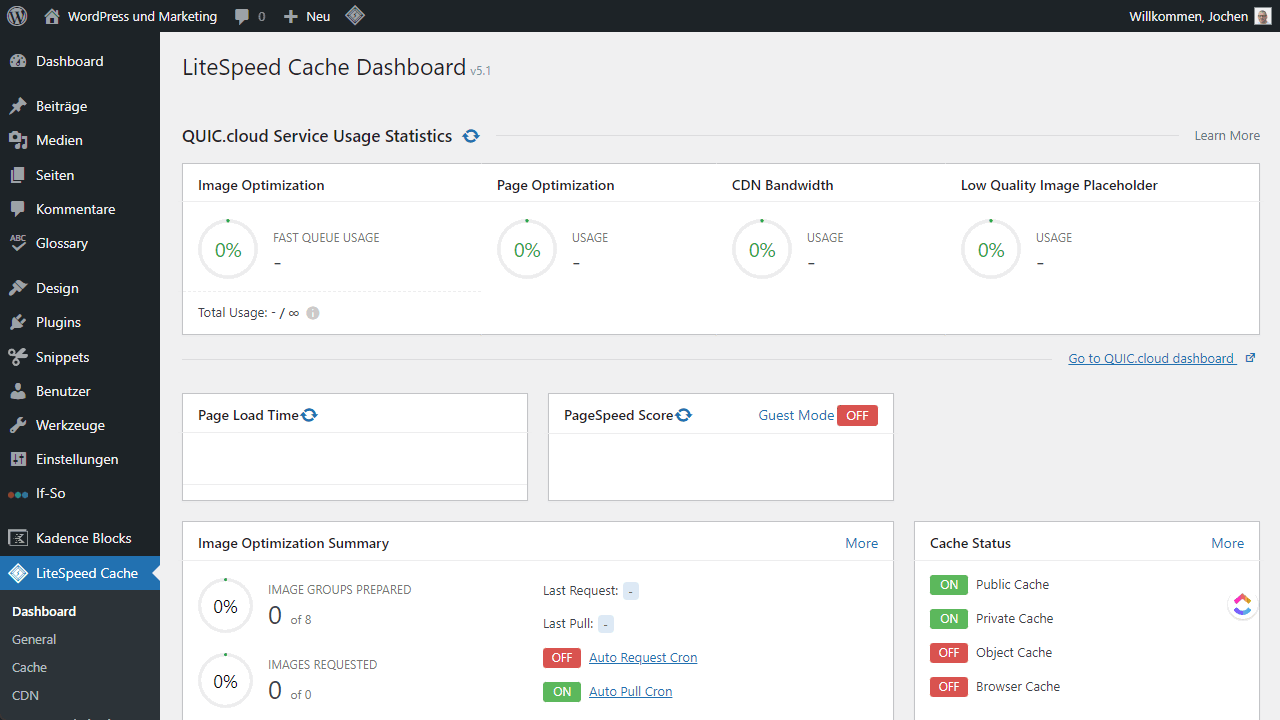
The WordPress interface accommodates LSCache quite well. This is shown on the dashboard, which is the plugin’s home page. It functions as a fast information panel where you can see an overview of the settings that are currently being used for your plugin configuration.
Even though LSCache has a good amount of functionality, we’ll stick to setting it up to speed up your WordPress website. Its cache management characteristics will be the main cause of worry.
Cache Control Settings
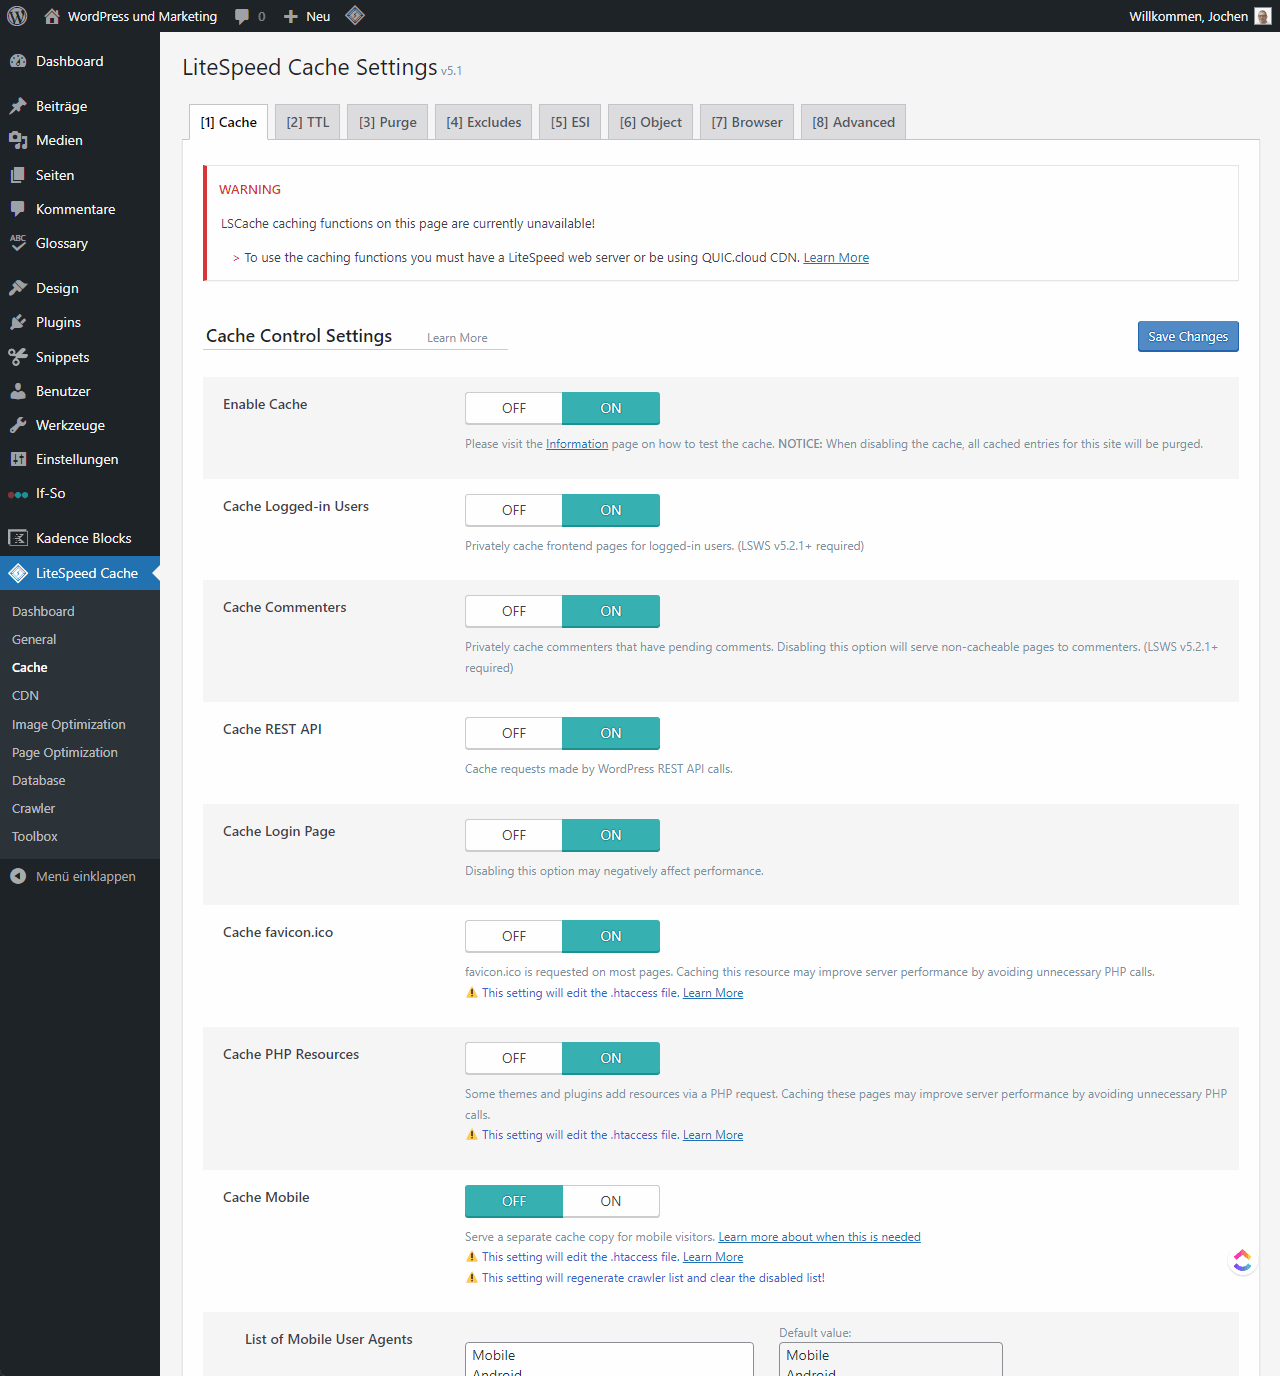
Nearly all LSCache optimization options are grouped under Cache Control Settings. The first tab of this extremely large Settings section is just a small portion of what is accessible.
Cache Tab
Since you may activate and disable the choices here, think of this as the On and Off button tab. The majority of the choices are selected by default. If you are unfamiliar with LSCache, leave them alone for the time being.
Time to Live (TTL)
The system must be aware of how long to maintain cached copies before requiring a refresh in addition to having a caching tool. This is particularly crucial for dynamic websites, such as those powered by WordPress.
The majority of the default settings shown here are suitable for first use. Once you have more practice with the plugin, you may go back and make adjustments.
This is where you may do a forced cache refresh if necessary. While not often required, this may be quite helpful if you’re testing changes to your website and need to rapidly refresh to verify whether they’ve been properly implemented.
Purge Settings
Browser Cache Settings
Keeping this option enabled can help you save time and resources when visitors return to your website since it pushes some of the cache onto their web browsers.
Excludes
The parameters here will vary depending on the nature of your project. However, not all sites are suitable for caching; it is best to leave uncached those that deal with sensitive data, such as financial or personal information. Such instances ought to be included here for exclusion.
Advanced Settings
Another tab that is seldom required for most installations is this one. You shouldn’t need to change anything here unless the plugin and another widget are causing conflicts.
Setting CDN
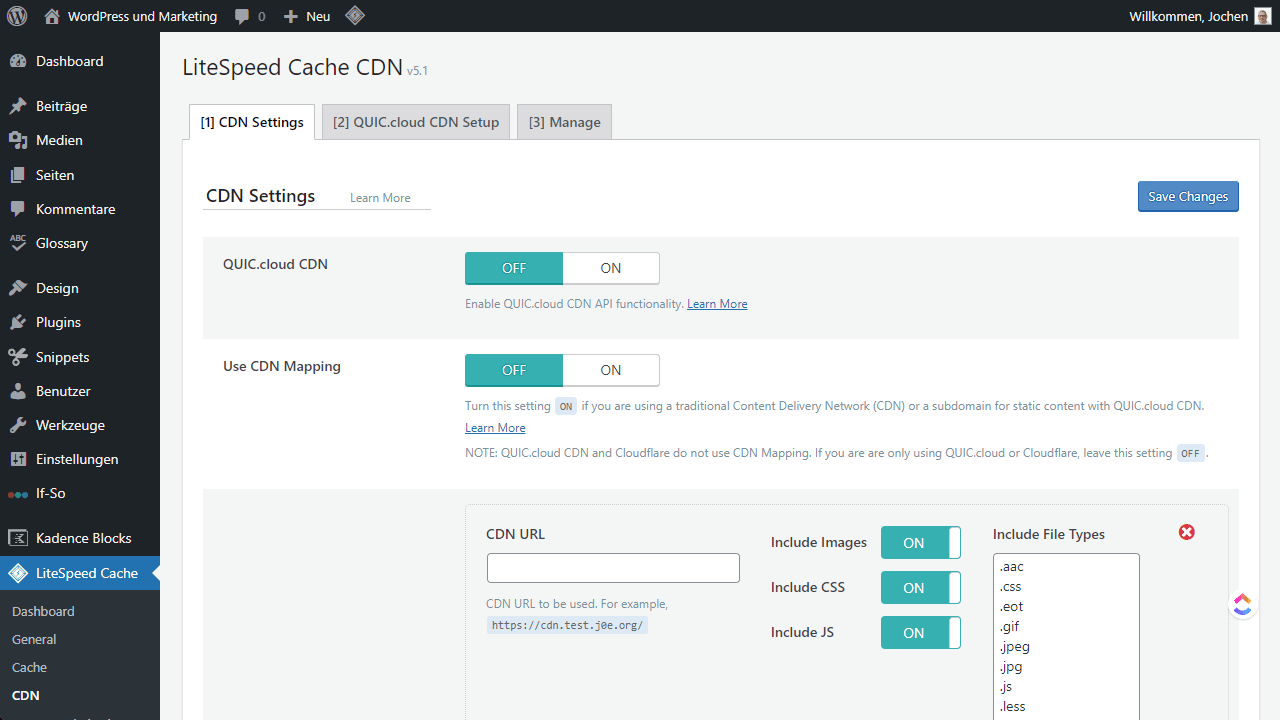
You likely have Cloudflare active on your websites if you are like the majority of CDN users. If that’s the case, there’s no need to make any settings changes because the integration will happen on its own. You just need to enable the Cloudflare API by scrolling all the way down to the last choice. Then you may enter your CF information and save the adjustments. You may access the API settings under your Cloudflare account.
You may disregard the Manage tab as well. Once the Cloudflare API is configured, you may quickly clear the CDN cache using it.
Image optimization
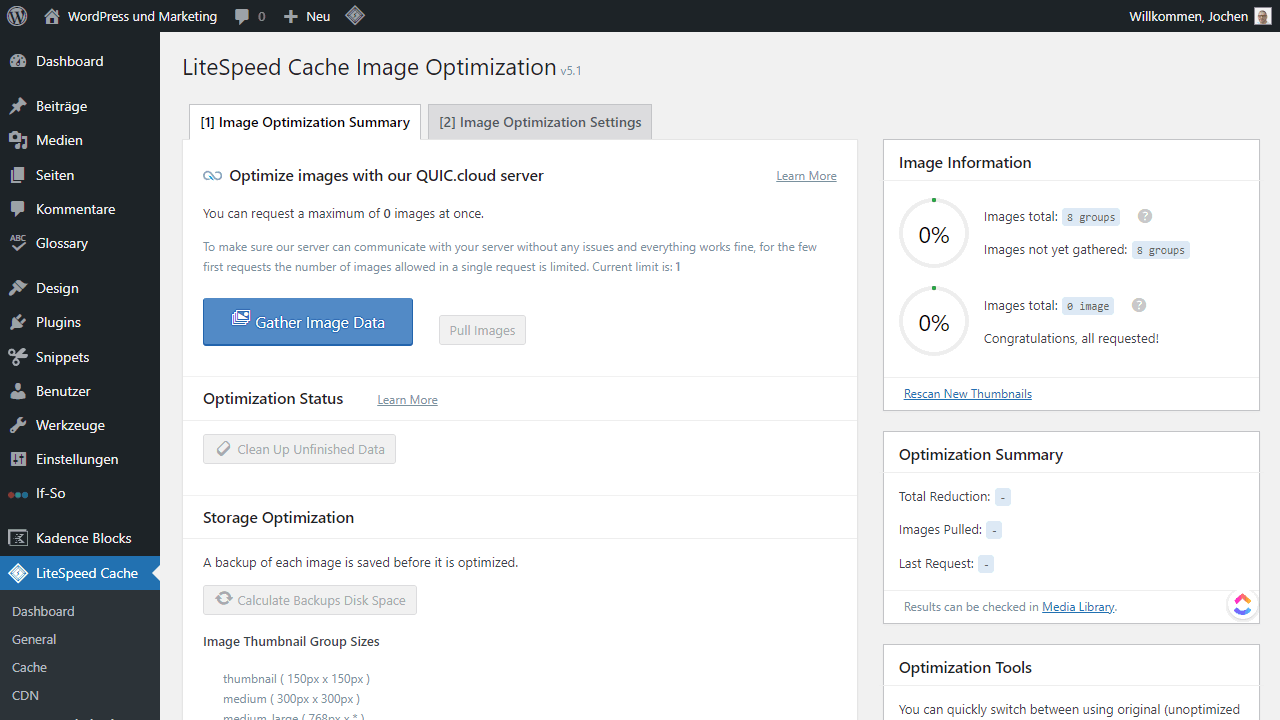
Although picture optimization is not the primary emphasis of cache management plugins, numerous addons are included due to its huge speed advantages. Similar to how LSCache is often offered in premium tool versions.
Page Optimization
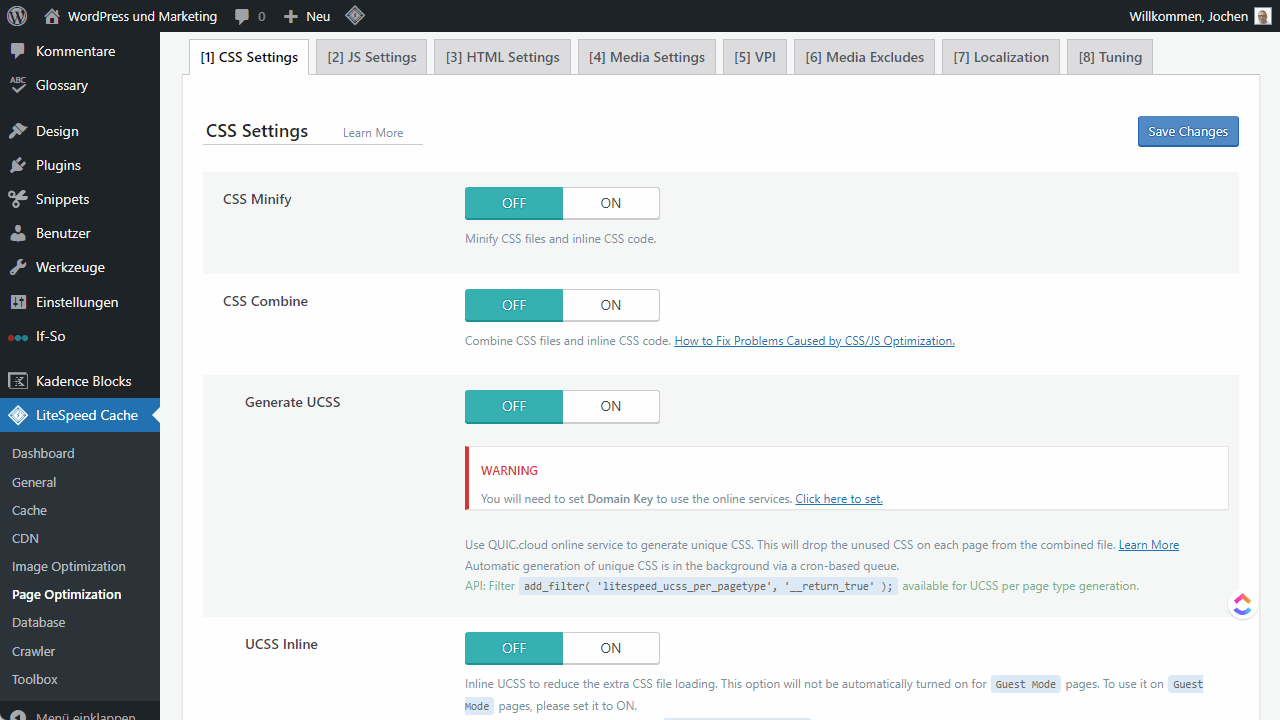
In addition to caching, the LSCache Page Settings offer a wealth of other customization options. The majority of these settings are disabled by default, since the improper settings of some of them might have a detrimental impact on your website.
Some of the settings are:
- CSS Minify and Combine
- JS Minify and Combine
- HTML Minify, DNS Prefetch
- Lazy Load Images and Responsive Placeholder
- Viewport Images
- Media Excludes
- Gravatar Cache, Localization for Twitter and Facebook
- Tuning for pros
Database
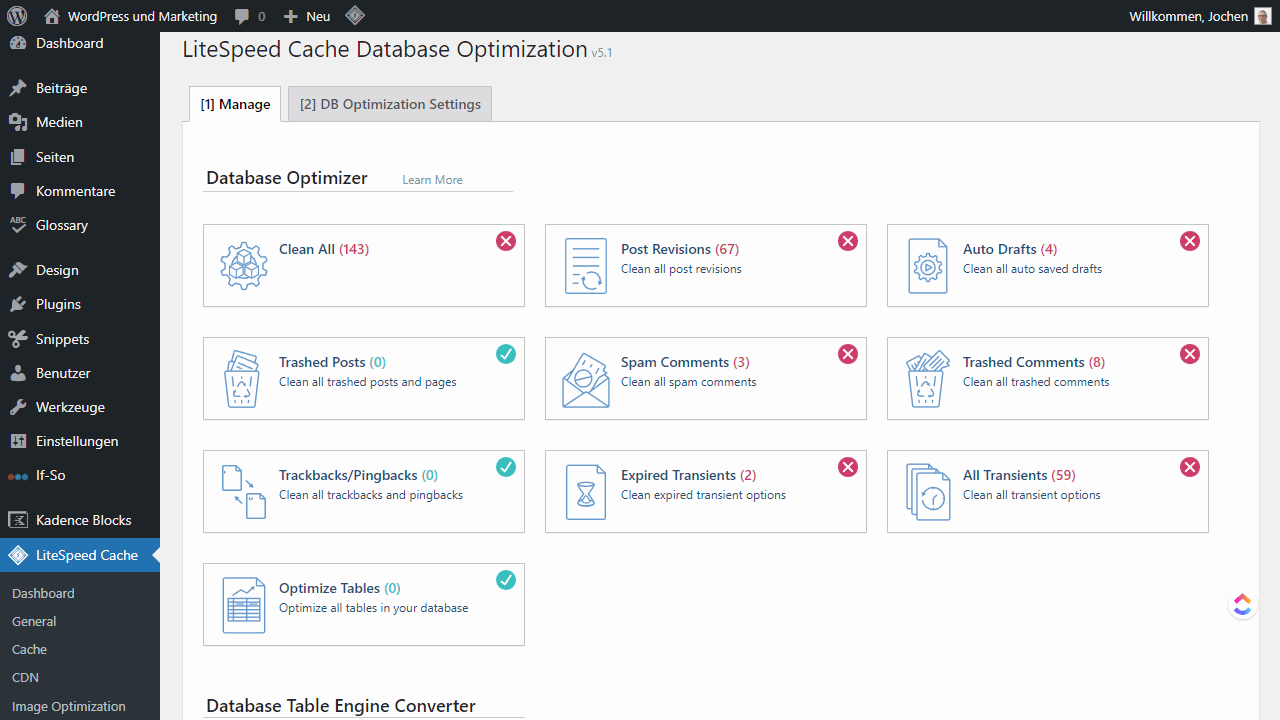
This is more of a place where you can regularly maintain your databases than a configuration panel. Since WordPress uses SQL databases, everything you do is properly saved and recorded.
That accumulates over time into a huge volume of data that is rarely accessed but takes up a lot of disc space. Therefore, be careful to periodically check this tab and remove any unnecessary data.
You may define a minimum number of revisions to maintain in the DB Optimization Settings page before clearing the databases (either by date or number). If you leave it for a longer period of time, this will keep your data stack from growing excessively large.
Install LiteSpeed Cache
With Cyberpanel, you will get LSCache by default. But if you are not using CyberPanel, follow the below-mentioned steps:
- Go to WordPress dashboard.
- Click on Plugins > Add New from the left-hand side menu.
- Search for LSCache. Now Install and Activate.
- You will see the LiteSpeed Cache tab on the left-hand side menu.
How to speed up WordPress site using LSCache plugin?
You can go very deep into performance optimization with the LSCache plugin. But you need only 4 simple clicks to bring your page speed to another level.
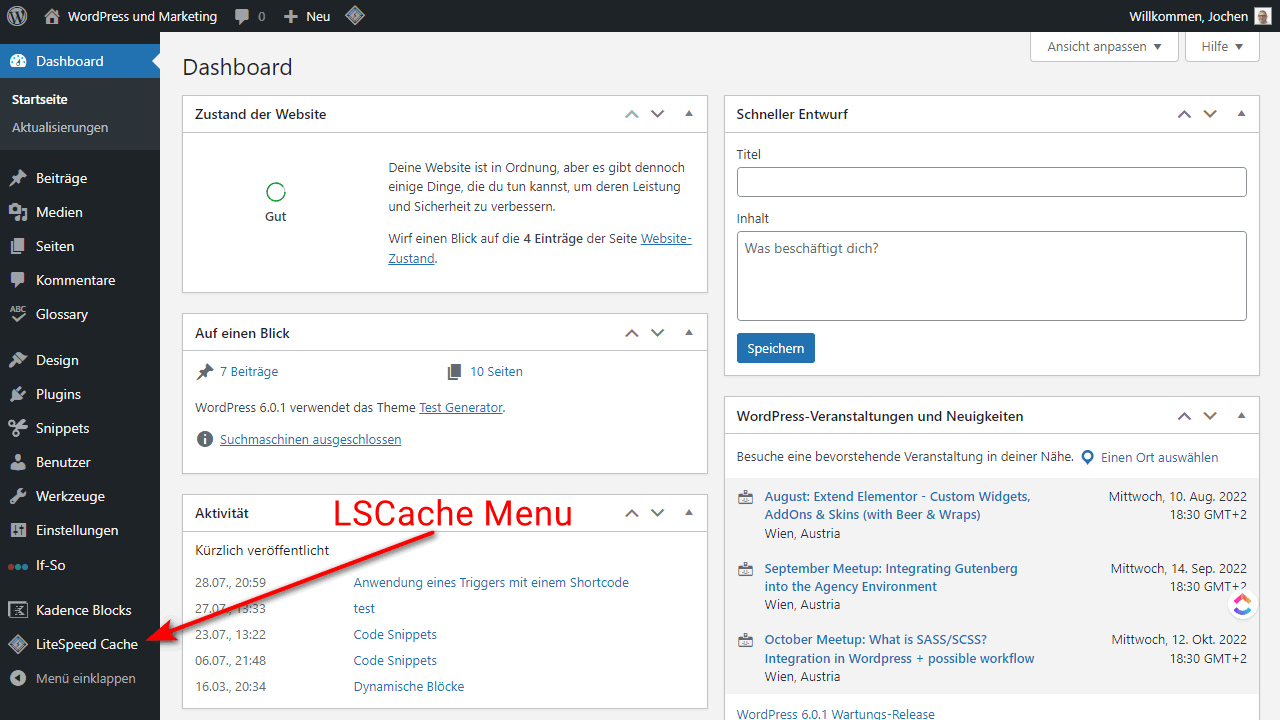
Go to WordPress Dashboard.
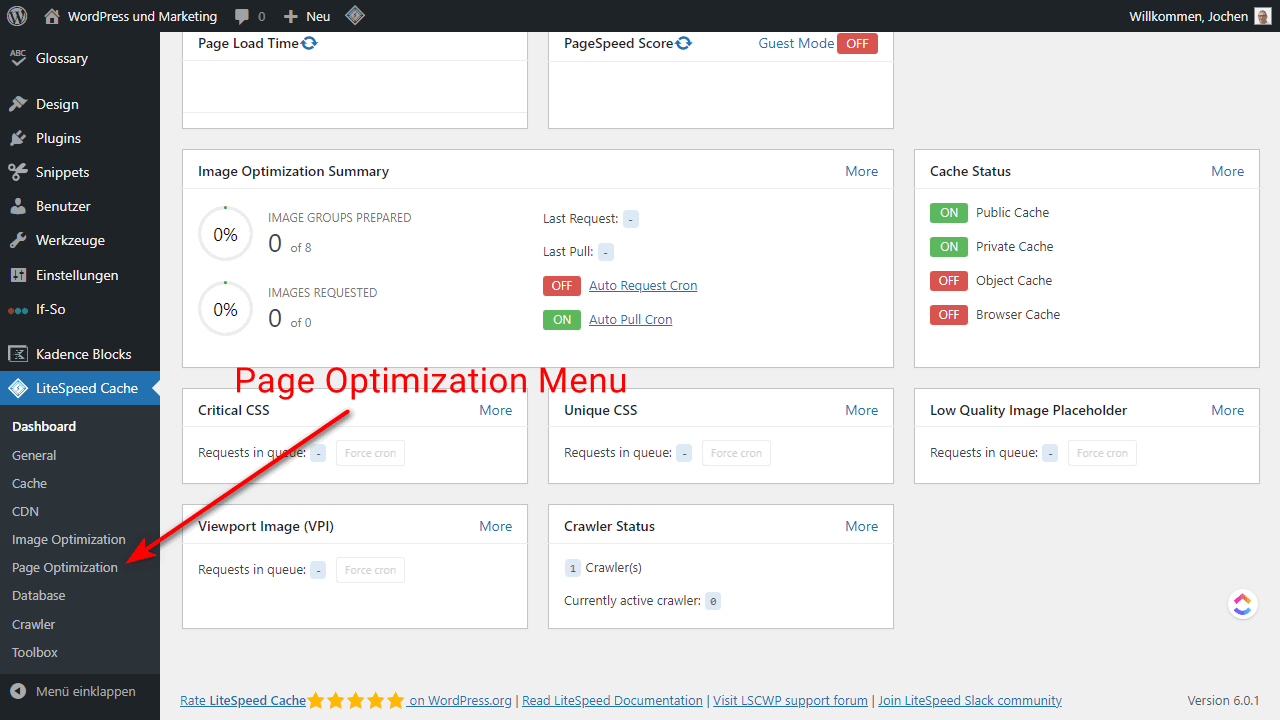
Click on LiteSpeed Cache > Page Optimization from the left-hand side menu
1. CSS Minify

Now click on the CSS Settings tab on top, enable CSS Minify and save changes.
2. JS Minify

Now click on JS Settings from the top bar and enable JS Minify and save changes.
3. HTML Minify

Now click on HTML Settings tab on top, enable the HTML Minify toggle, save changes.
4. Lazy Load Images

Click on the Media Settings tab on top, and enable the toggle of Lazy Load Images. Click save changes.
These steps will completely change the speed of your WordPress site.
LiteSpeed Cache Conclusion
Take a look at our Litespeed hoster comparison.
We all want our sites to perform well. LSCache plugins have been designed to provide great accelerated performance, even in shared hosting environments. And it does so without the usual headaches involved in traditional shared hosting cache management.
No matter if you’re just starting out or already running a successful online business, you know that a good user experience is key to keeping your visitors coming back. LSCache can help keep your site running fast, so your visitors always have a positive experience.
Read more here: The best WordPress cache plugins.
