The Best WordPress-Plugins to Optimize And Compress Images
This article is about WordPress image optimization. The image optimization ensures that the file size of images is drastically reduced, and the loading times are accordingly shorter. How this is done automatically within WordPress via plugin, I show you in my post. Here I present you the best WordPress plugins for image optimization in more detail. In addition, I tell you my three favorites.
WordPress plugins for image optimization and compression make your site faster and save space on your webspace. Mostly you can choose between lossless and lossy image optimization, the rest is done by the plugin directly during the image upload, or a CDN takes over the task.
The best plugin to optimize WordPress images
Optimizing images in WordPress is basically quite simple. Many plugins do this task as if by themselves. I’ll show you which extensions are the best for image optimization in a bit more detail now.
Beyond image optimization, check out my detailed article on WordPress performance.
1. ShortPixel Image Optimizer
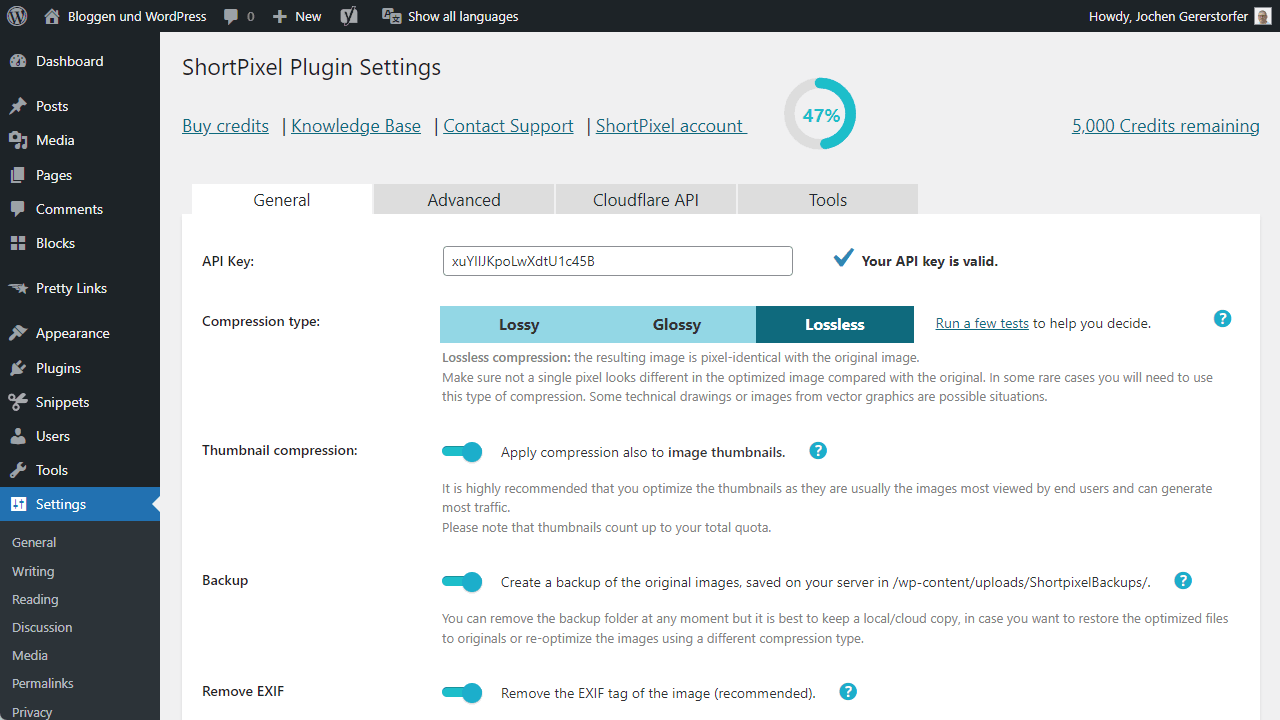
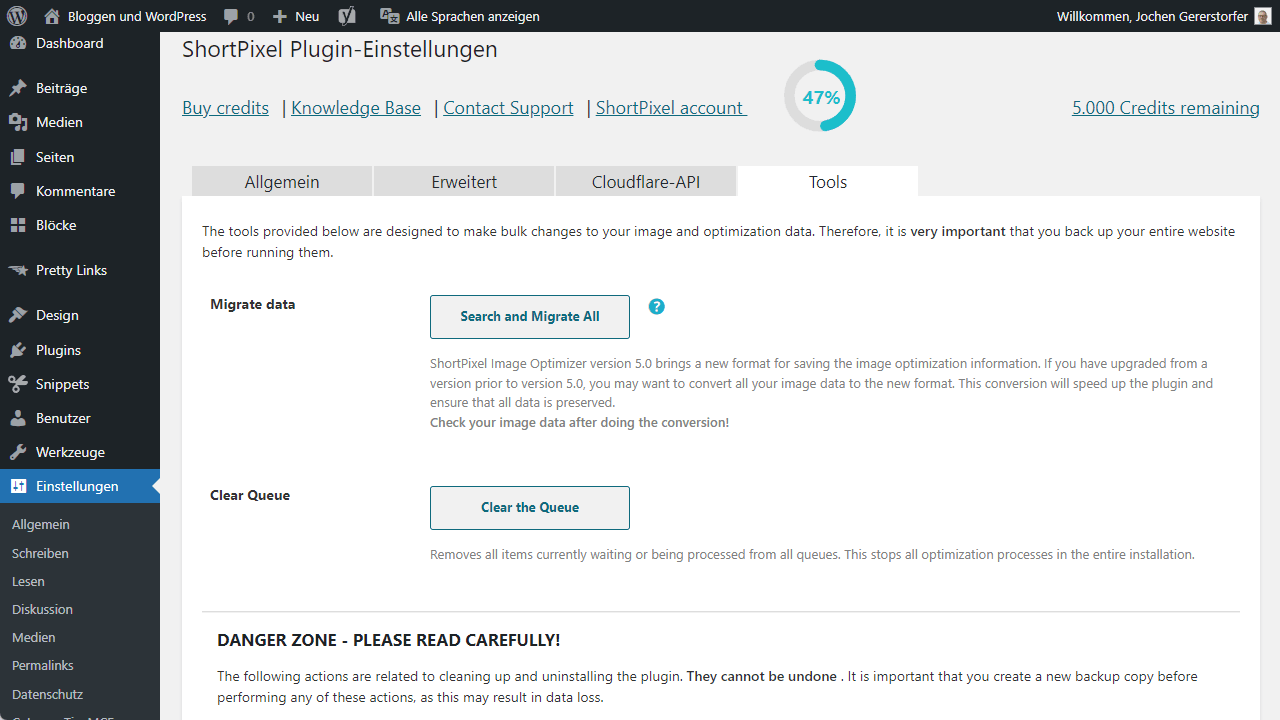
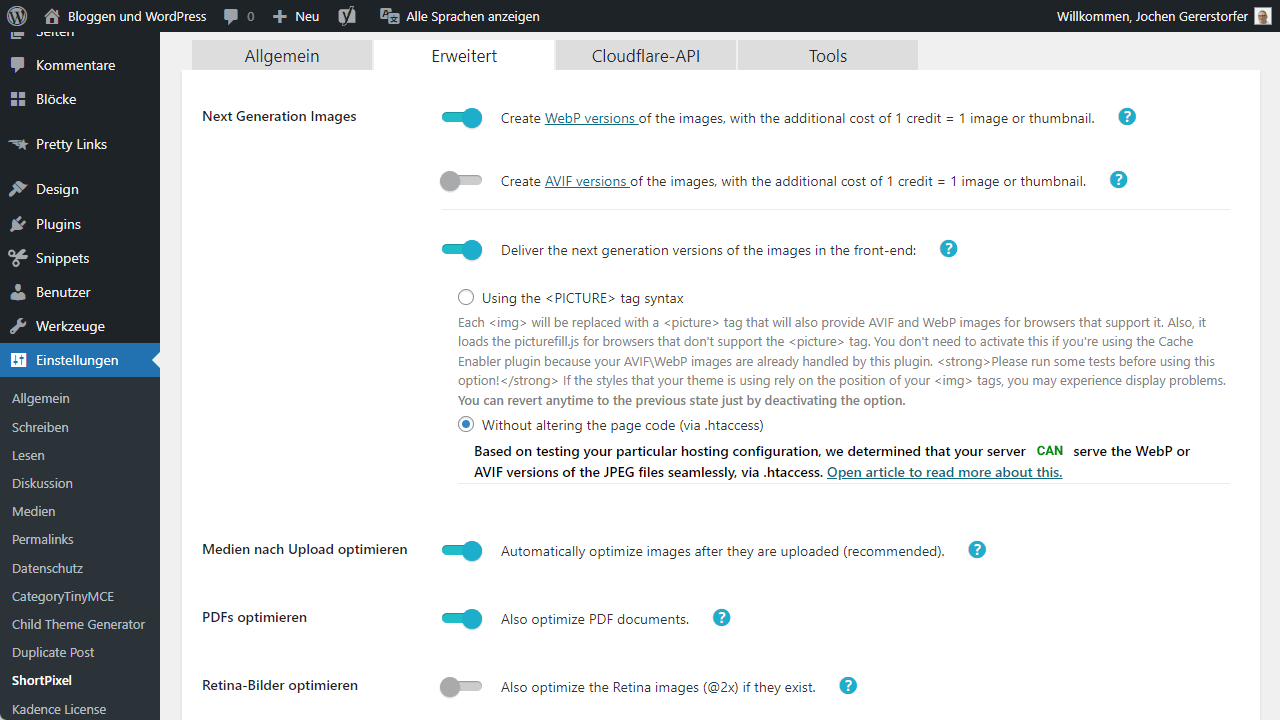
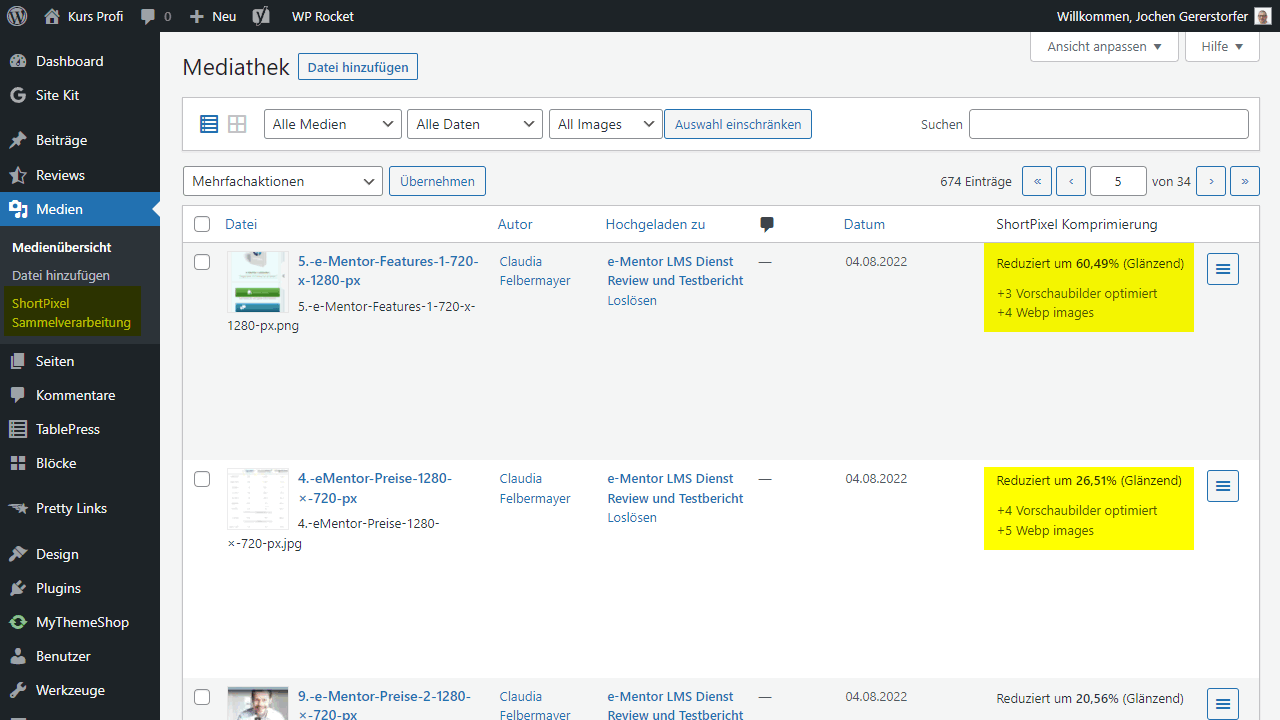
ShortPixel Image Optimizer for WordPress compresses images directly during upload. Either with a small loss in image quality or completely without, by only removing metadata. A medium level also allows for minimal loss in quality with the greatest possible savings in file size. A compromise in terms of quality vs. loading time. As a special feature, the plugin can convert images to a modern format like WebP or the even better AVIF.
The primary thing I like about this is the fair pricing. With a small blog and 100 images a month, ShortPixel Image Optimizer is completely free. Thereafter, you either buy a package that gets a certain number of images or sign up for a subscription, which is available starting at $3.99 a month. So, the costs stay low and, most importantly, predictable.
I have ShortPixel running on two of my own sites and on several client sites. The tool has been running for years without any problems.
Advantages
- Comprehensive and well supported WordPress plugin
- Automatic conversion to WebP or AVIF possible
- Fair pricing allows for the right package for everyone
- Developer offers other plugins that work ideally together
Disadvantages
- Maybe a bit cluttered for beginners and comes with too many settings
2. WP Compress
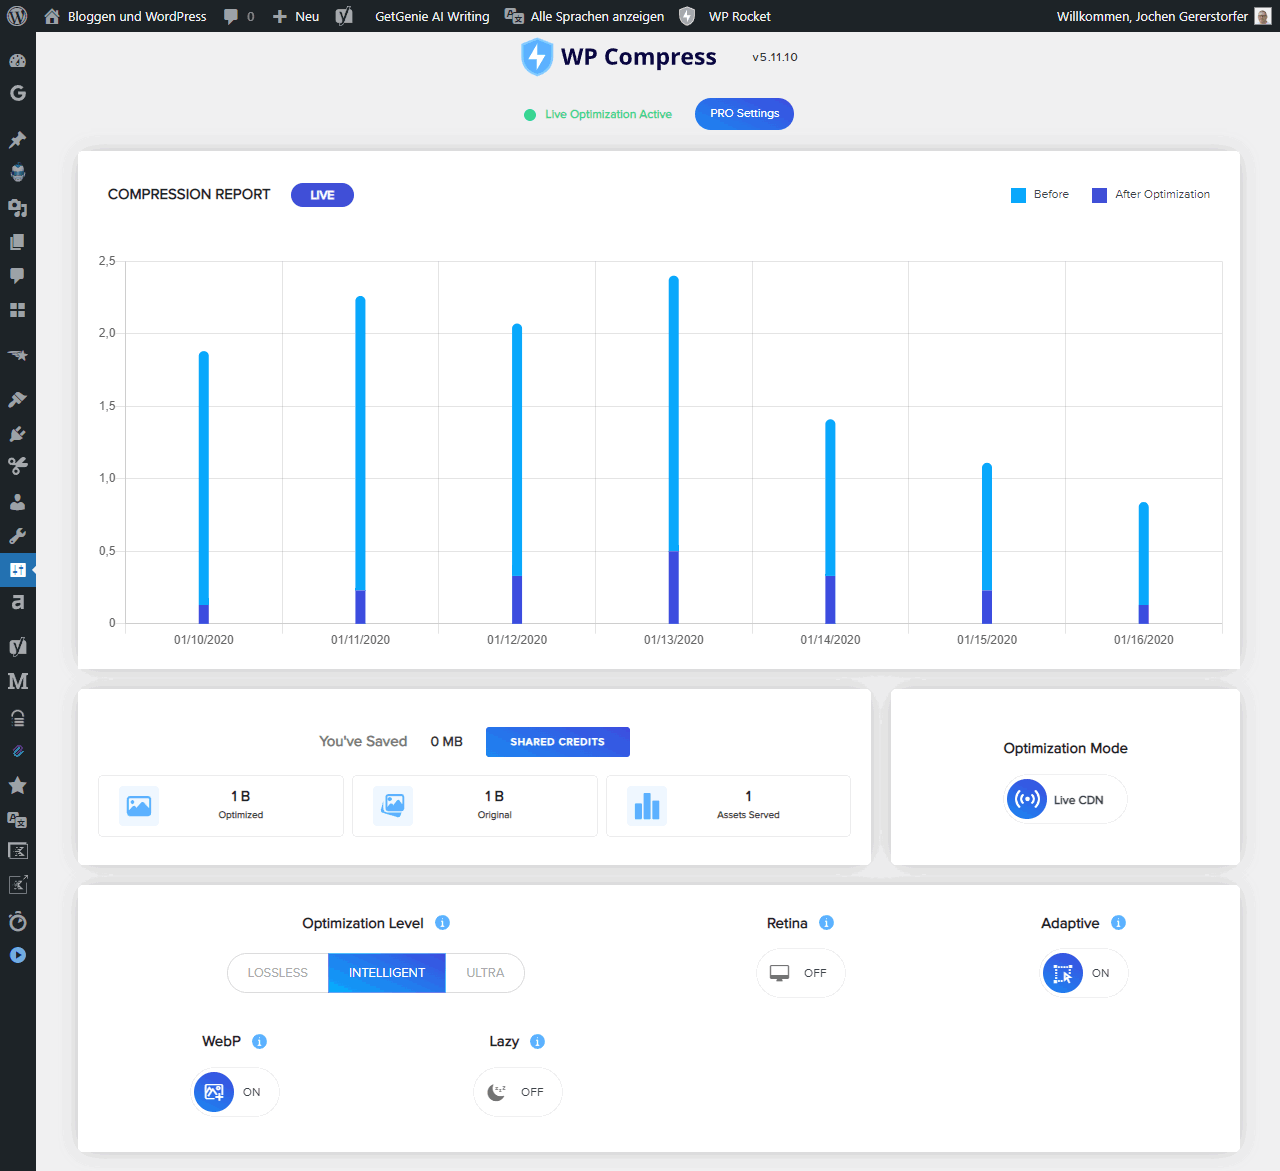
WP Compress is a little more than just an image optimizer plugin for WordPress. Rather, it also takes care of minimizing and thus compressing JavaScript and CSS files. For this, in addition to the plugin, there is a management portal and a universal version that also works away from WordPress. Depending on your preference, WP Compress also works with a real-time optimization or a local optimization.
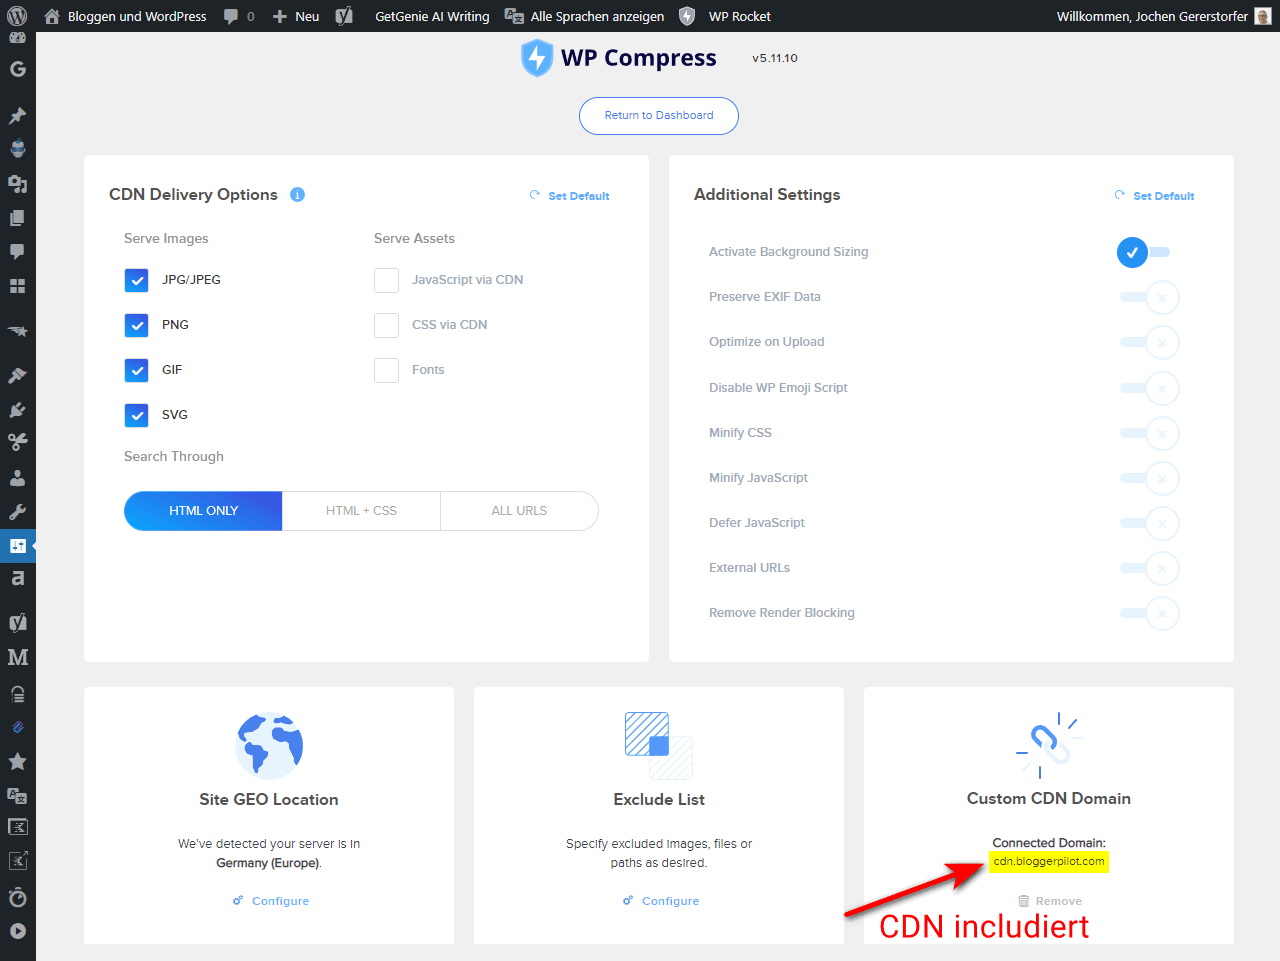
With real-time optimization, WP Compress promises that images and scripts are adjusted in real time and for the respective visitor. There is also a CDN connected to perfect the loading times accordingly. The local optimization, on the other hand, works on its own server and within WordPress itself. When uploading the images are optimized accordingly and on request WP Compress even creates a WebP version. Price-wise, there is also a subscription or credits here, which are then valid for a certain number of images or views.
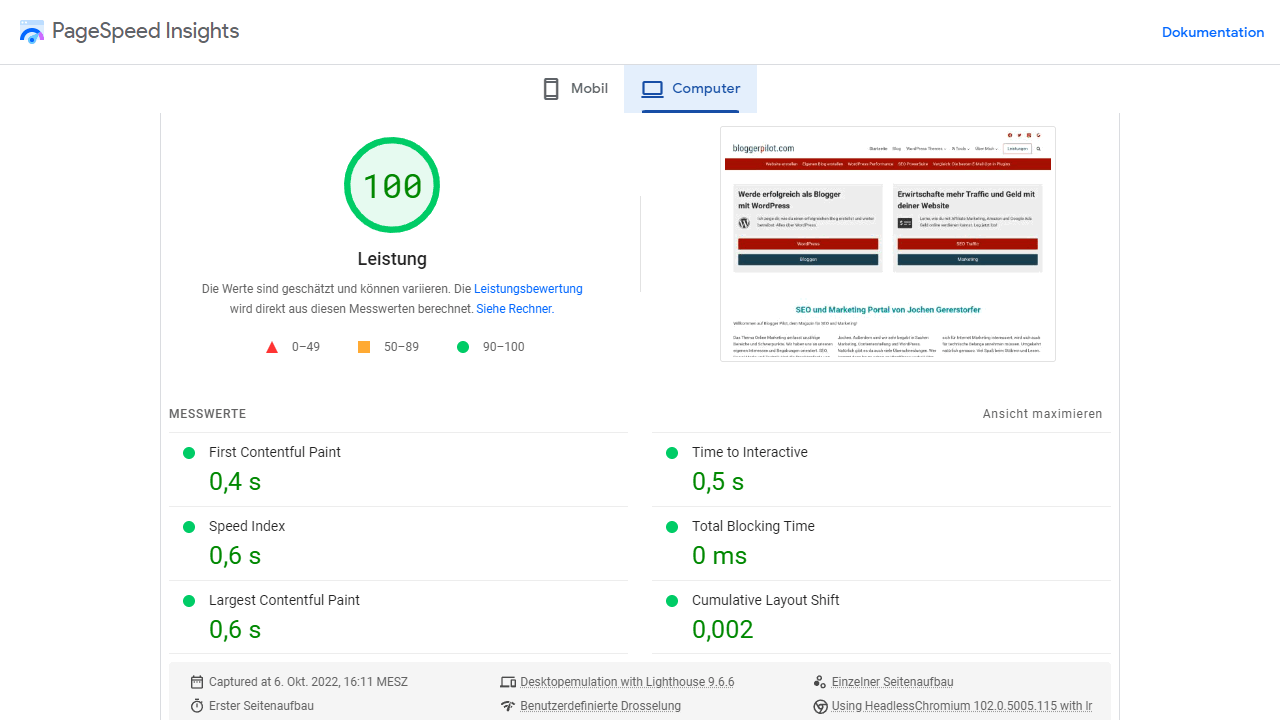
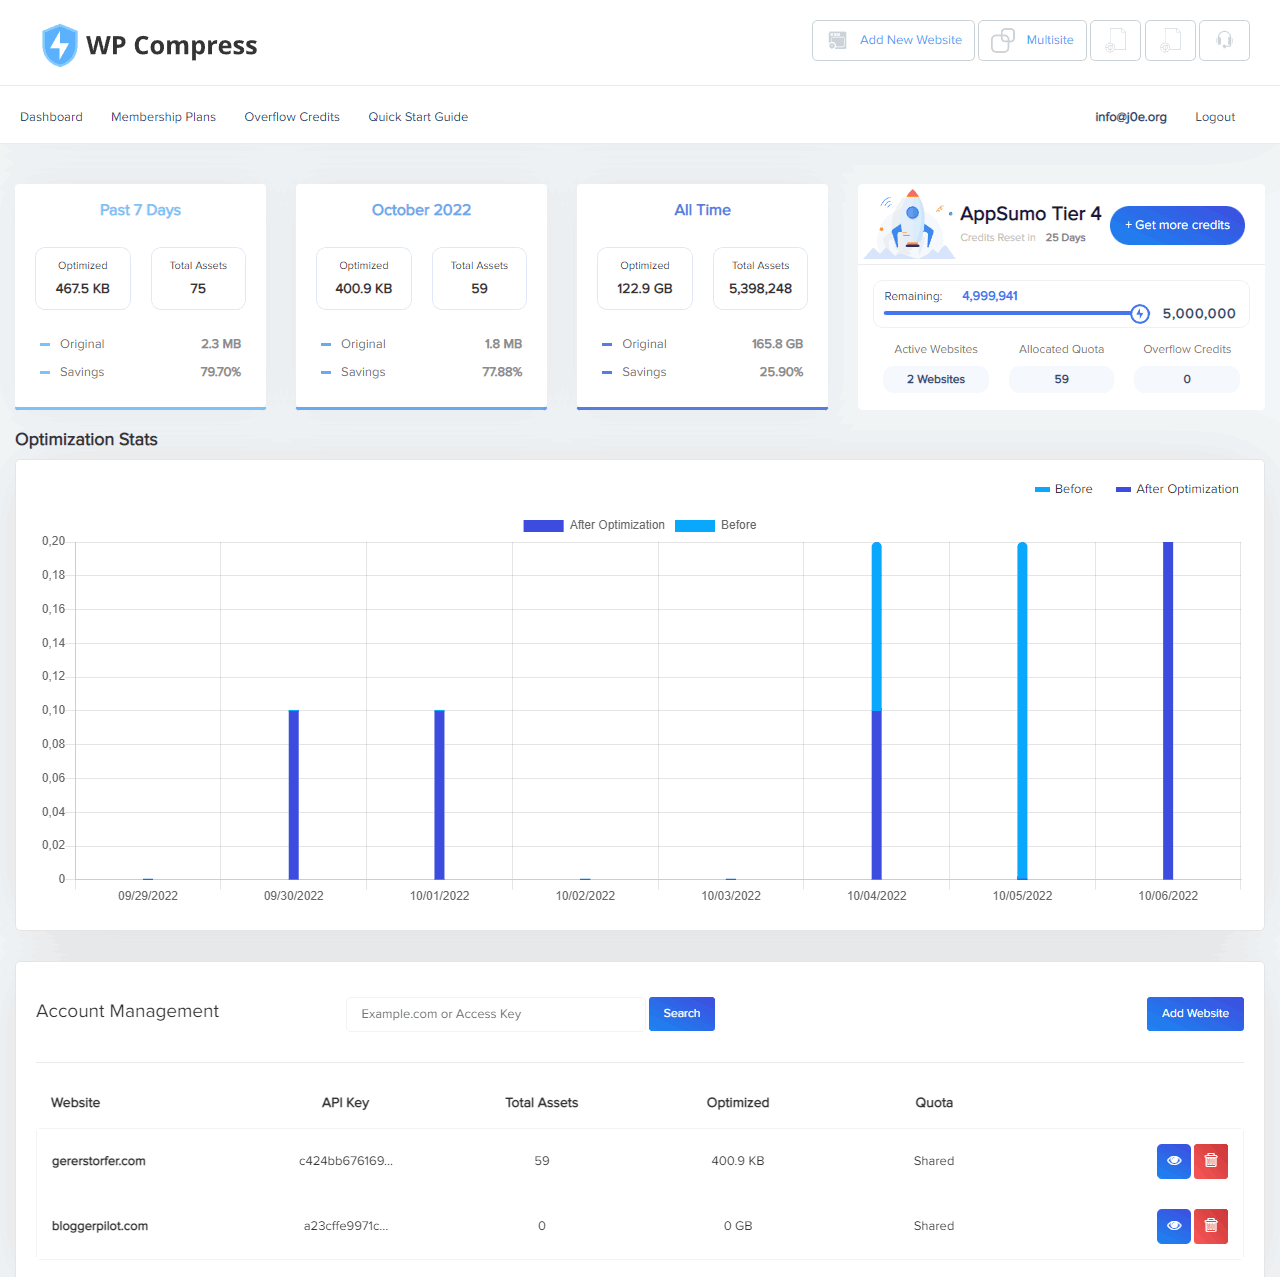
I use WP Compress here on bloggerpilot.com because it gives me the best options in terms of image optimization. In combination with WP Rocket I can easily reach 100 points at Google PageSpeed Insights. I also really like the online portal, where I can manage all my websites and assign quotas.

Advantages
- Optimizes more than just images
- Set-and-forget solution with optimization and CDN
- 14-day money-back guarantee
Disadvantages
- Image optimization not available as a single service
- Clear focus on the complete package with CDN
3. Optimole
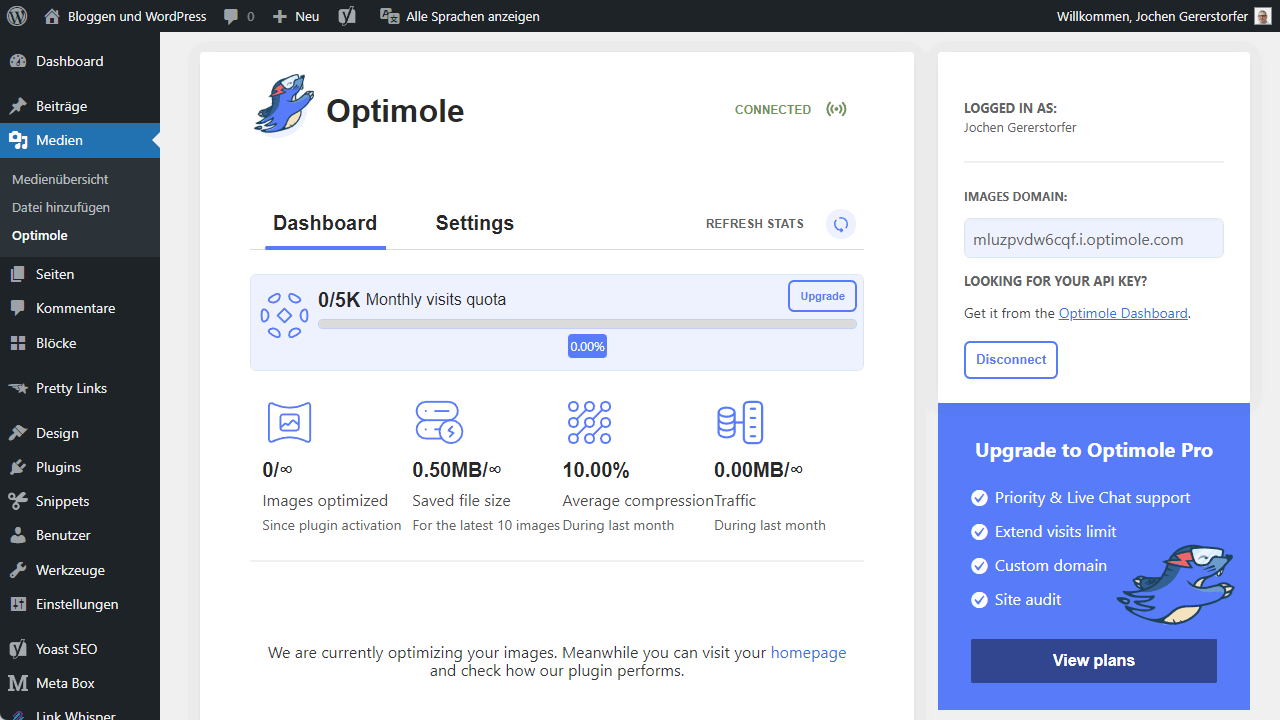
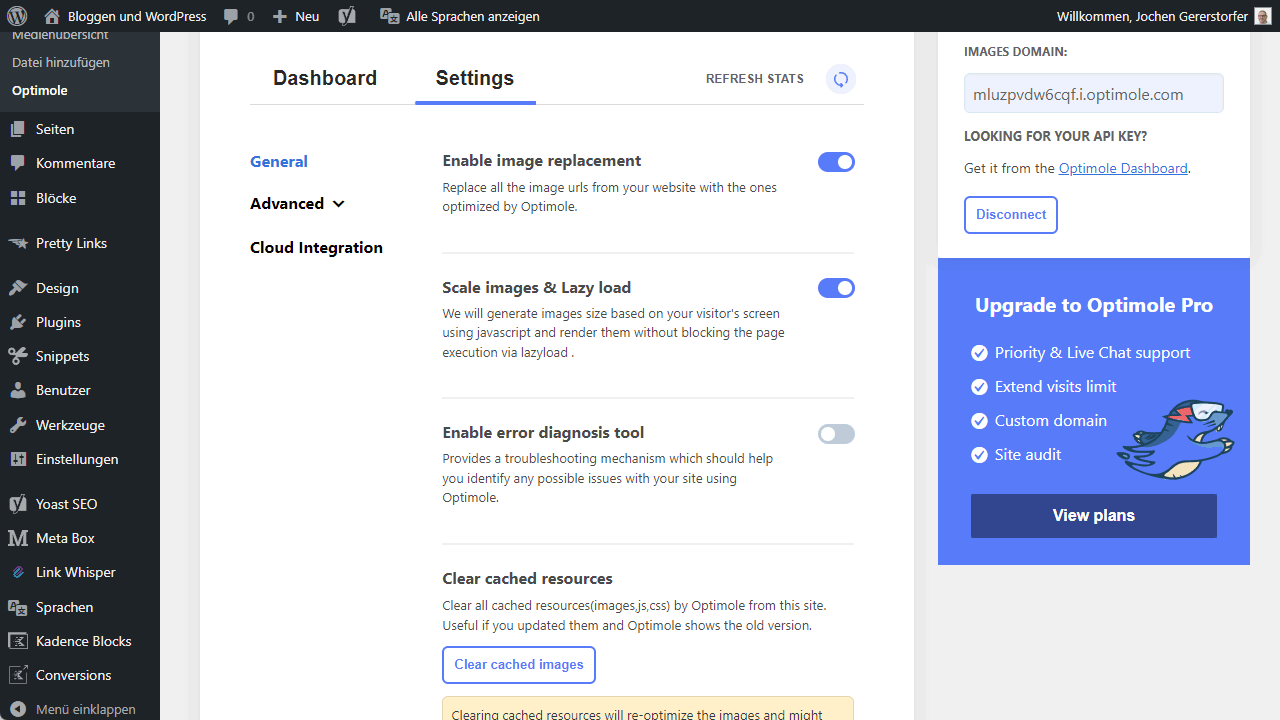
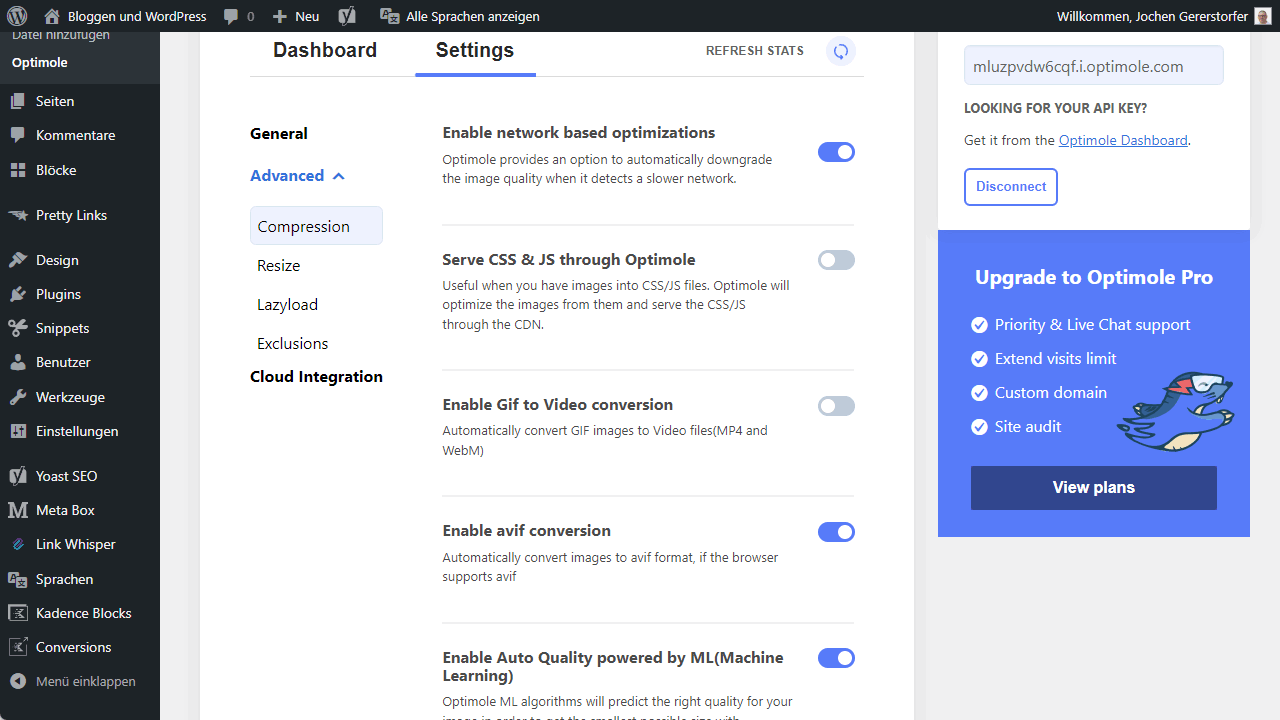
Optimole’s concept is different from many similar services. Namely, Optimole moves all the work to the cloud, so your own server isn’t even burdened. It also has real-time optimization. This means that Optimole optimizes your WordPress images, transfers them in exactly the right size (depending on visitors) via CDN and uses lazy load to load only what is needed at the moment. Furthermore, it is interesting that the images remain locally unchanged, so you can always keep the original. All changes and optimizations happen in the cloud.
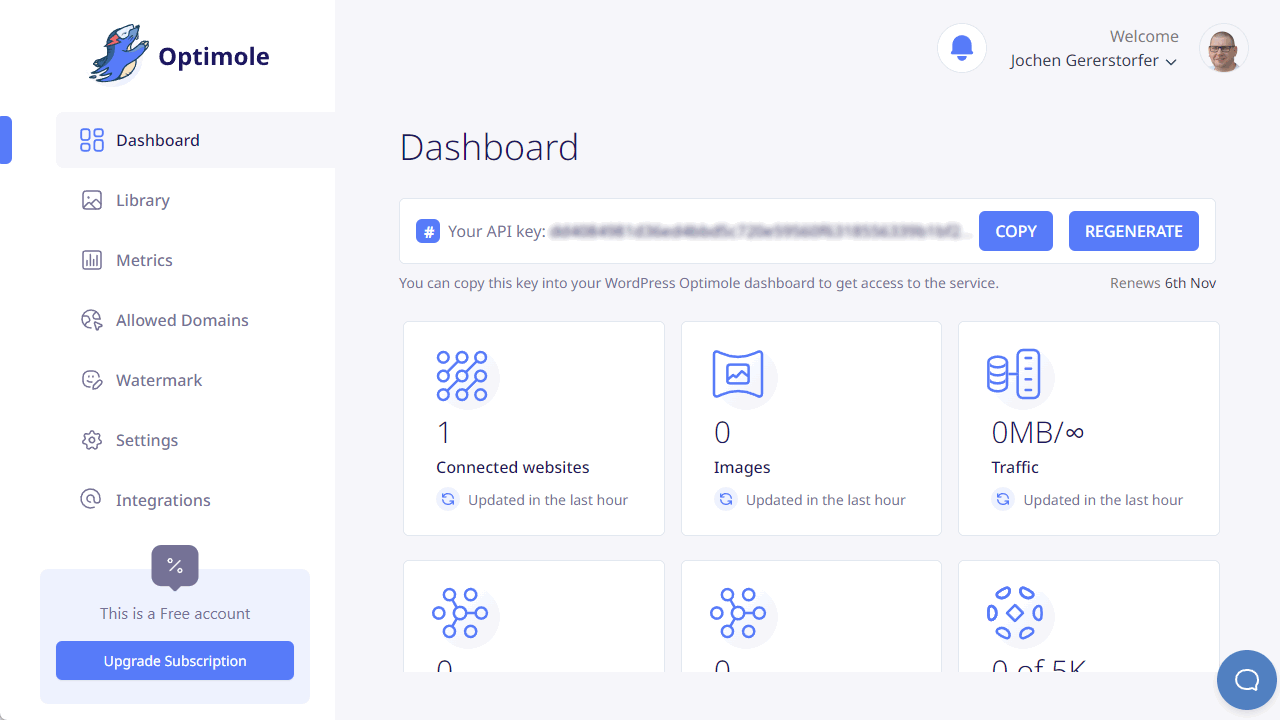
The pricing model that Optimole uses is also exciting. Instead of complicated tariffs, everything is included here. There is no image limit, no limits on traffic, only the visitor numbers themselves are decisive. So similar to many WordPress hosters, you pay more depending on the number of visitors. Up to 5,000 monthly visitors, you can even use the Optimole for free. For 25,000 visitors per month are about 20 US dollars due and for 100,000 about 40 US dollars. Whether the model is suitable or attractive for you, you have to decide for yourself.
Super all-round solution, which is also used by many large websites.
Advantages
- Real-time optimization completely in the cloud
- Images in the library are not permanently changed
- Complete package including CDN, lazy load and AVIF support
Disadvantages
- Little influence on the details and settings
4. EWWW Image Optimizer
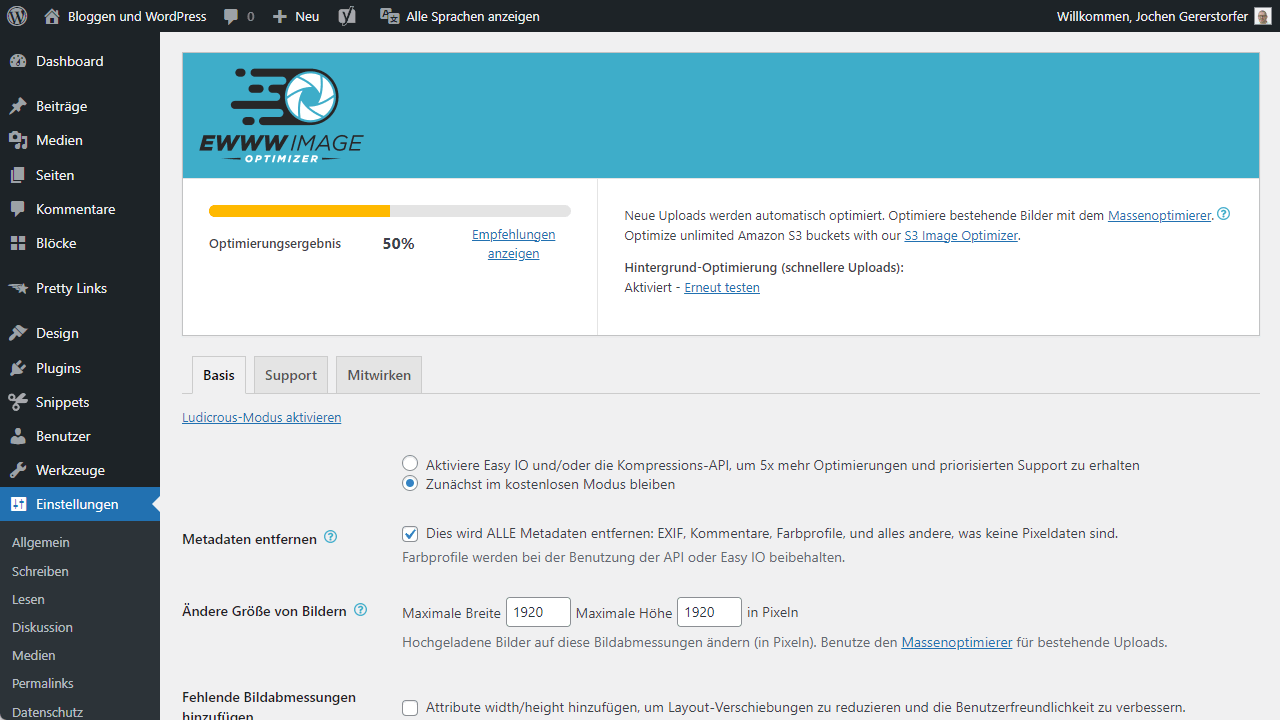
The actual plugin of EWWW Image Optimizer is available completely free of charge and also well usable because only some extra functions are hidden behind the premium version. This includes a CDN connection, the Compress API and a cache engine. In the free version, the plugin optimizes your uploads to WordPress and can subsequently optimize the entire media library and much more.
How much the images are optimized, you decide yourself in the settings.
The premium version of EWWW Image Optimizer includes a CDN service called Easy IO, handles the automatic playout of the best possible images, has a Compress API on board and a cache engine for WordPress itself. All a bit thrown together if you ask me and I don’t see much personal stuff in EWWW Image Optimizer either. Instead, the plugin relies on the usual suspects regarding image optimization (jpegtran, optipng, pngout, pngquant, gifsicle) and thus brings little real innovation. For me, this is too little, even though the basic version is available for free.
Advantages
- For the start first of all free of charge usable
Disadvantages
- Looks a bit thrown together and not too professional
- Rather expensive in comparison, with fewer features
5. Smush
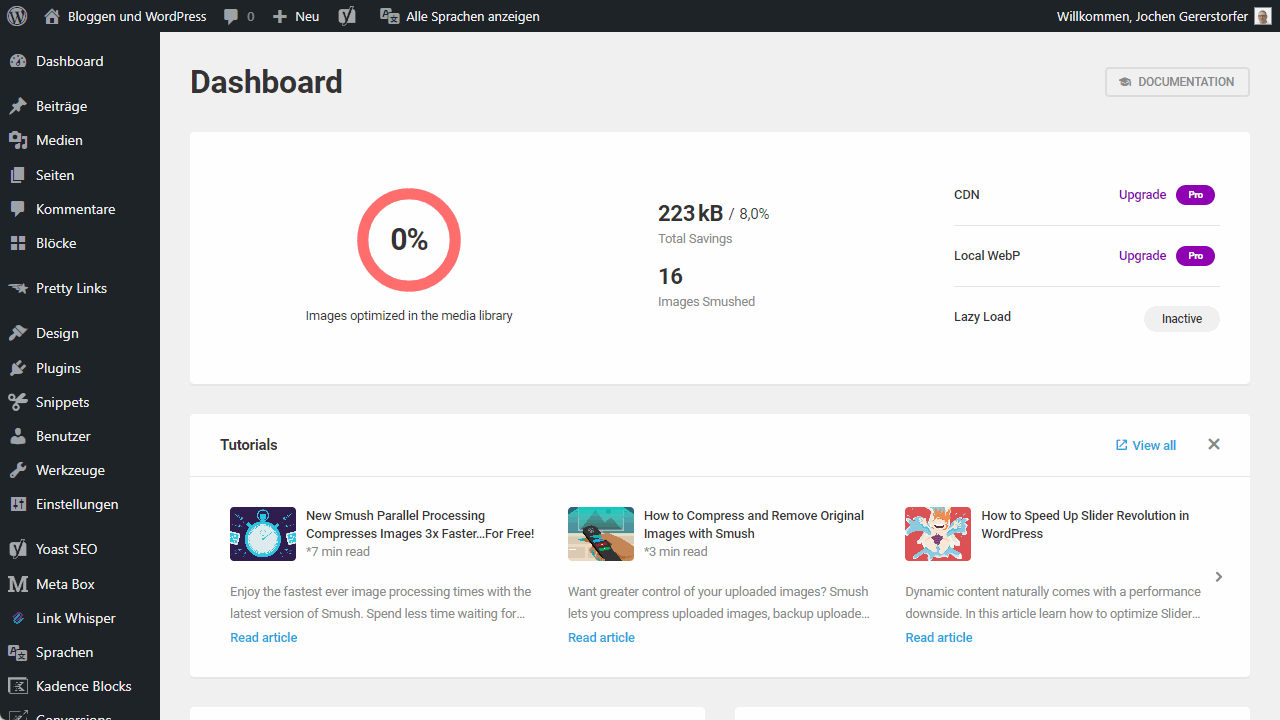
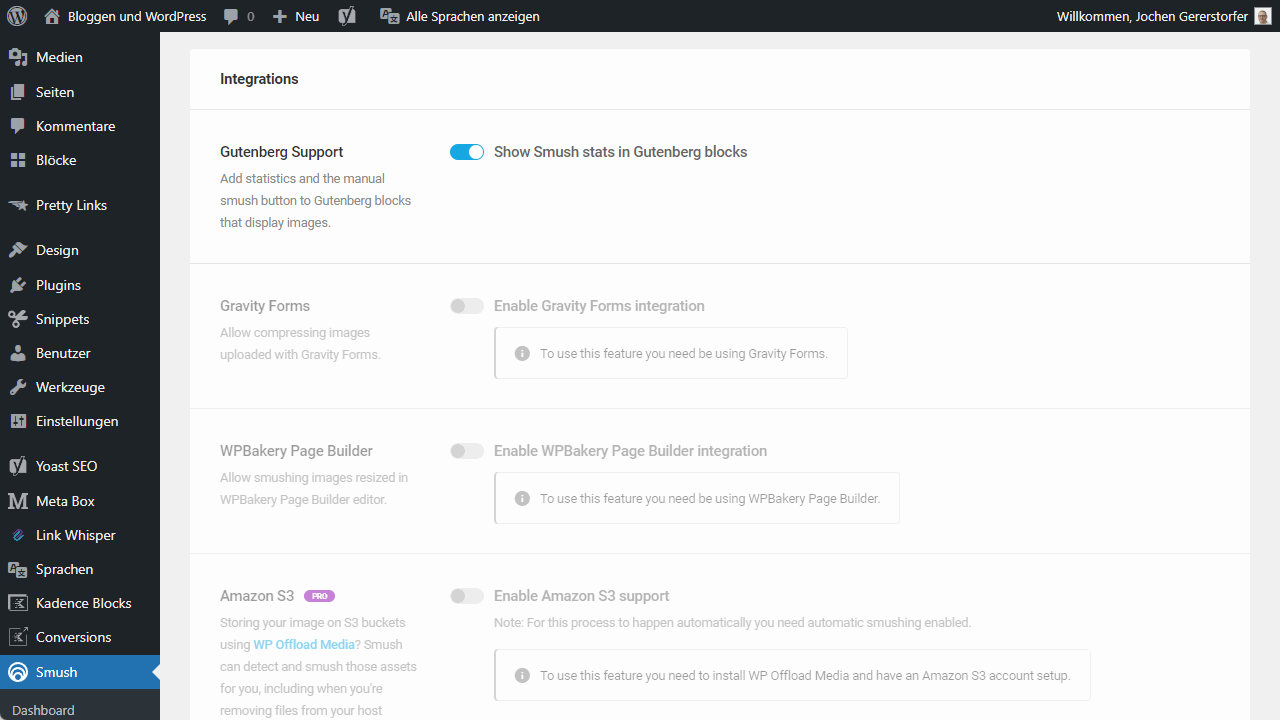
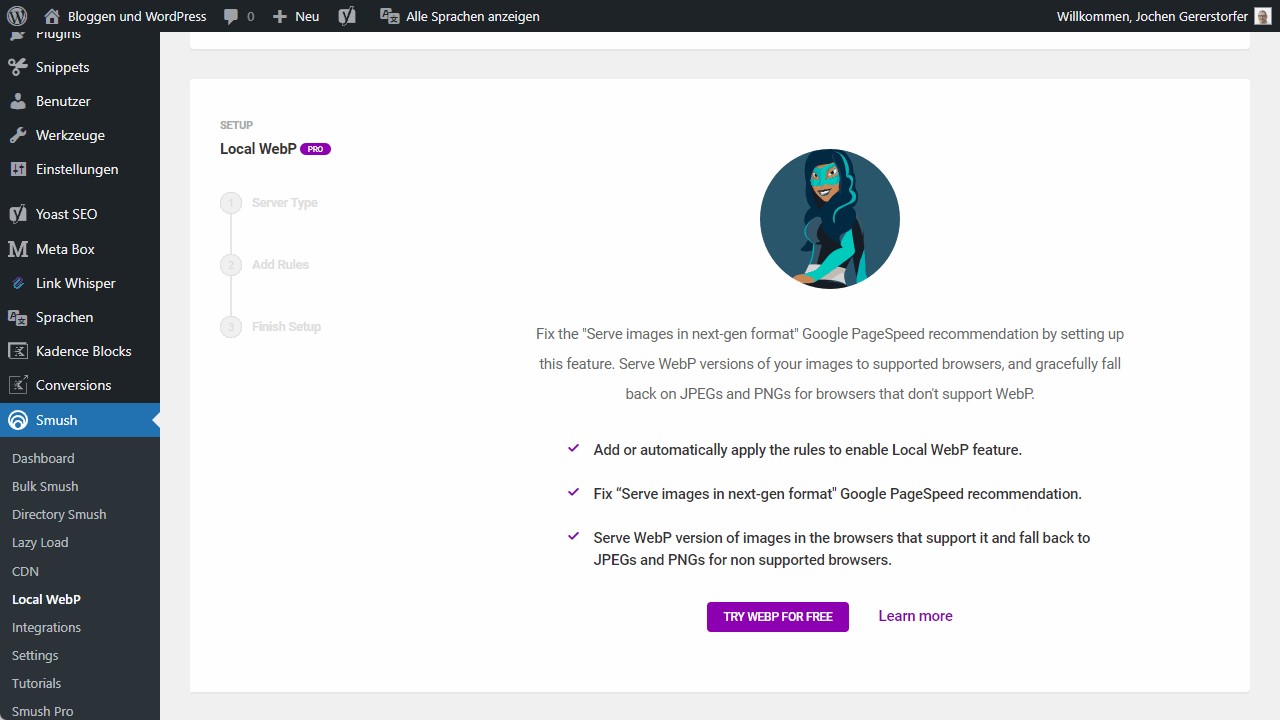
The Smush plugin comes from the renowned developer team WMPU DEV and is very thoughtfully designed, making it particularly easy to use. Right after installation, there is a guided tour through the plugin’s settings, where you can choose the options that are perfect for you. This makes it a breeze to install and set up Smush in WordPress.
This is exactly what I would describe as the biggest difference between this plugin and other plugins of its kind. The features of most image optimization plugins are similar, but Smush manages to bring them across in a sensible, clear and reduced way and is particularly catchy that way. It optimizes all images in the media library, new uploads, performs resizing and has one or two other functions in store. A CDN connection is also available. However, the Pro version is also necessary here to really utilize the extension.
Advantages
- Very clean and therefore very intuitive to use
- Pro version really masters all functions that an image optimizer needs
- Renowned developer who also offers many other plugins that work perfectly with Smush
Disadvantages
- Pro version is more or less mandatory here to achieve full effectiveness
6. Imagify
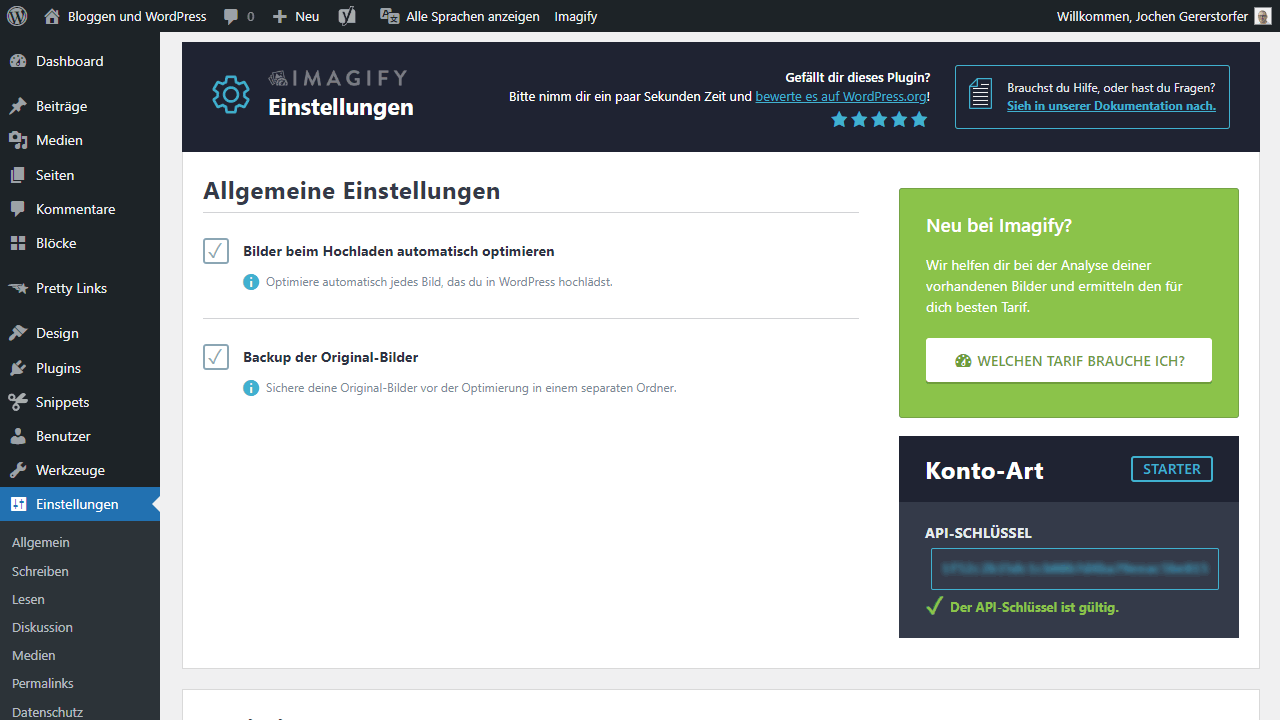
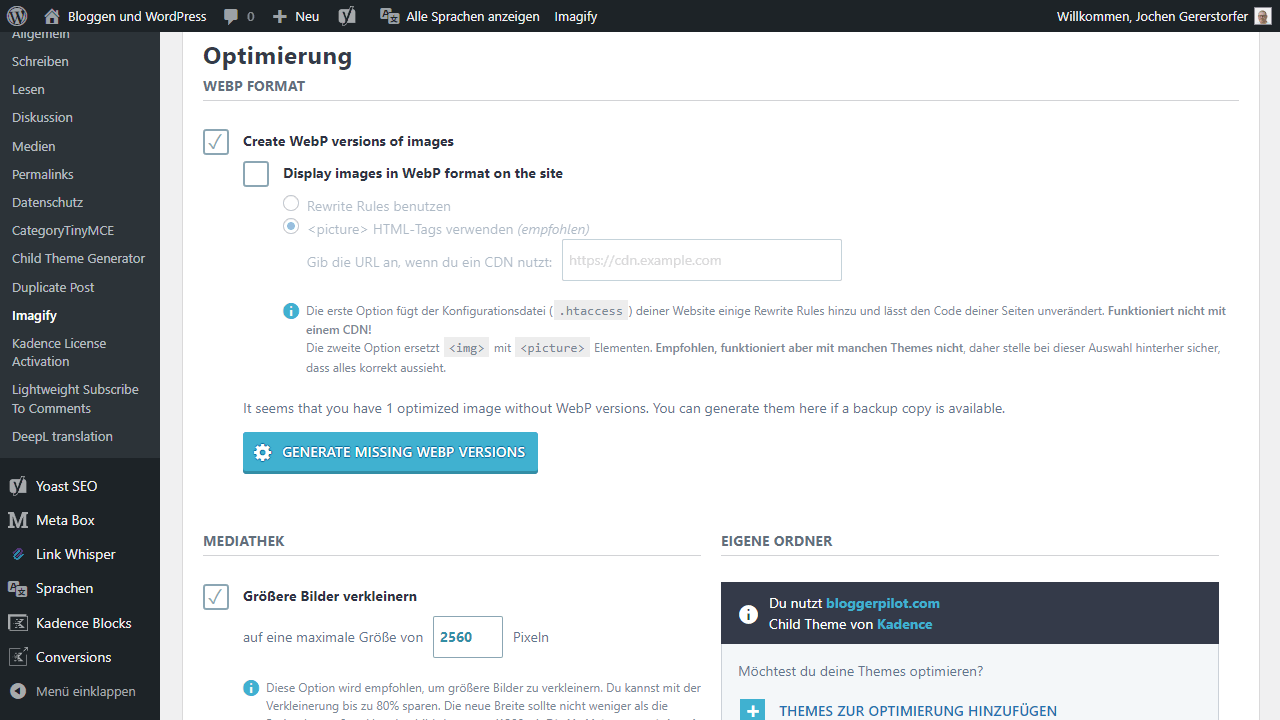
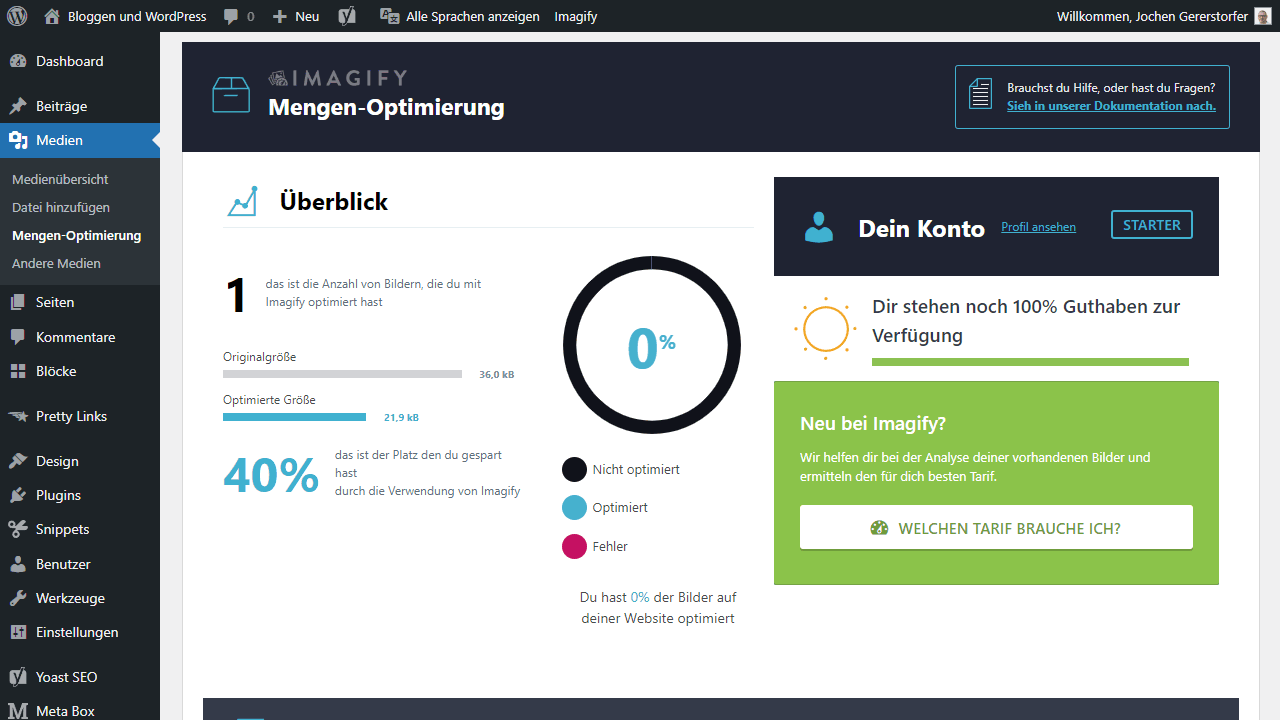
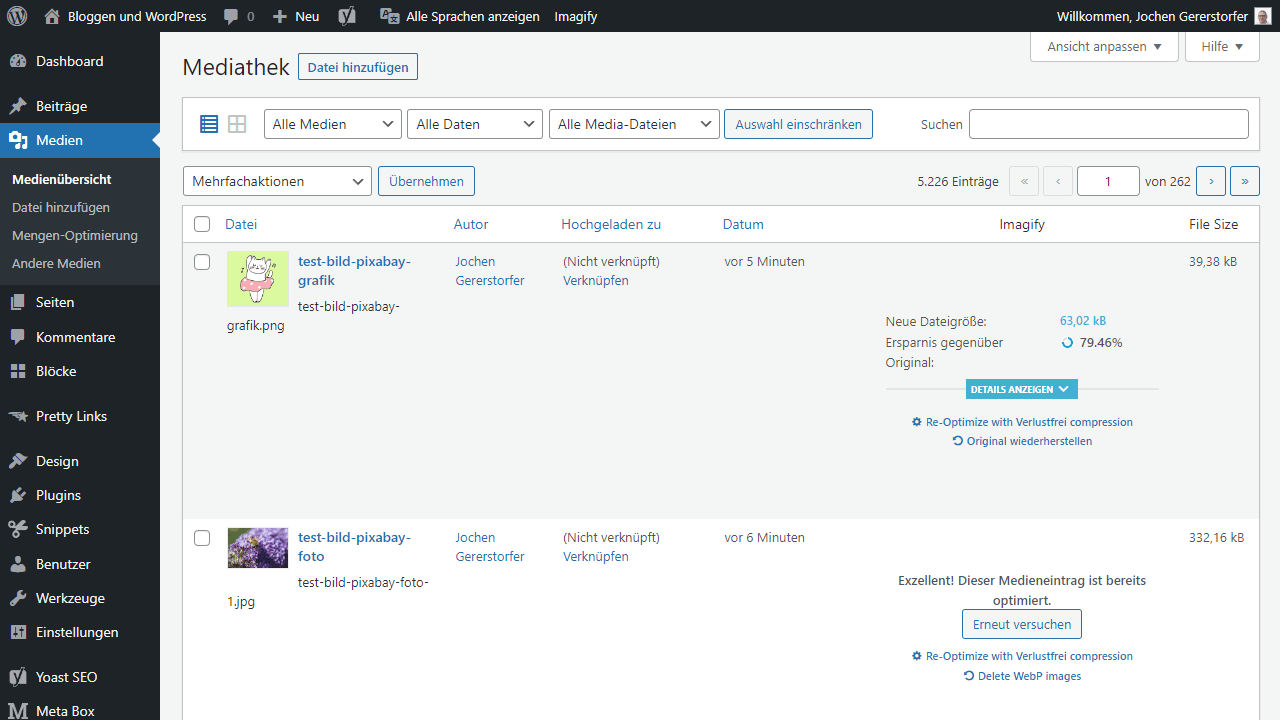
The WordPress plugin Imagify comes from the same developer who released the caching plugin WP Rocket. So it’s definitely recommended if you’re already using WP Rocket anyway and are now looking for a plugin to optimize your images. Imagify is free on a small scale and hits you with about $10 after that. Imagify, like WP Rocket, is also very simple in design. There is a normal mode, an aggressive mode and the ultra mode. If desired, the image size can also be changed during upload to create uniformly large images in the media library. Imagify’s service is cloud-based, so it doesn’t burden your server with compressing images. This takes place externally.
Imagify is a clean solution without an integrated CDN. This is partly because WP Rocket integrates the Rocket CDN and Imagify is, of course, at its best when used in conjunction with the developer’s other services. But even without those, the plugin is a quick and clean solution for anyone who just wants to compress WordPress images. Without much technology, without CDN, without too many limits or addons. This simplicity is a huge advantage for me.
Advantages
- Image optimization and nothing else
- Very easy and understandable to use
- Ideal in combination with WP Rocket and Rocket CDN
Disadvantages
- No big extras or features like a CDN
7. Optimus
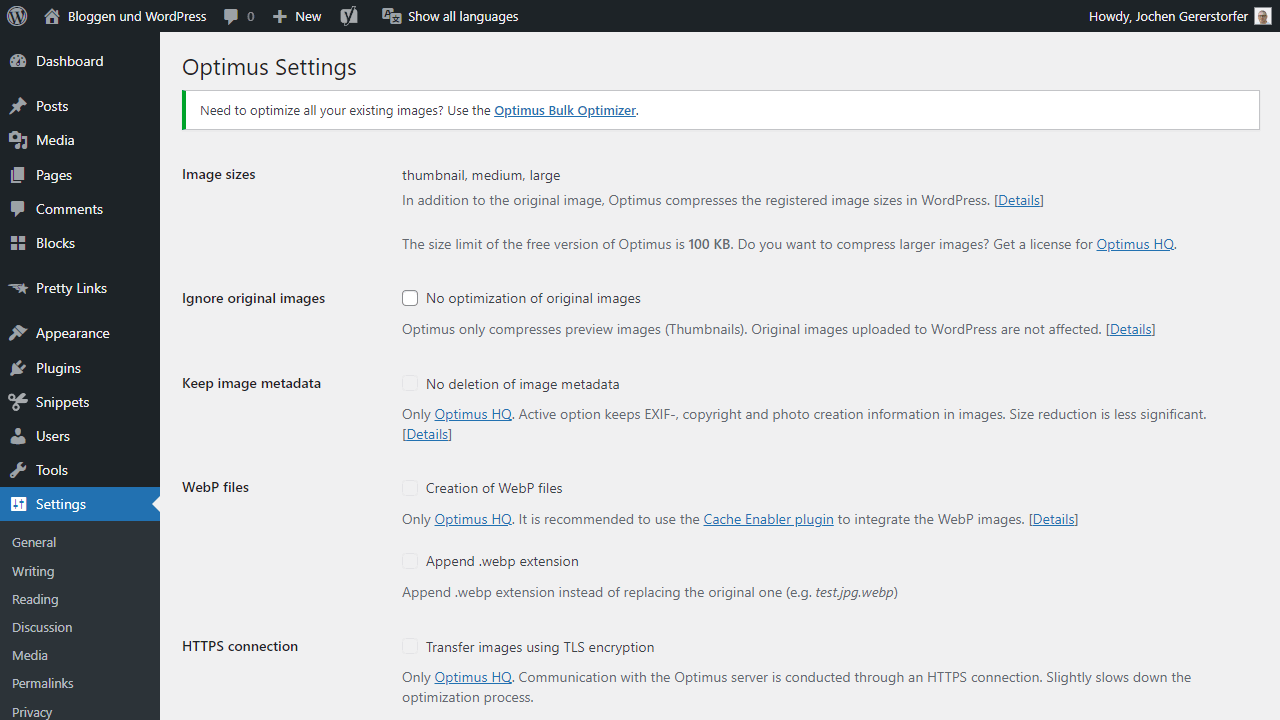
Optimus used to be something of my favorite plugin when it comes to optimizing images within WordPress. There’s a reason for that. The extension is maintained by provider KeyCDN and according to the website, the servers for Optimus are located in Germany, which may play a role in terms of DSGVO, but is also so useful because the location seems particularly close. Many image optimizers are from US developers and do not always use cloud servers, but have a US connection. That’s not the case here, so it can be an advantage.
What is also advantageous about Optimus is that the plugin does not want to be more than it is. It takes care of optimizing JPG and PNG, converting them to WebP if desired, and only costs about $30 a year to do so. Even better for service providers: for about 150 US dollars, you can install the extension on all your customer projects. And even better: if you pay for three years, you save almost a whole year. The solution is minimalistic, comes without ballast, and is therefore worth a recommendation. Most blogs don’t even need more features, and overdo it with other plugins only unnecessarily.
Unfortunately, the free version does not optimize images over 100 KB, which is why nothing was optimized in my test. Too bad.
Advantages
- Super minimal kept and without any ballast
Disadvantages
- The free version is hardly usable
8. Robin Image Optimizer
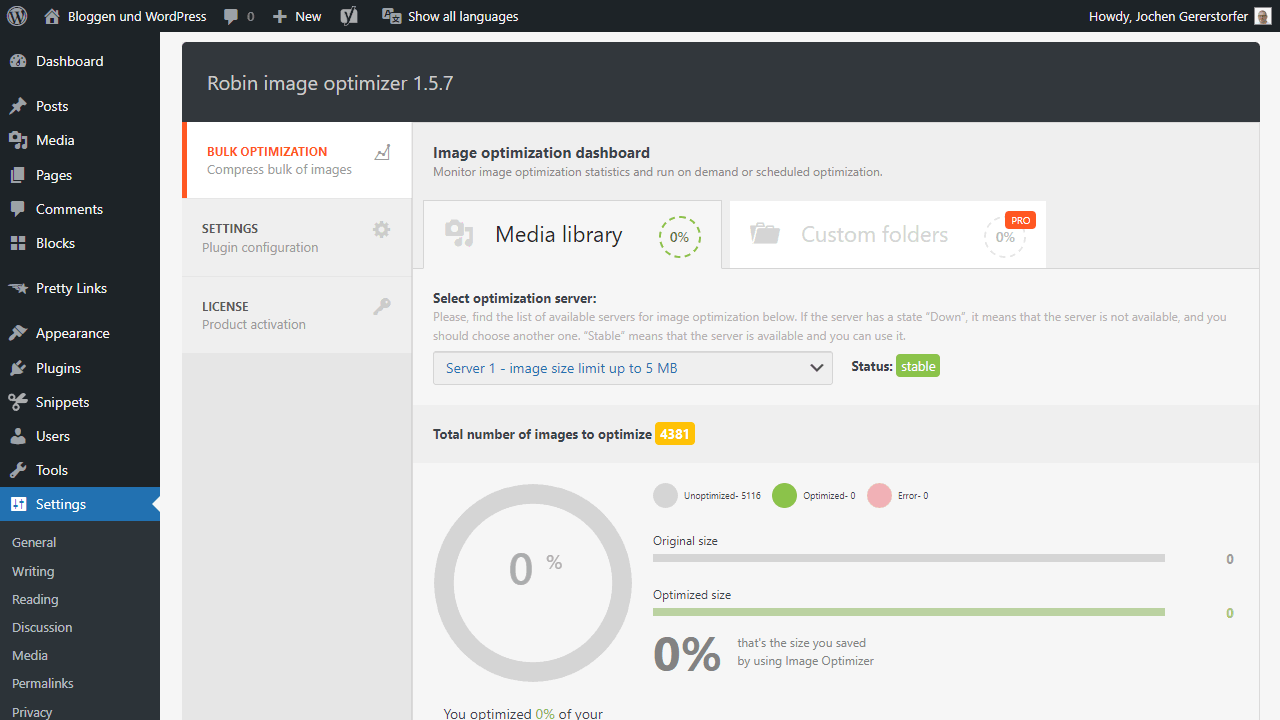
On paper, I keep asking myself why Robin Image Optimizer exists or why I should install it on my WordPress blog. After all, I can find the features elsewhere and even cheaper. But in practice and when I actually try it out, I have to say that I like Robin Image Optimizer. This is due to the easy-to-understand options and the fact that it provides exactly what I need without overwhelming me with useless features.
So I choose from four options how much my WordPress images should be compressed and whether this happens automatically during upload. If desired, the plugin creates a backup copy of the original files or converts them to WebP format. There are a few more handy features, but in essence that’s it. And that is good. Because Robin Image Optimizer is simple to use and easy to configure.
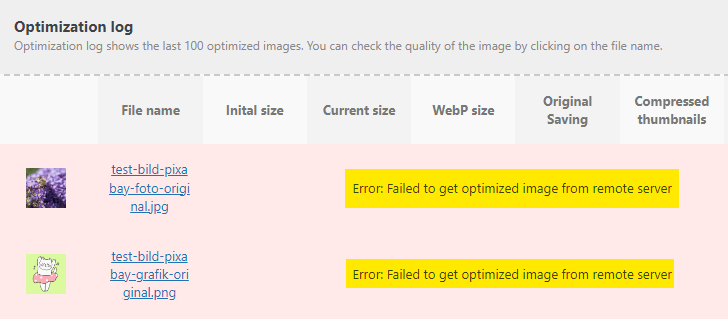
But then came the big disappointment during the test.
The Robin Hood among the image optimizers did not optimize a single image. The log showed that the optimization server returned an error message every time. Also the attempt on different servers brought no result. In the WordPress forum I discovered that the servers are probably often unavailable.
Advantages
- Image optimizer without too many extras
- Understandably explained and with few options
Disadvantages
- In comparison quite expensive for what it offers
- Did not work in the test!
- The servers probably fail more often
9. TinyPNG
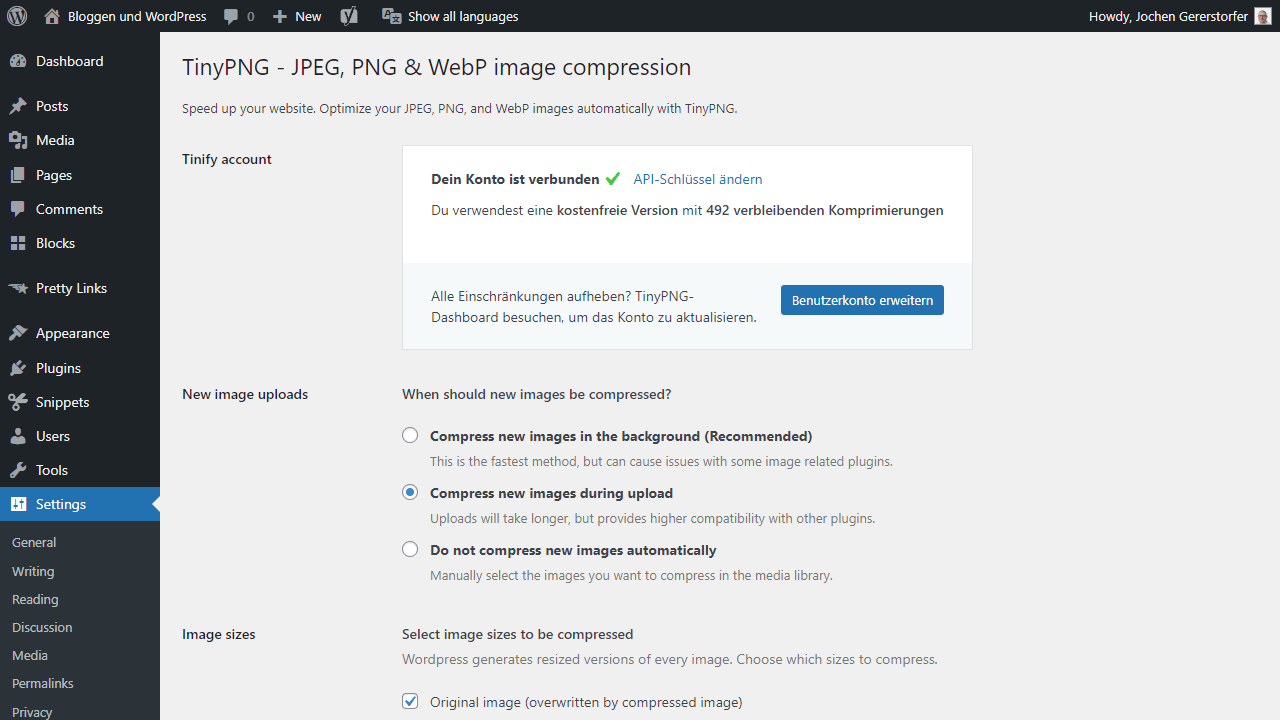
TinyPNG was already around when many other services were not. Until today TinyPNG is also one of my favorites regarding image optimization. This is mainly because TinyPNG finds by itself an almost always perfect compromise between file size and quality. There are no settings options here in terms of quality, but TinyPNG uses its own compression technique to generate the best possible result. You either like that or you don’t, I for one find TinyPNG to be so good for that very reason.
You can try it out in advance on the website. There you can find the web service, an API, a CDN and much more. TinyPNG may not have many features to offer, but for that it chooses by itself and works stable and excellent for many years. This is also worth a lot, where most WordPress plugins are discontinued after a short time or lack support.
Advantages
- Established service that has worked stably for years
- Very simple and with its own compression technique
- With the free API key, 500 images per month are already included
Disadvantages
- No choice of compression levels
10. reSmush.it
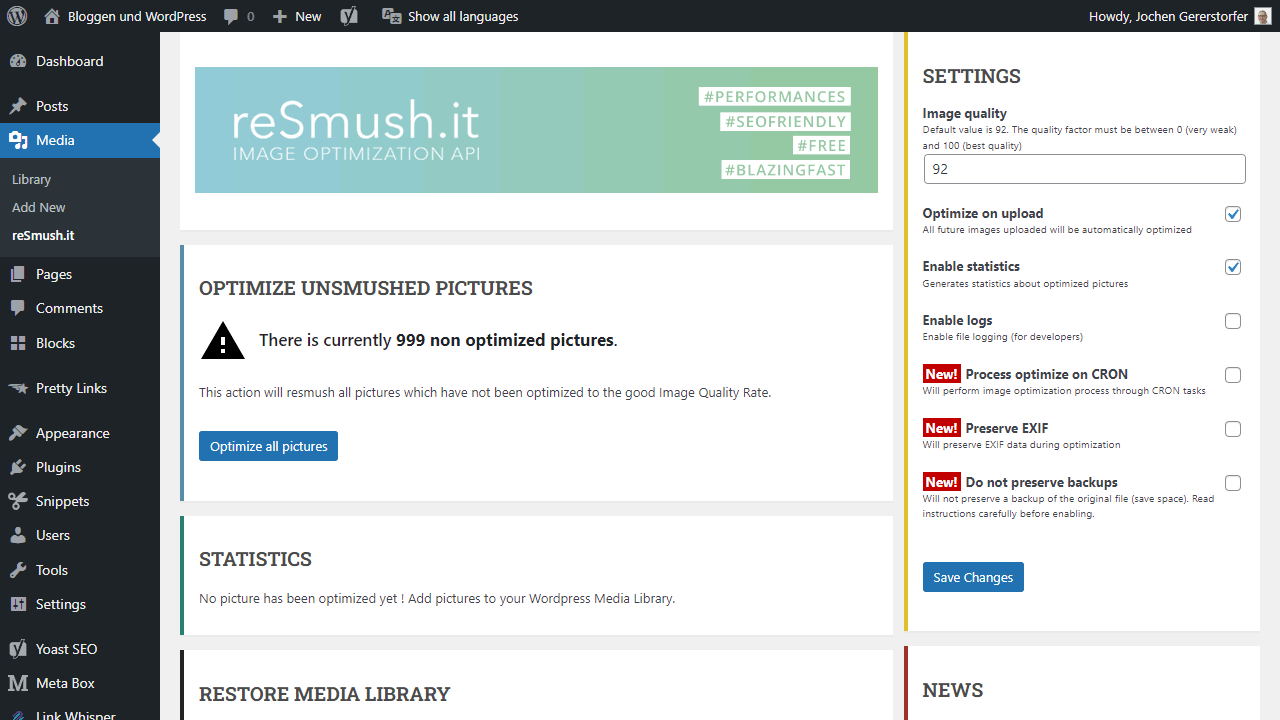
reSmush.it Image Optimizer provides free image optimization based on reSmush.it API, which is compatible with old Yahoo Smush.it. Supports JPG, PNG and GIF files up to 5MB.
Advantages
- Completely free
Disadvantages
- Few functions
11. Elementor Image Optimizer
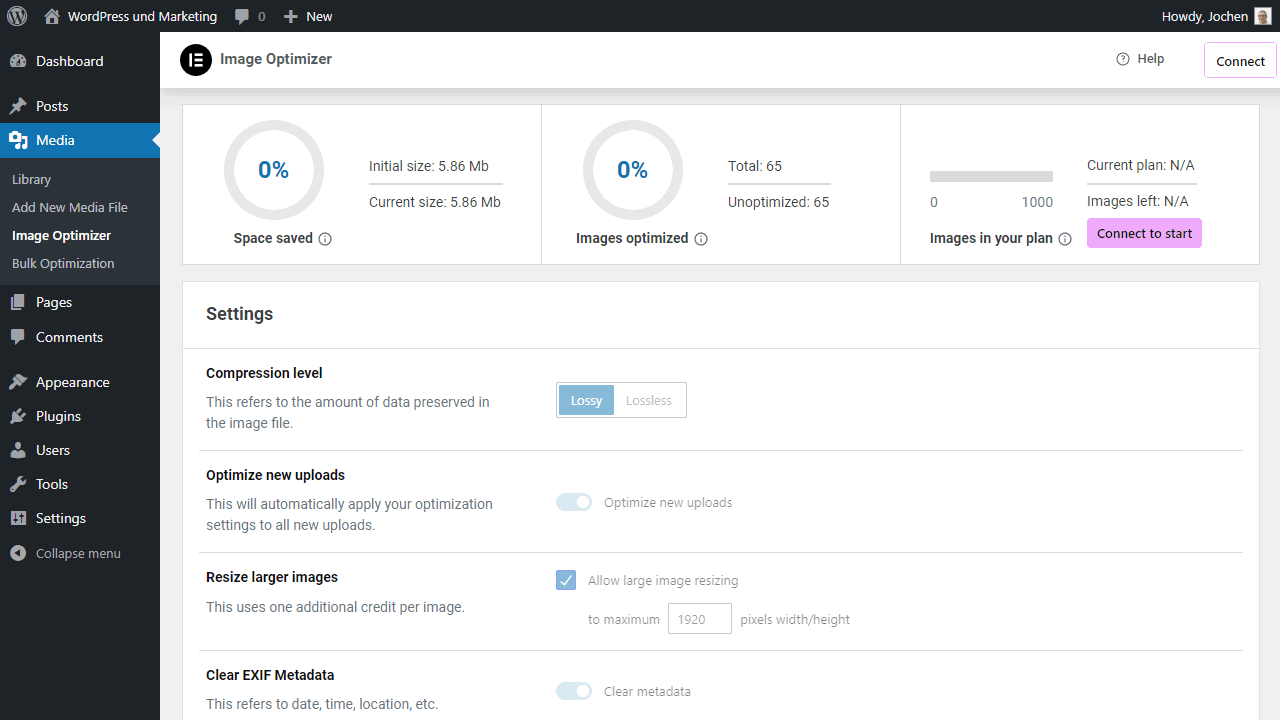
Image Optimizer by Elementor is a WordPress plugin for optimizing images. It offers support for common image formats such as JPEG, PNG, WebP and GIF and allows different compression levels for image optimization.
The plugin offers both bulk and single image optimization options, allowing images to be scaled and compressed automatically upon upload or on request. In addition to size reduction, users can also remove EXIF metadata from images to further reduce file size.
A special feature is the ability to convert images to WebP format, resulting in a more efficient and faster loading time. Image Optimizer by Elementor is a valuable tool for any WordPress website, especially those with many images, as it helps to reduce loading times and improve SEO performance.
Advantages
- Faster loading times
- Improved Google PageSpeed Score
- Improved search engine rankings
Disadvantages
- Subscription fees
Goody: Replace images with Enable Media Replace
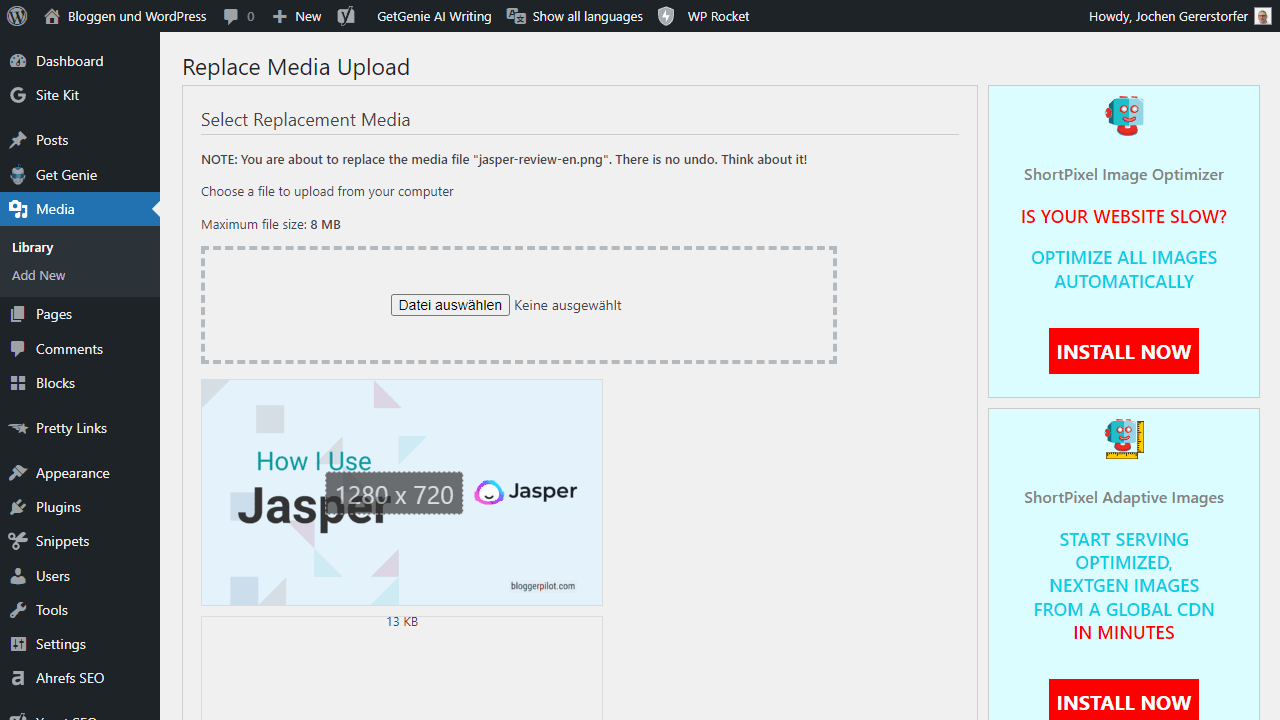
This plugin must not be missing on any WordPress installation for me!
It can do two things:
- Replace images
- Remove the background
Periodically, I need to replace old images or graphics on my blogs. Without the extension, this task is really cumbersome to perform. With the plugin Enable Media Replace you have the option “Replace media” in the media library and in the editor at the image options. With two clicks, the job is done.
A brand-new feature is the ability to remove the background. The image is sent to the API of the image optimization server, you can then check the result and accept or reject it. Even the background color can be changed.
How I tested
For the test report about the image optimization plugins, I took two random content from Pixabay.
An image with many colors and color overflows as JPG and a graphic with few colors and no color overflows as PNG:


I deliberately chose such large files because that’s what uninitiated WordPress users do.
Image optimization plugin test results
In the following two tables, you can find the tested plugins. The tables are sorted by the savings in percent. First for the photo in JPG format and then the graphic in PNG format.
Test compression JPG format
The image with the bee has a resolution of 1920 x 1280 px and is 332.16 KB in size.
| Plugin | Format changed | Compressed size | Savings in |
|---|---|---|---|
| ShortPixel | 79 kb | 76 % | |
| TinyPNG | 112 kb | 66 % | |
| WP Compress CDN | to webp | 177 kb | 47 % |
| Optimole CDN | to webp | 177 kb | 47 % |
| WP Compress | 249 kb | 25 % | |
| Smush | 249 kb | 25 % | |
| EWWW Image Optimizer | 333 kb | 0 % | |
| Imagify | 333 kb | 0 % | |
| Optimus | 333 kb | 0 % | |
| reSmush.it | 333 kb | 0 % | |
| Robin Image Optimizer | 333 kb | 0 % |
Test compression PNG format
The image with the cat has a resolution of 1920 x 1728 px and is 307.82 KB in size.
| Plugin | Format changed | Compressed size | Savings in |
|---|---|---|---|
| ShortPixel | 37 kb | 88 % | |
| WP Compress | 37 kb | 88 % | |
| Smush | 37 kb | 88 % | |
| Imagify | 40 kb | 87 % | |
| WP Compress CDN | to webp | 60 kb | 80 % |
| Optimole CDN | to webp | 60 kb | 80 % |
| EWWW Image Optimizer | to PNG | 113 kb | 63 % |
| reSmush.it | 117 kb | 62 % | |
| TinyPNG | 132 kb | 57 % | |
| Optimus | 307 kb | 0 % | |
| Robin Image Optimizer | 307 kb | 0 % |
Explanation of terms:
Lossless: Lossless conversion = The image does not become blurry or lose colors.
Lossy: Lossy conversion = The image becomes blurry and may lose color depth.
The result: Which plugin should I use?
Urgent to note that I always left the default settings!
Plugins like EWWW have very moderate compression settings when shipped from the factory, which is then noticeable in the resulting image size. However, most plugins let you make additional optimization settings.
Optimius did not optimize the images at all because the files were too large. Larger files can only be optimized with the Pro version, which I don’t have.
Do you want an all-around solution with CDN, I think WP Compress is the best solution.
A bit simpler, but very efficient, is the ShortPixel plugin. You can’t go wrong with it either.
I was also impressed by Optimole. I’ll have to do some more detailed testing on that, though.
Why images should be optimized
Images appear on just about every website and for a long time it was underestimated how massively they influence the loading time. Even if the image files are very small and the file sizes are only a few kilobytes, many of them together are usually several megabytes in size. If a visitor now comes to your website, he has to download all of these images and the larger they are, the more time it takes.
In times of mobile internet and blogs, which partly consist only of images or at least massively rely on them, image optimization is a must. But there is another reason why the optimization of images plays such a big role. This is called WordPress, because the content management system is often used by beginners and they rarely know much about loading times, pagespeed and optimization.
This leads to the fact that often large photos or images are uploaded to the media library of WordPress. So the size is not changed in advance and nothing is optimized. These benefit most from a plugin that resizes the image, removes metadata and compresses accordingly. All others save themselves a step and automate the optimization with the help of WordPress.
What to consider when optimizing images
Above, I’ve told you one or two WordPress plugins that can optimize images and don’t offer unnecessary options. These are ideal for beginners who often don’t know what file format, size and level of compression is useful. All others also have a choice of different methods with the plugins.
Common here is first of all lossless and lossy. The first means that only unnecessary metadata is removed to reduce the file size of the images. The second means that the quality is also reduced a bit to achieve this. It is important to know that lossy can be quite advantageous and the quality often does not play such a role. An image with slightly lower quality looks the same to the viewer as it always has. Only when zooming in would it be noticed that the quality has been reduced.
But there is another point, which is important for WordPress plugins for the optimization of images. And that is whether optimization is done on your server or in the cloud or on an external server. The former would mean that your hosting does the optimization and you have to consume your own resources that you might need elsewhere. This can have a negative impact on performance. The latter means that the images are sent to a server, optimized there and then sent back to you.
Compress images online
If you want to optimize images before uploading, you can use one of the many free online tools for image optimization. Here is a small selection:
- https://compressimage.io/
- https://imagecompressor.com/
- https://tinypng.com/
- https://kraken.io/web-interface
- https://compressor.io/
- https://shortpixel.com/online-image-compression
- https://www.imagerecycle.com/
- https://www.jpeg.io/
Conclusion about optimizing images
Optimizing images has become a necessity. Mobile internet is sometimes very slow and visitors don’t want to consume their data volume just because you haven’t optimized your images on the blog. In the end, though, the benefit is on both sides. Visitors load your website faster, which relieves the server and is usually very positively received by Google.
The optimization of images is therefore a natural part of it, just like the caching of WordPress. Because plugins and services do the actual work here, it is also very easy to implement for every blog. After all, it happens fully automatically in the background.
So if you haven’t started to optimize your images in WordPress yet, you should find the right WordPress plugin for it here on this page. You can find my personal recommendations at the top of the site. But each plugin has its own advantages and disadvantages. So take your time to look around before you decide.
If you have compressed your WordPress images, you should use one of the best WordPress cache plugins.






Hello,
can you have a look at the WP Compress v6 update? Are there any changes in an image optimization algorithm? And is the WP Rocket still necessary to use alongside this version? I will appreciate your opinion. Thank you very much.
Hello Peter,
WP Compress V6 was a giant update with many new features, incl. page caching.
I don’t know about the image optimization algos, but I took several tests with and without WP Rocket.
The Google Page Speed score was now much better without WP Rocket, but I still get a better result with both plugins.
So I have all ‘Performance Tweaks’ disabled in WP Compress, because WP Rocket is doing this stuff.
Jochen